Wednesday, December 17, 2014

On the Go with a baby for the Holidays

This post brought to you by Happy Family Products . The content and opinions expressed below are that of Fireflies and Jellybeans.

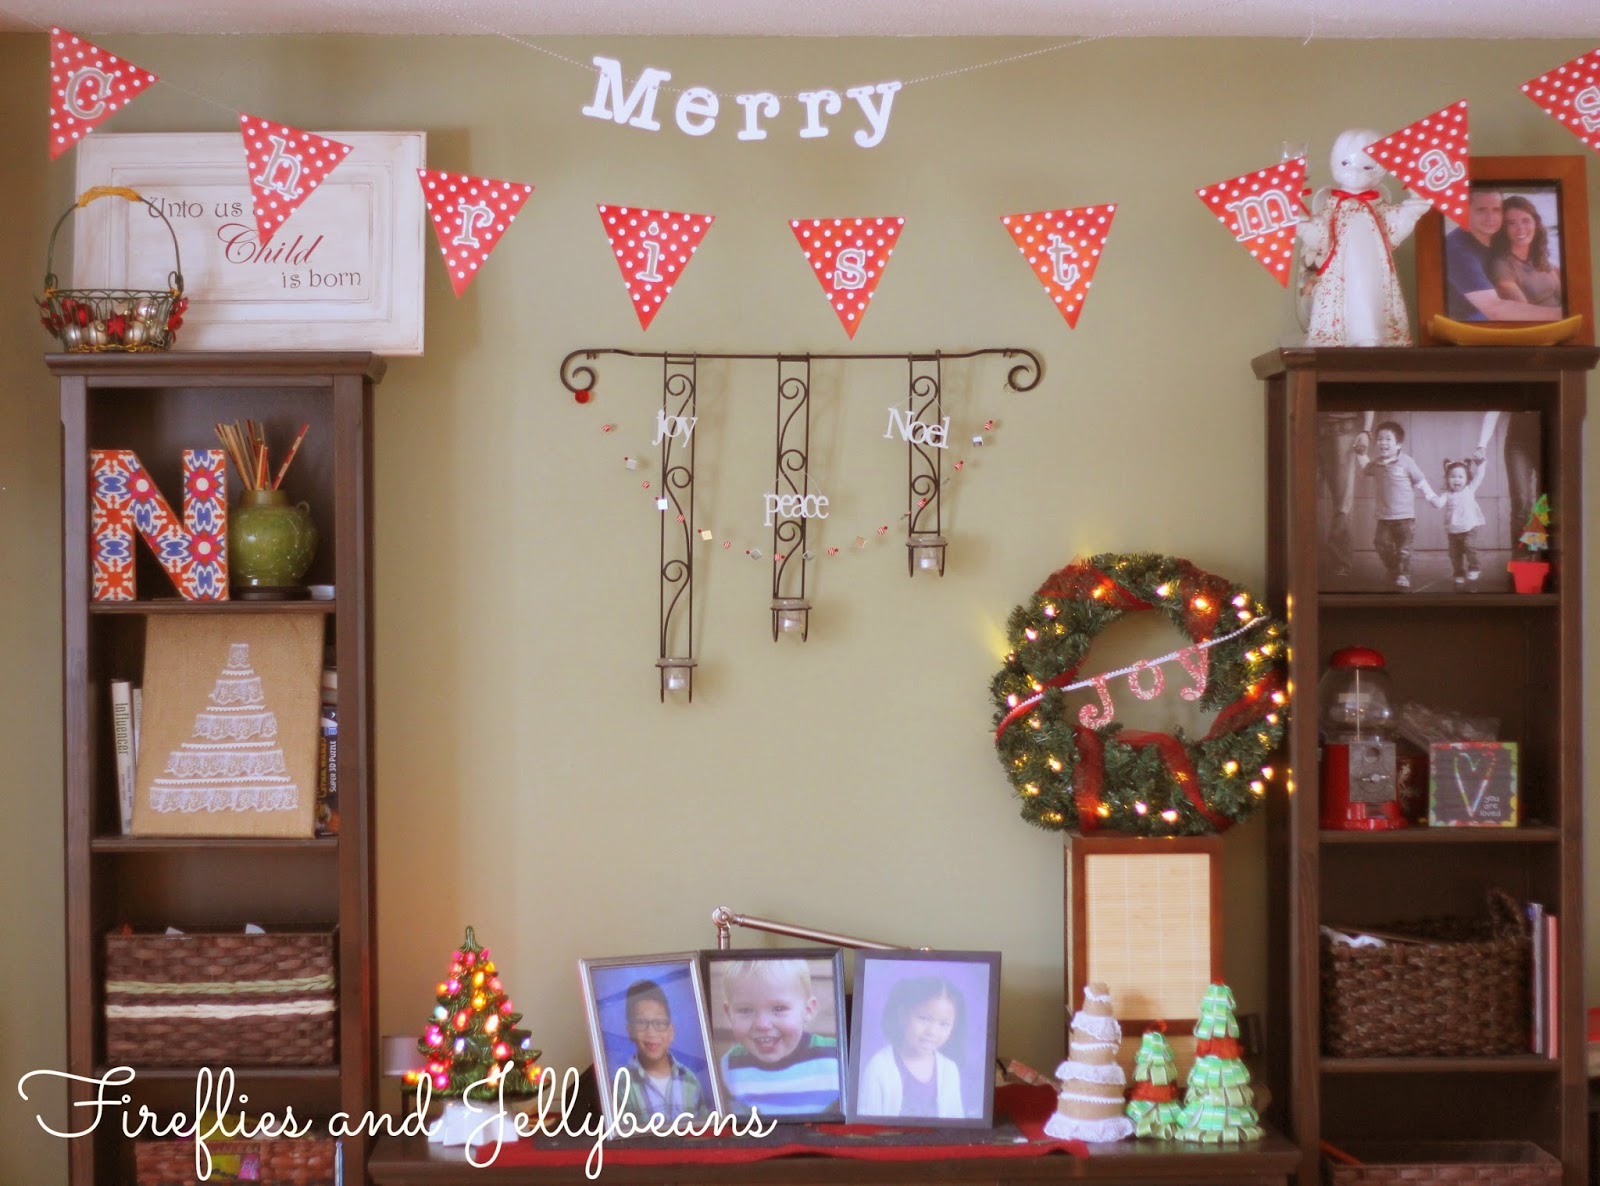
The holiday season gets busy... like super busy and when you add a baby and some other kids in the mix -we are at our max!  
This picture was from last year - our youngest's first Christmas.  It is always so special the baby's first Christmas- to see the magic in their eyes.


One way to make my busy life easier is to have some go-to healthy snacks for the baby.  He goes where ever we go and it is always better to have some snacks with!  That is what I LOVE about Happy Baby.  They have just what I am looking for on my list:
 Healthy - check
Easy- check
Baby likes it - check! 
Hf_logo_hires_300_px


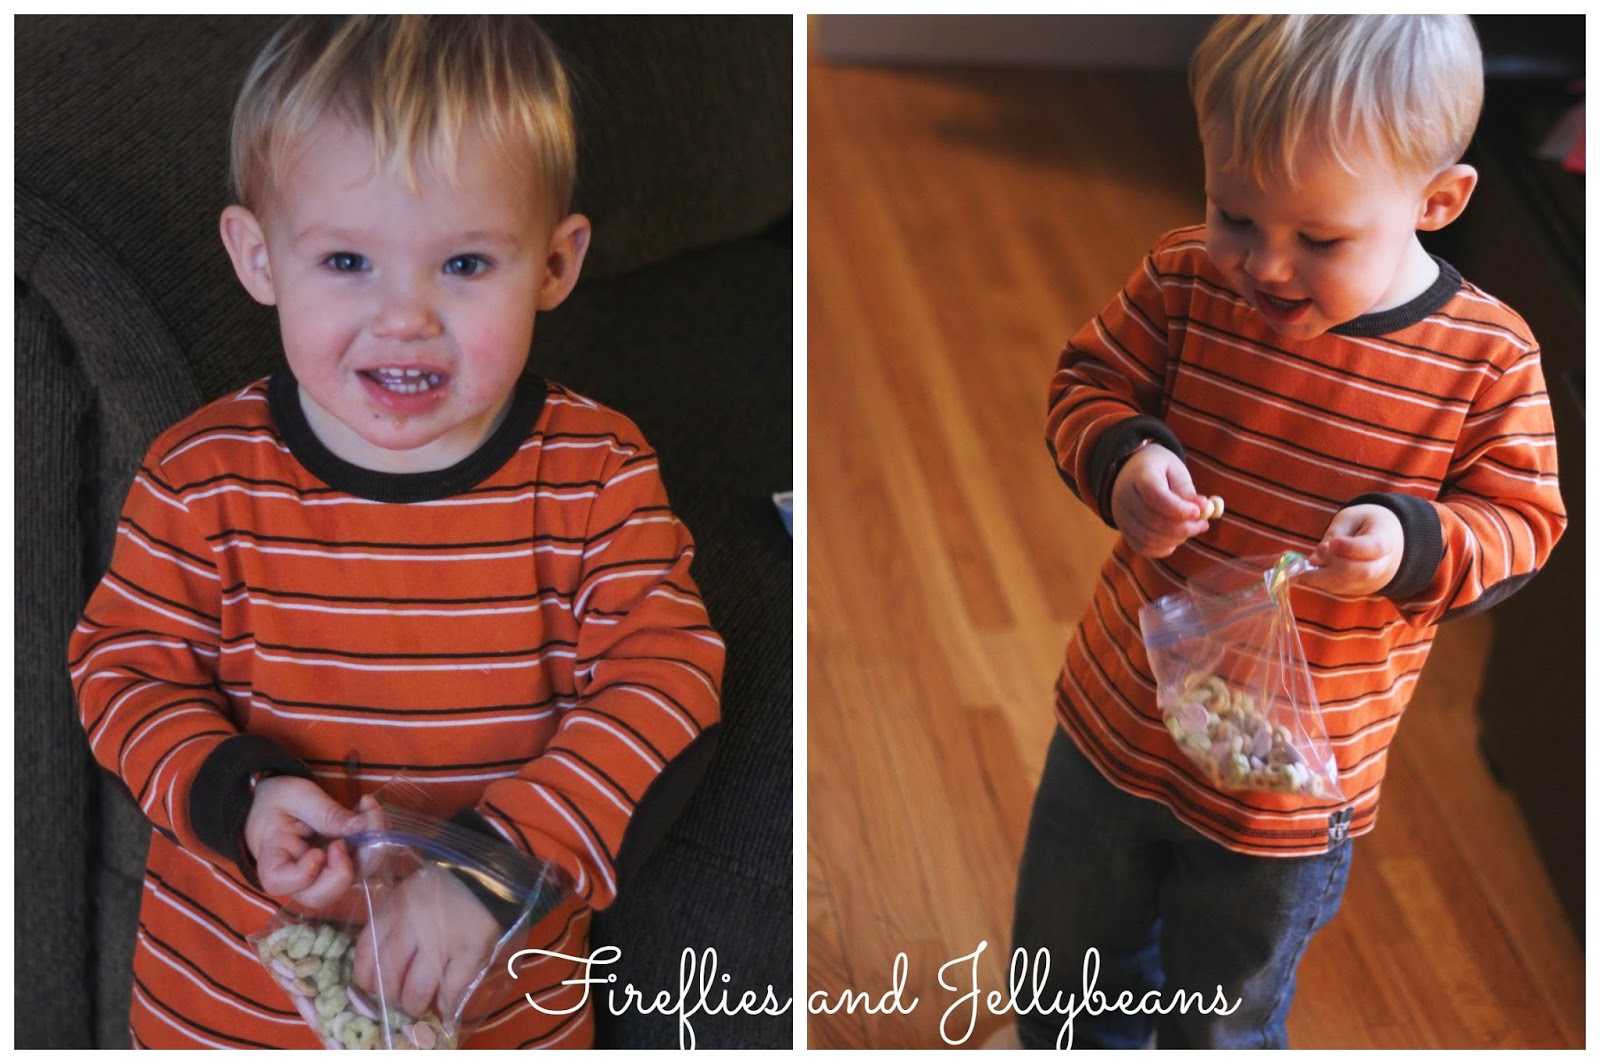
One thing my toddler loves is Baby-trail mix:
Just mix some Happy Yogies with some Happy Baby puffs and cereal and you have the perfect baby trail mix! 


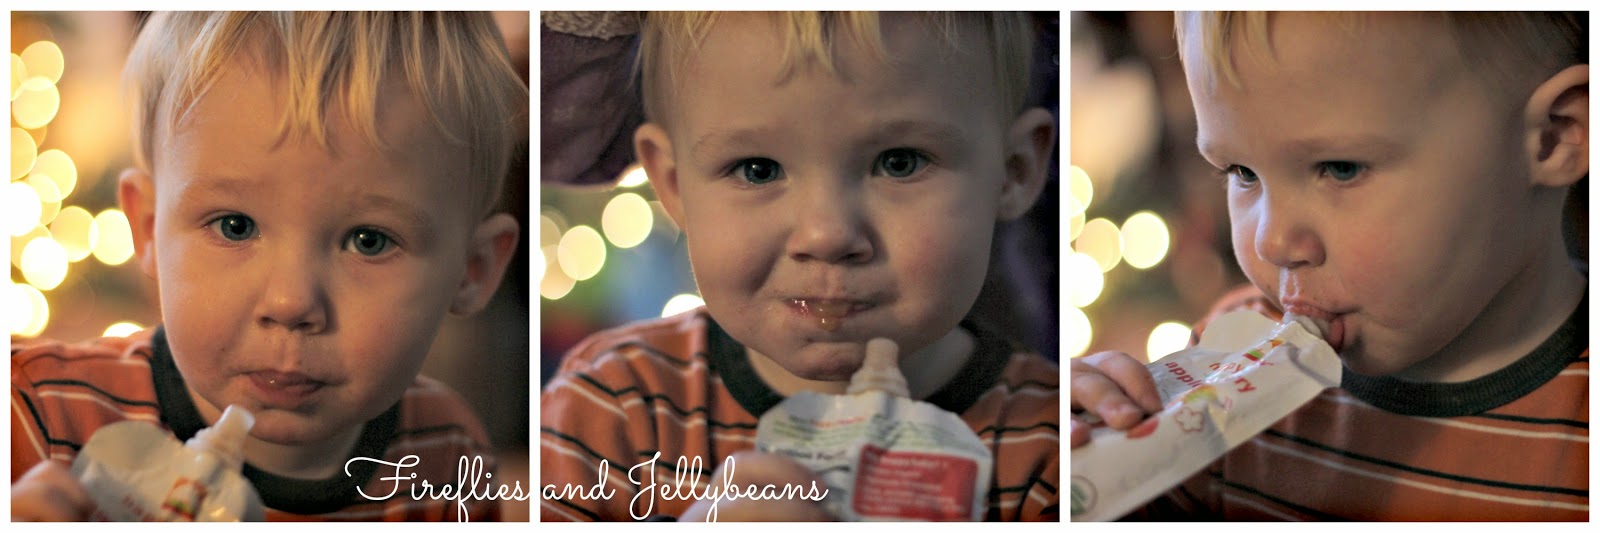
My other go-to snack is the fruit and veggie pouches.  
I always make sure I have some in my diaper bag.  


Happy Baby snacks are the perfect thing to bring with you during all your holiday events.  Keep the baby happy with snacks he will love and keep you happy because you know they are also healthy!  Join Happy Family on Facebook and enter to win during December’s #TistheSqueezin giveaways!
Enjoy a $1 off coupon for Happy Family baby food pouches

Saturday, December 13, 2014

Simple Classic Christmas Wreath

I am teaming up with QVC  to make this Classic Christmas Wreath

I was sent this Pre-lit Christmas Wreath (Designed by Ellen DeGeneres) to decorate.
They had me at pre-lit!  
It really is beautiful just by itself, and I like that it can either be soft white light or bright colorful lights (there is also an option to have it fad into both).  So, if next christmas I decide to decorate in more whimsical colors - this wreath still works! Plus it also has a timer option! 

But this year we stuck with a classic, more traditional look.

Here is what you will need to do:
1. Gather supplies: Pre-lit Christmas Wreath, tulle, ribbon/trim, card stock.
2. Wrap the tulle around the wreath.
3. Cut out your letters.  I used my Silhouette cutting machine but you can hand cut them too.  Use a hole punch to punch 2 holes in the top of each letter.
4. String the letters on your trim/ribbon and attach to the wreath.

Here it is sitting with my other Christmas decor:


Need some more Holiday decor ideas?  Check out Your Home with Jill:
QVC’s Jill Bauer hosts the network’s popular show, You’re Home with Jill® and provides fans with simple solutions for their busy lives through innovative products, a library of stress-free DIY projects, and crowd-pleasing recipes. Fans can connect with Jill on Facebook, Twitter, Pinterest, and Instagram @jillbauerqvc.

**Disclosure: I was provided with the Pre-lit Christmas Wreath. However all my project ideas are mine and my opinions are 100% honest. **

Monday, December 8, 2014

Yarn Hat Ornament DIY (Made from a TP roll)

Here is another super easy, super cute DIY ornament! 
 And kids can do it too!  It is a great way to keep hands busy!  
I would say this craft would work best for ages 8+ (My 6 year old had a hard time doing it)


Here is what you will need to do:
1. Gather Supplies: TP roll, Yarn or Tulle, Scissors
2. Cut your TP roll to about 1.5 inch thick
3. Cut about 80-100 strands or yarn about 10-12 inches long.  To make it go faster i wrapped my yarn around a small book and then made one cut to get a bunch of strands at the same time.
4. fold your yarn stand in half.
5. put your yarn through the TP tube
6. pull up both ends through the loop.

7. Continue looping your yarn around the tube.  To make it go faster you can combine 3 or 4 stands at time.  But if you want your kids to be occupied longer - make them do it one at a time! ;) 
8. Continue all around the tube.
9. Gather all the long stands to the top and tie a string around the outside to form the hat shape. 
10. Trim off the long stands to get a nice even "ball" on toop

Tie a string around to hang it up and you are done! 

You can also use tulle using the same steps as above.  You don't need as many strands since the tulle is thicker (I used 17 stands for this one).  You can also make different stripe patterns too! 

Make a bunch:
 They would make a great add-on to a teacher gift and the kids can say they made them too! 

Friday, December 5, 2014

Lace tree on a Burlap Canvas (DIY!)

 I love the burlap canvases that they have out now.  I already had a canvas and some burlap from another project so I just made my own.  And then decorated it up for Christmas with some lace! 

Here is how to make your own:
1. Gather supplies: Canvas, Burlap, Lace trims, Hot Glue Gun.
2. Cut your burlap about 2 inches bigger on each side of the canvas. Place the canvas in the middle and cut a slit diagonally from the corner of the burlap the to the corner of the canvas. 
3. Fold the top and bottom down and hot glue in place.  Make sure to get it as tight as you can with out ripping it.
4. Fold the sides over making sure to keep the corners neat.

5. Now the we have our burlap canvas lets add some lace! 
6. Start at the bottom with a long line of lace. Use hot glue to attach it.  
7. Add a line of ribbon ball trim.  Make each level shorter to form the tree shape
8. Repeat until you get to the top.

Match it up with this burlap and lace tree


Wednesday, December 3, 2014

Burlap and Lace Tree Tutorial


I love burlap and lace together.  So, here is my Burlap and Lace Tree.  Perfect for your holiday decor! I


1. Gather Supplies: foam tree form, burlap, lace trim, ribbon ball trim, hot glue gun, straight pins.
2. Cut a square out of the burlap and hot glue it to the top of the tree.
3. cut a long rectangle and wrap it around the tree spiraling down to the bottom, using hot glue to secure it. 
4. Start with the ribbon ball trim and wrap around the top one time using straight pins to attach it - or use hot glue. 
5. Repeat with the lace.
6. Continue with the same pattern all the way down the tree. 


Content Ad