So, glad to be joining in Craft Lighting this month again! This time the theme is Holidays!
Growing up my family always got or made ornaments that had to do with what the past year held. So, I wanted to carry that on with my kids. A few years ago we went to South Carolina (to visit my sister) and collect a bunch of shells from the beach. So at home we picked out some shells and decorated them for our tree.
It is super easy to do!
1. Select your shells. I liked to find ones with holes in them already to give a place to tie a ribbon but it is not necessary.
2. Paint the shells with either glitter paint or any color that matches your docore. We liked gold/ glittler red and silver. Get the kids involved!
3. Let dry and attach the ribbon. If there is not a hole just use hot glue!
4. Hang on the tree.
Since it was the babies first Christmas we made a little shell baby too, by glueing a couple shells together and adding a face!
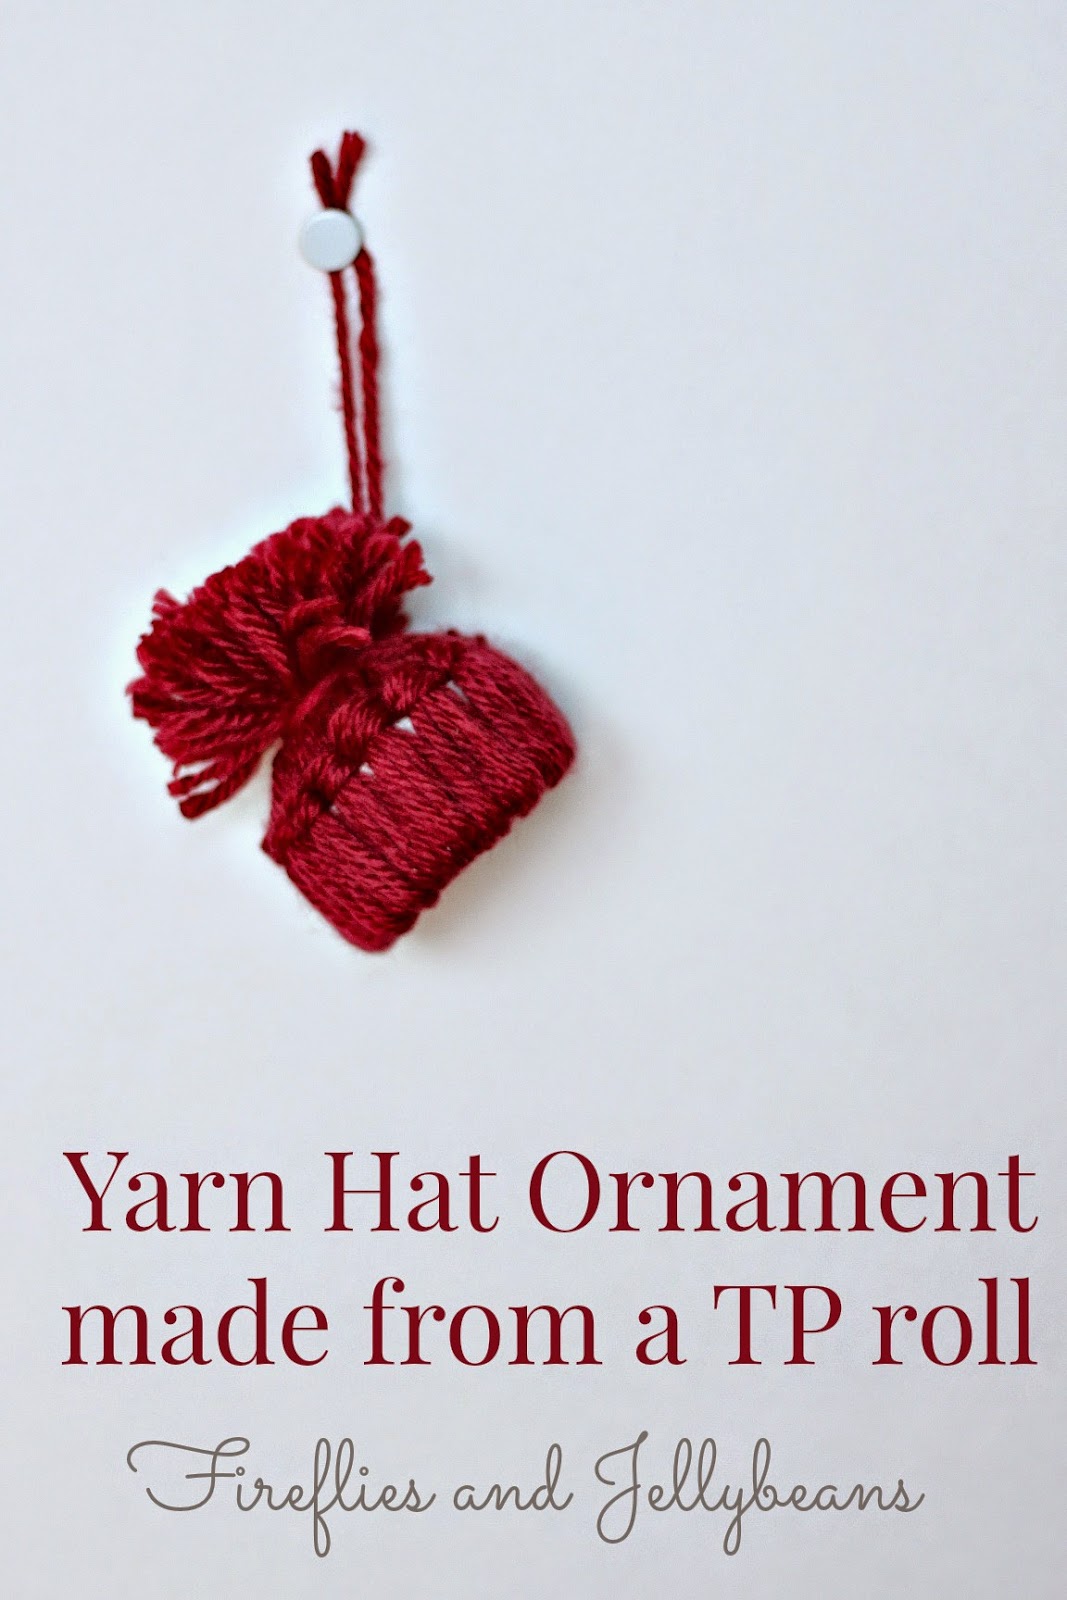
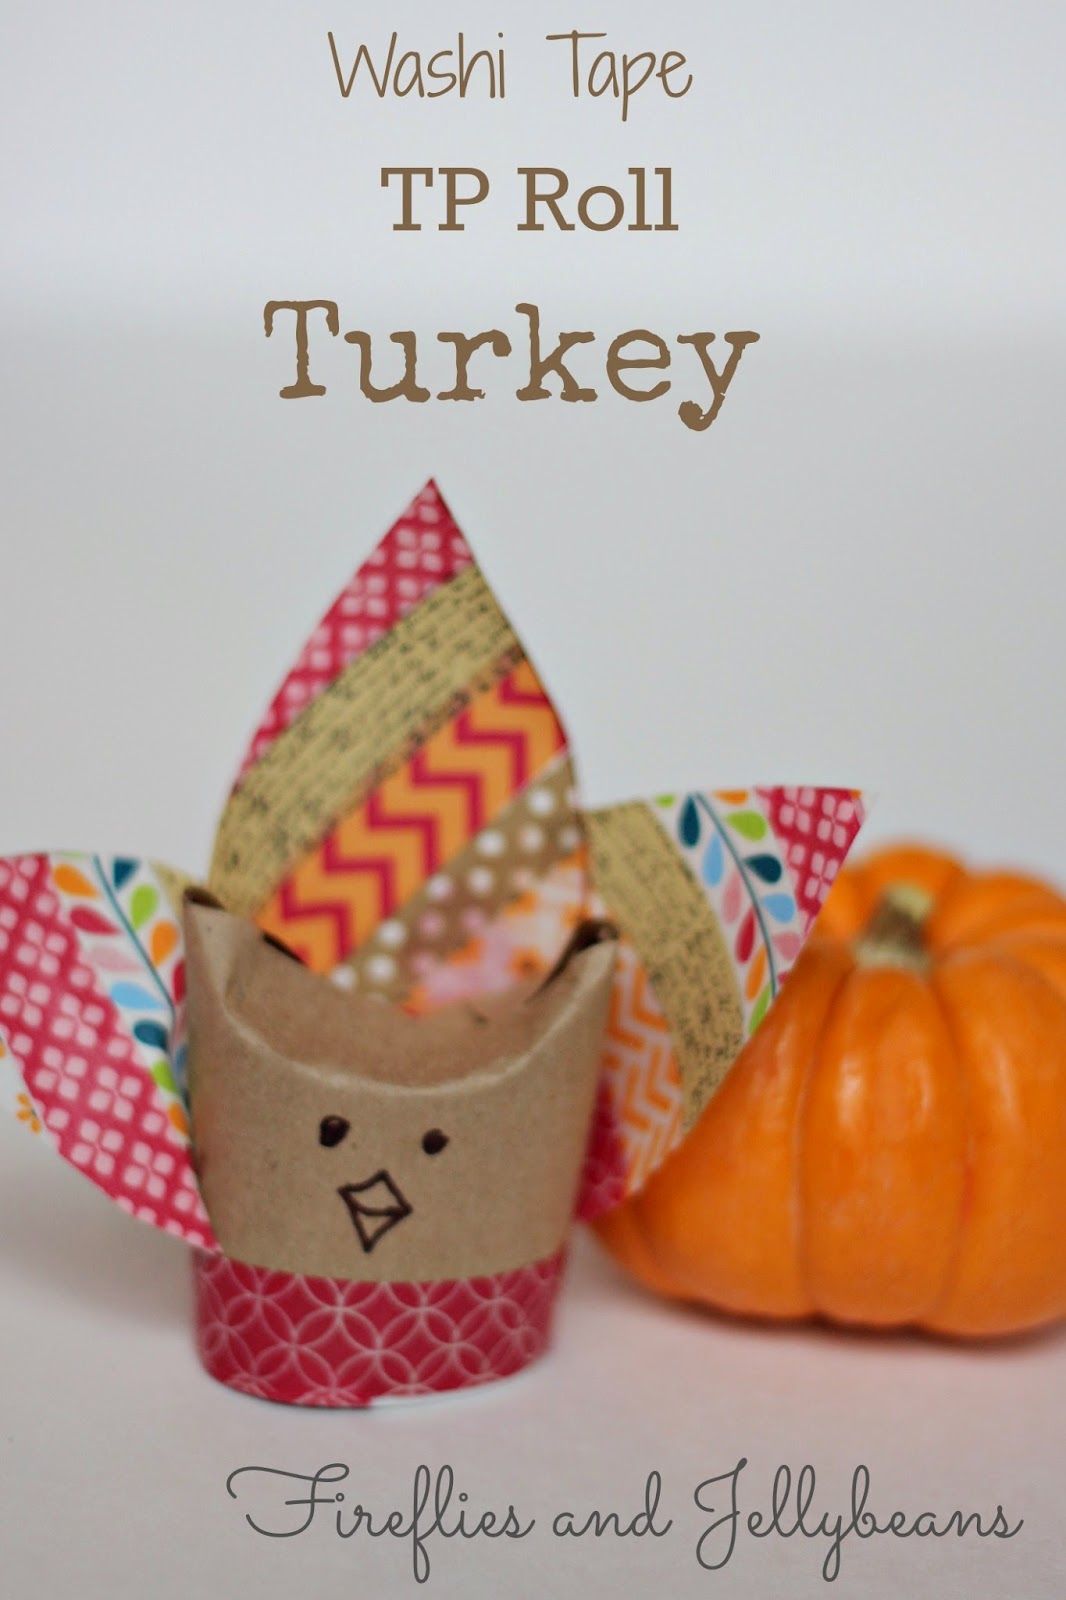
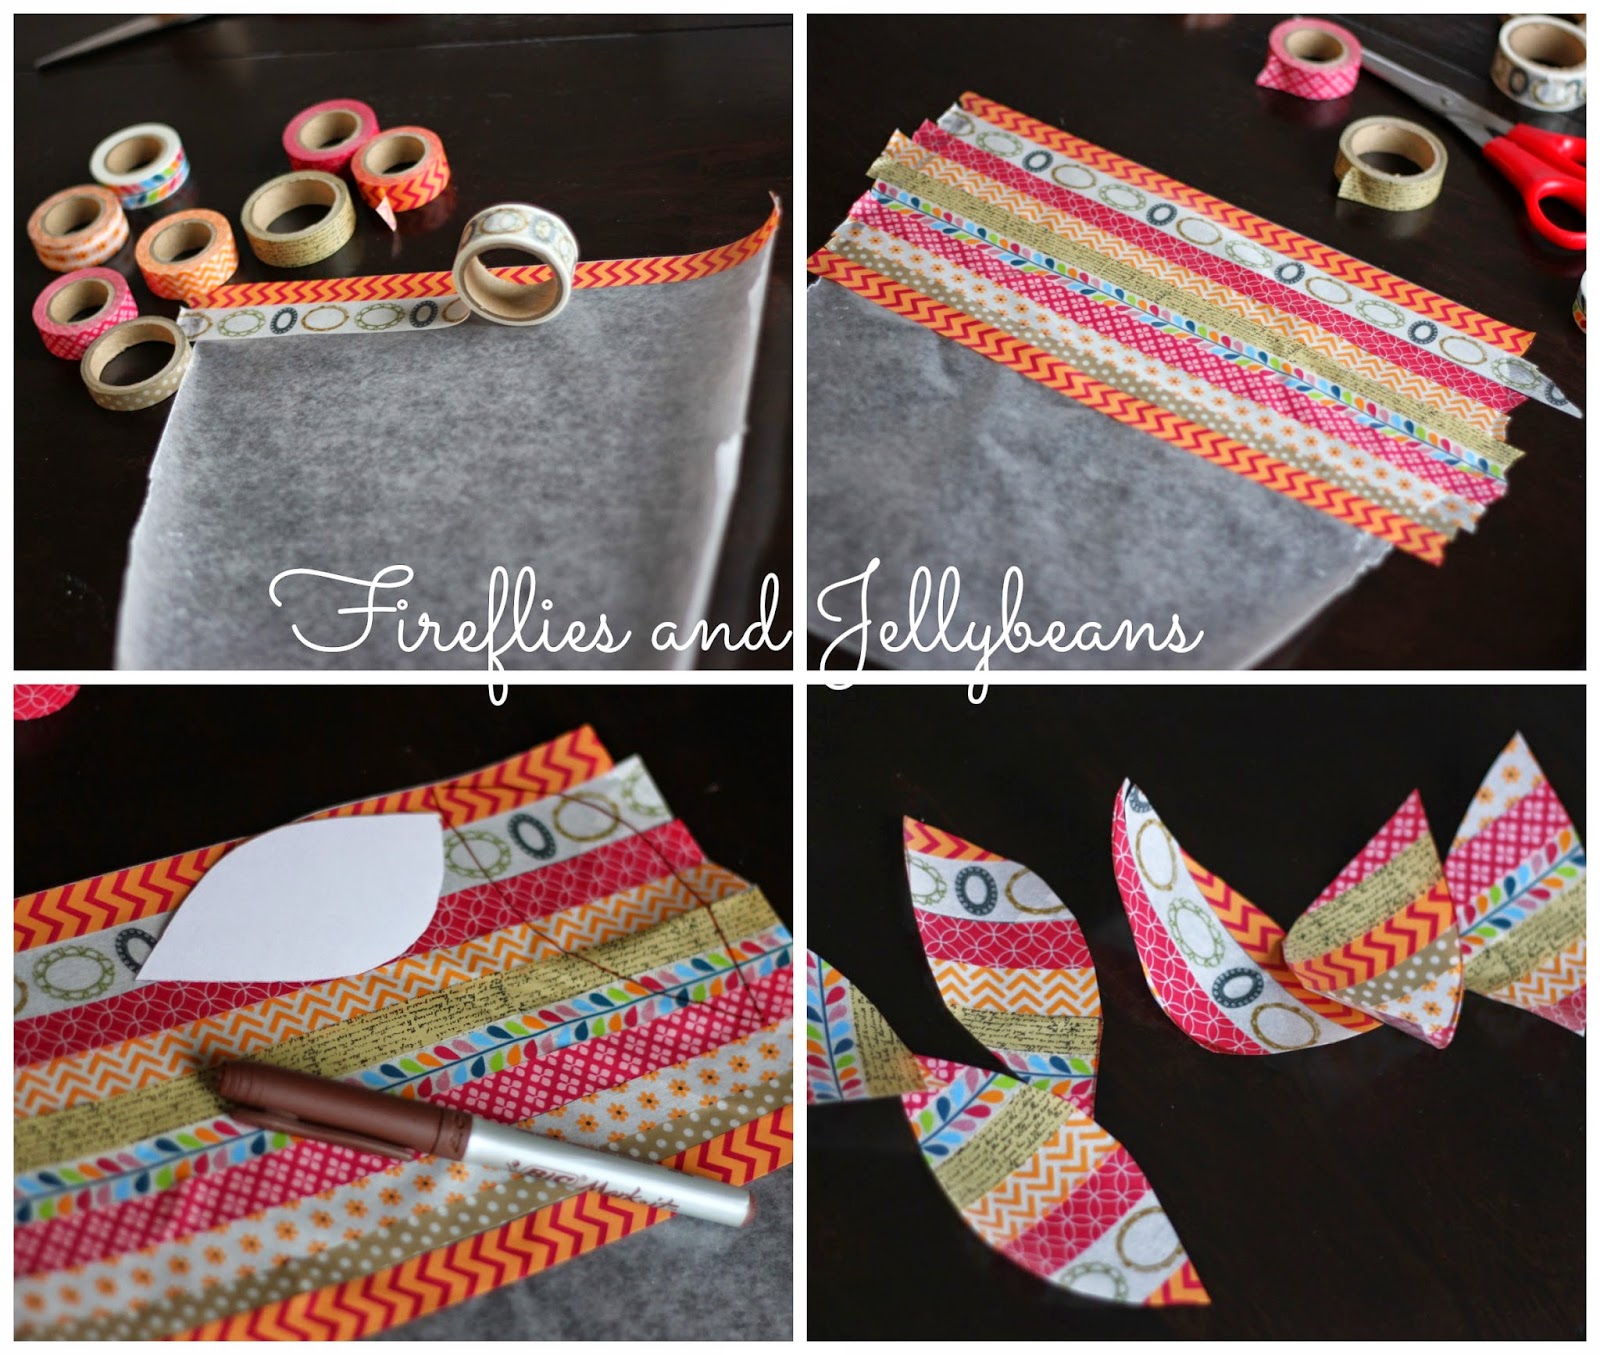
Here is another super easy, super cute DIY ornament!
And kids can do it too! It is a great way to keep hands busy!
I would say this craft would work best for ages 8+ (My 6 year old had a hard time doing it)
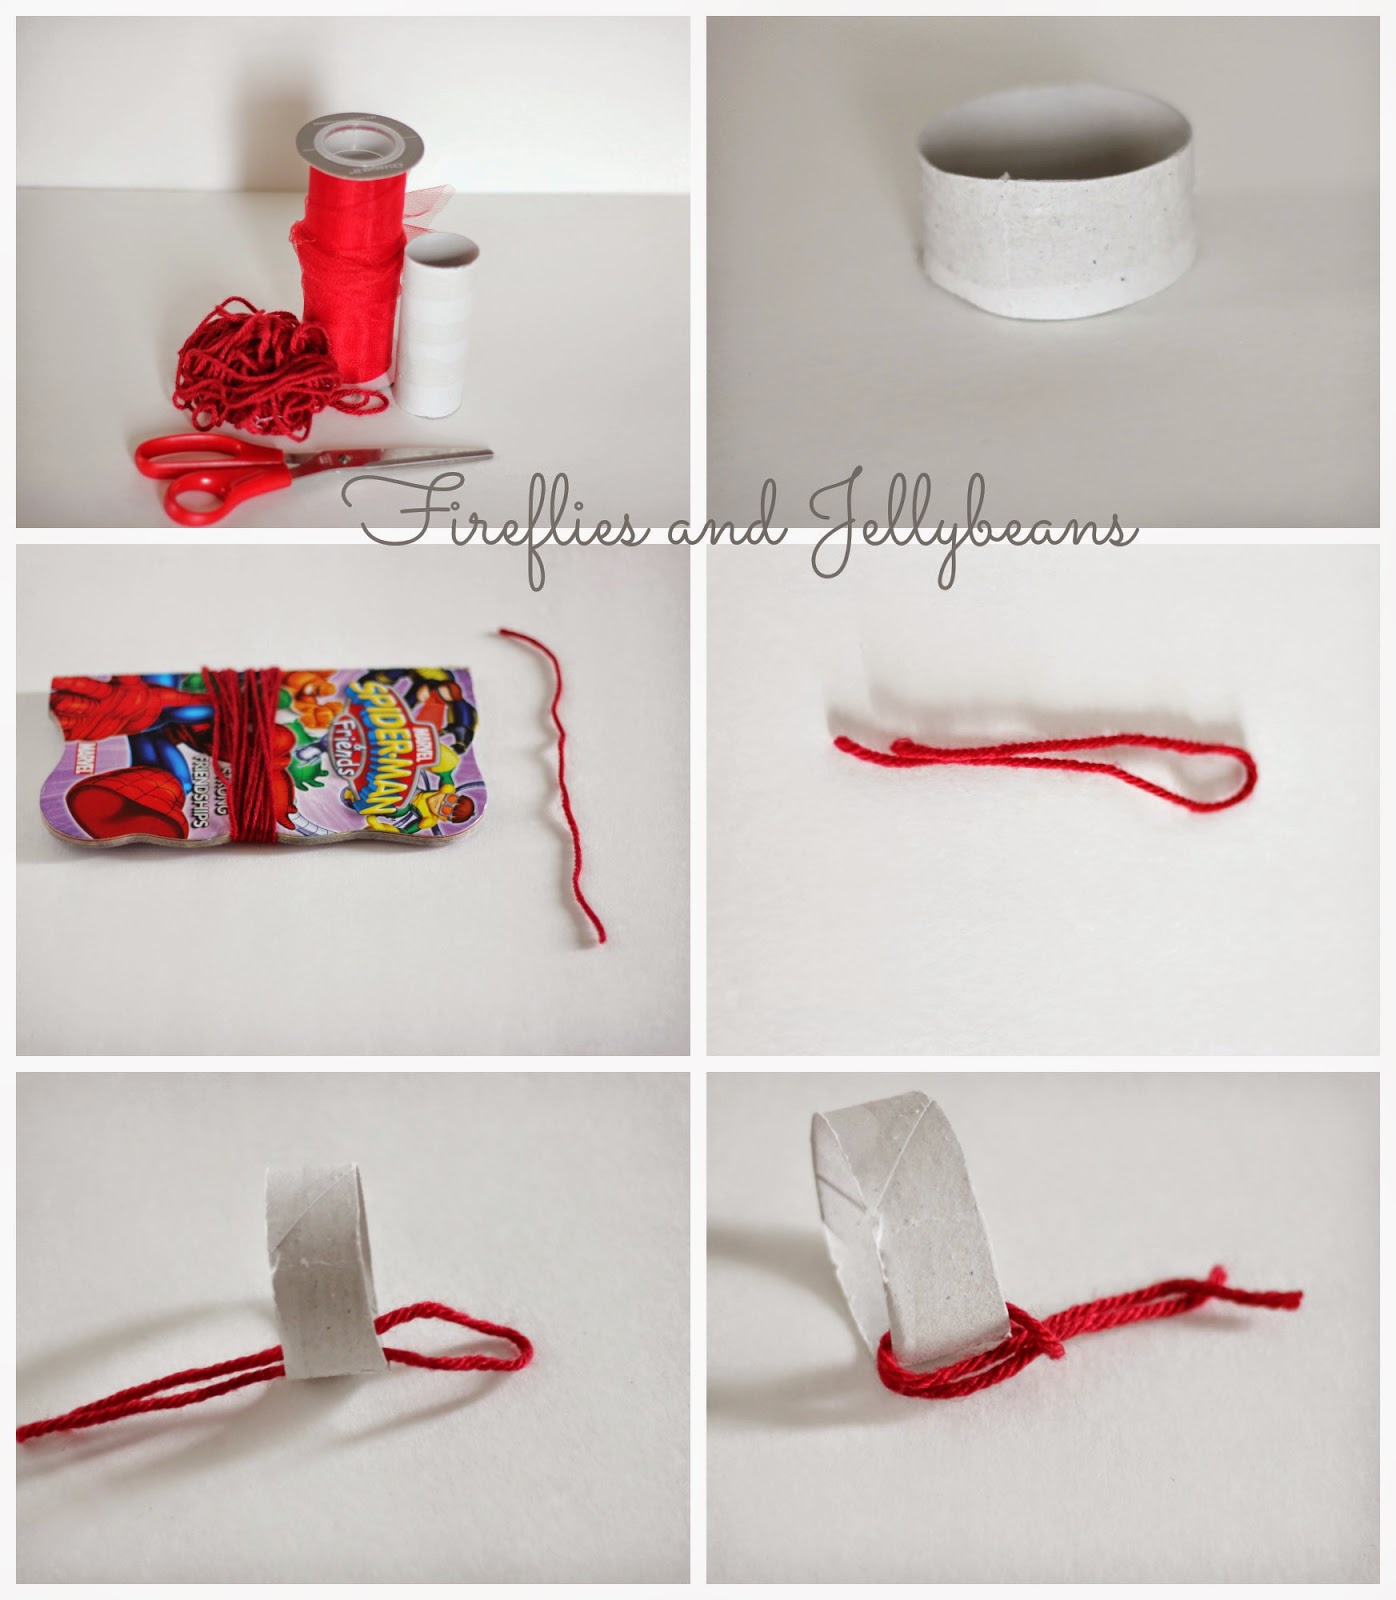
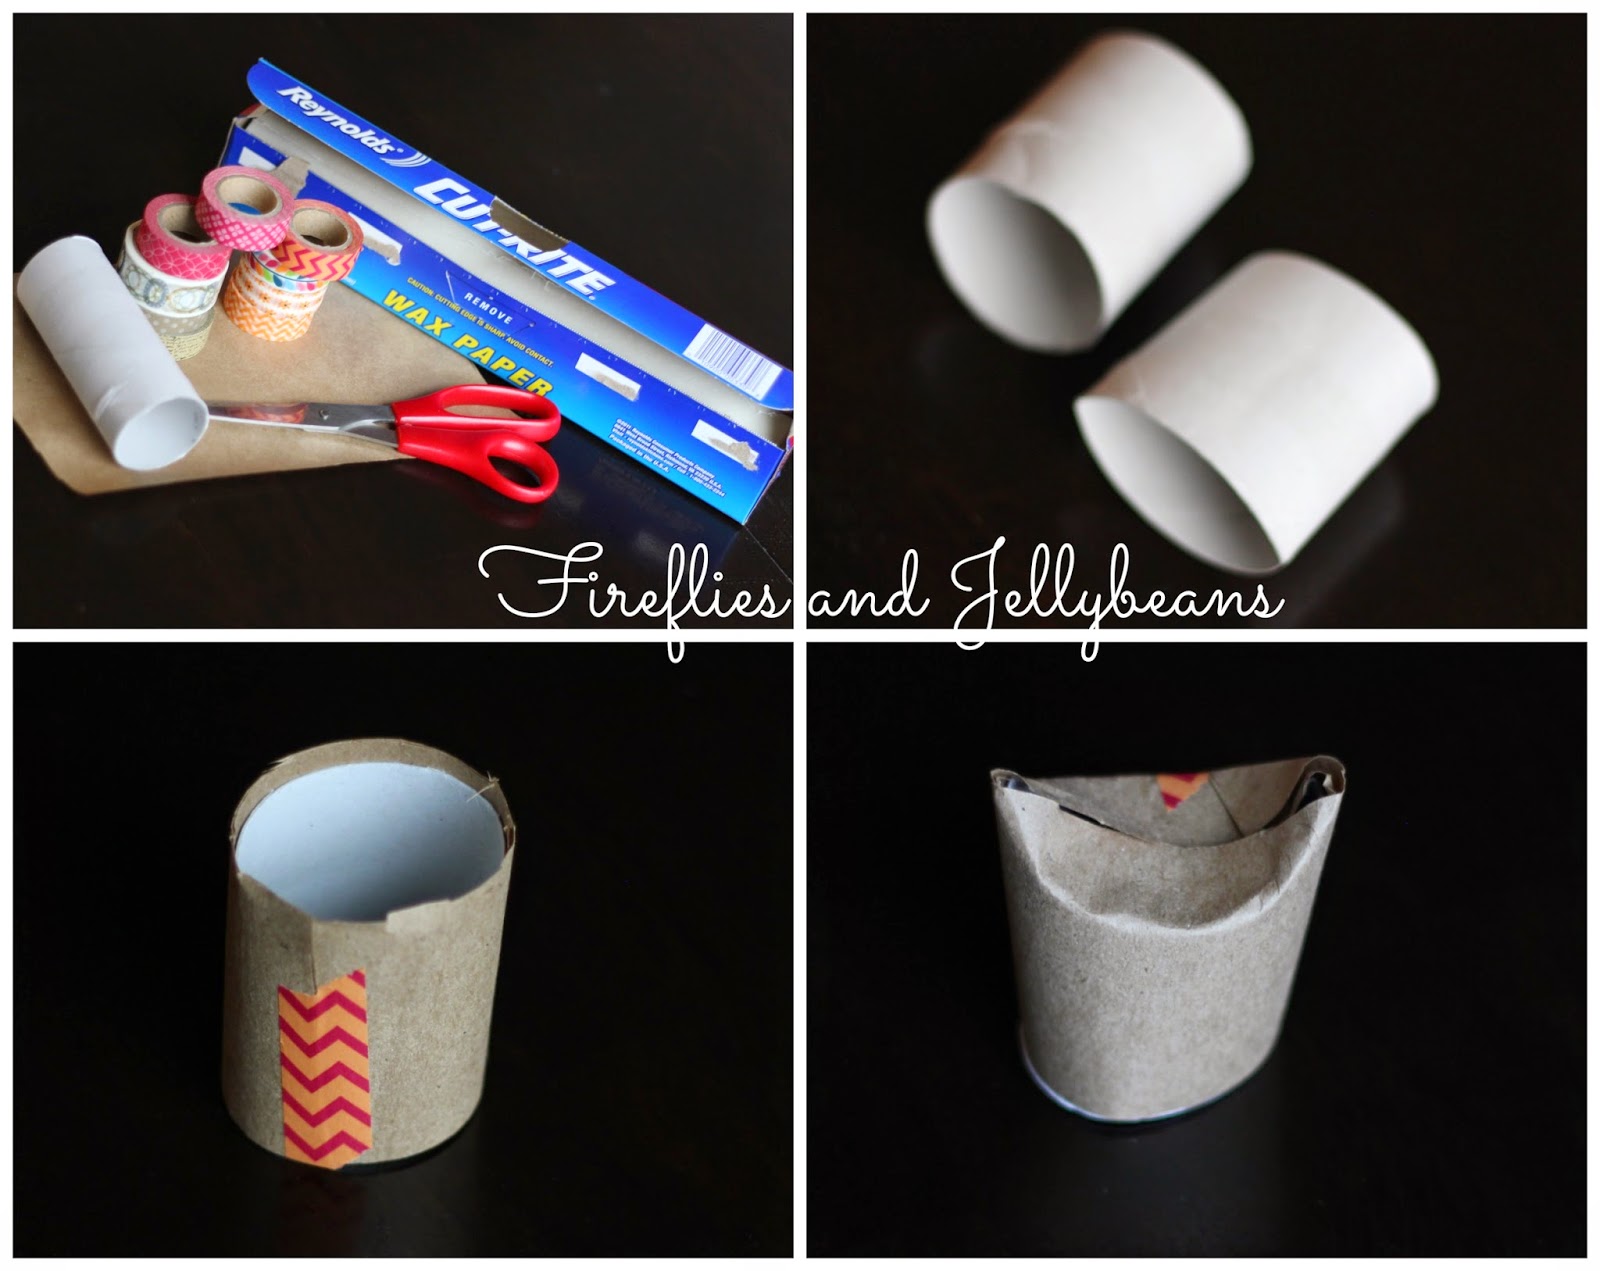
Here is what you will need to do:
1. Gather Supplies: TP roll, Yarn or Tulle, Scissors
2. Cut your TP roll to about 1.5 inch thick
3. Cut about 80-100 strands or yarn about 10-12 inches long. To make it go faster i wrapped my yarn around a small book and then made one cut to get a bunch of strands at the same time.
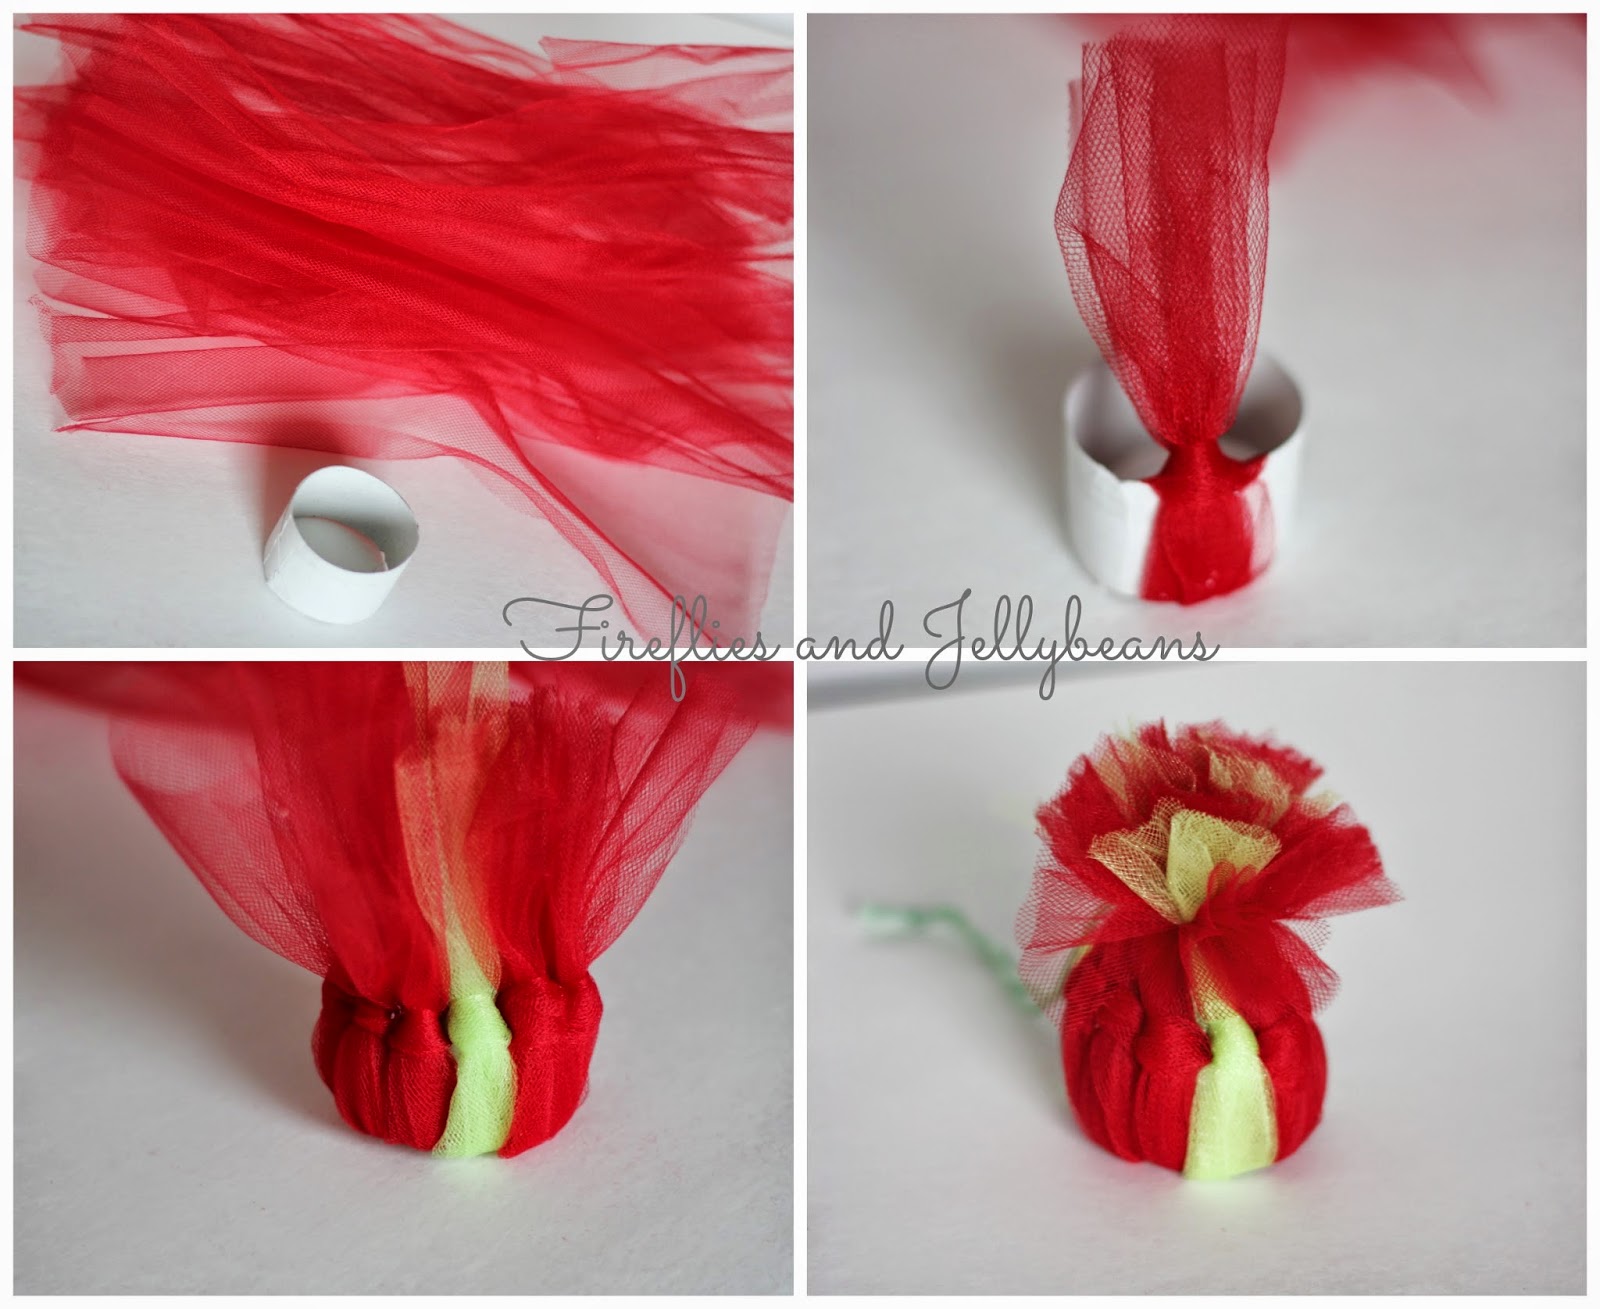
4. fold your yarn stand in half.
5. put your yarn through the TP tube
6. pull up both ends through the loop.
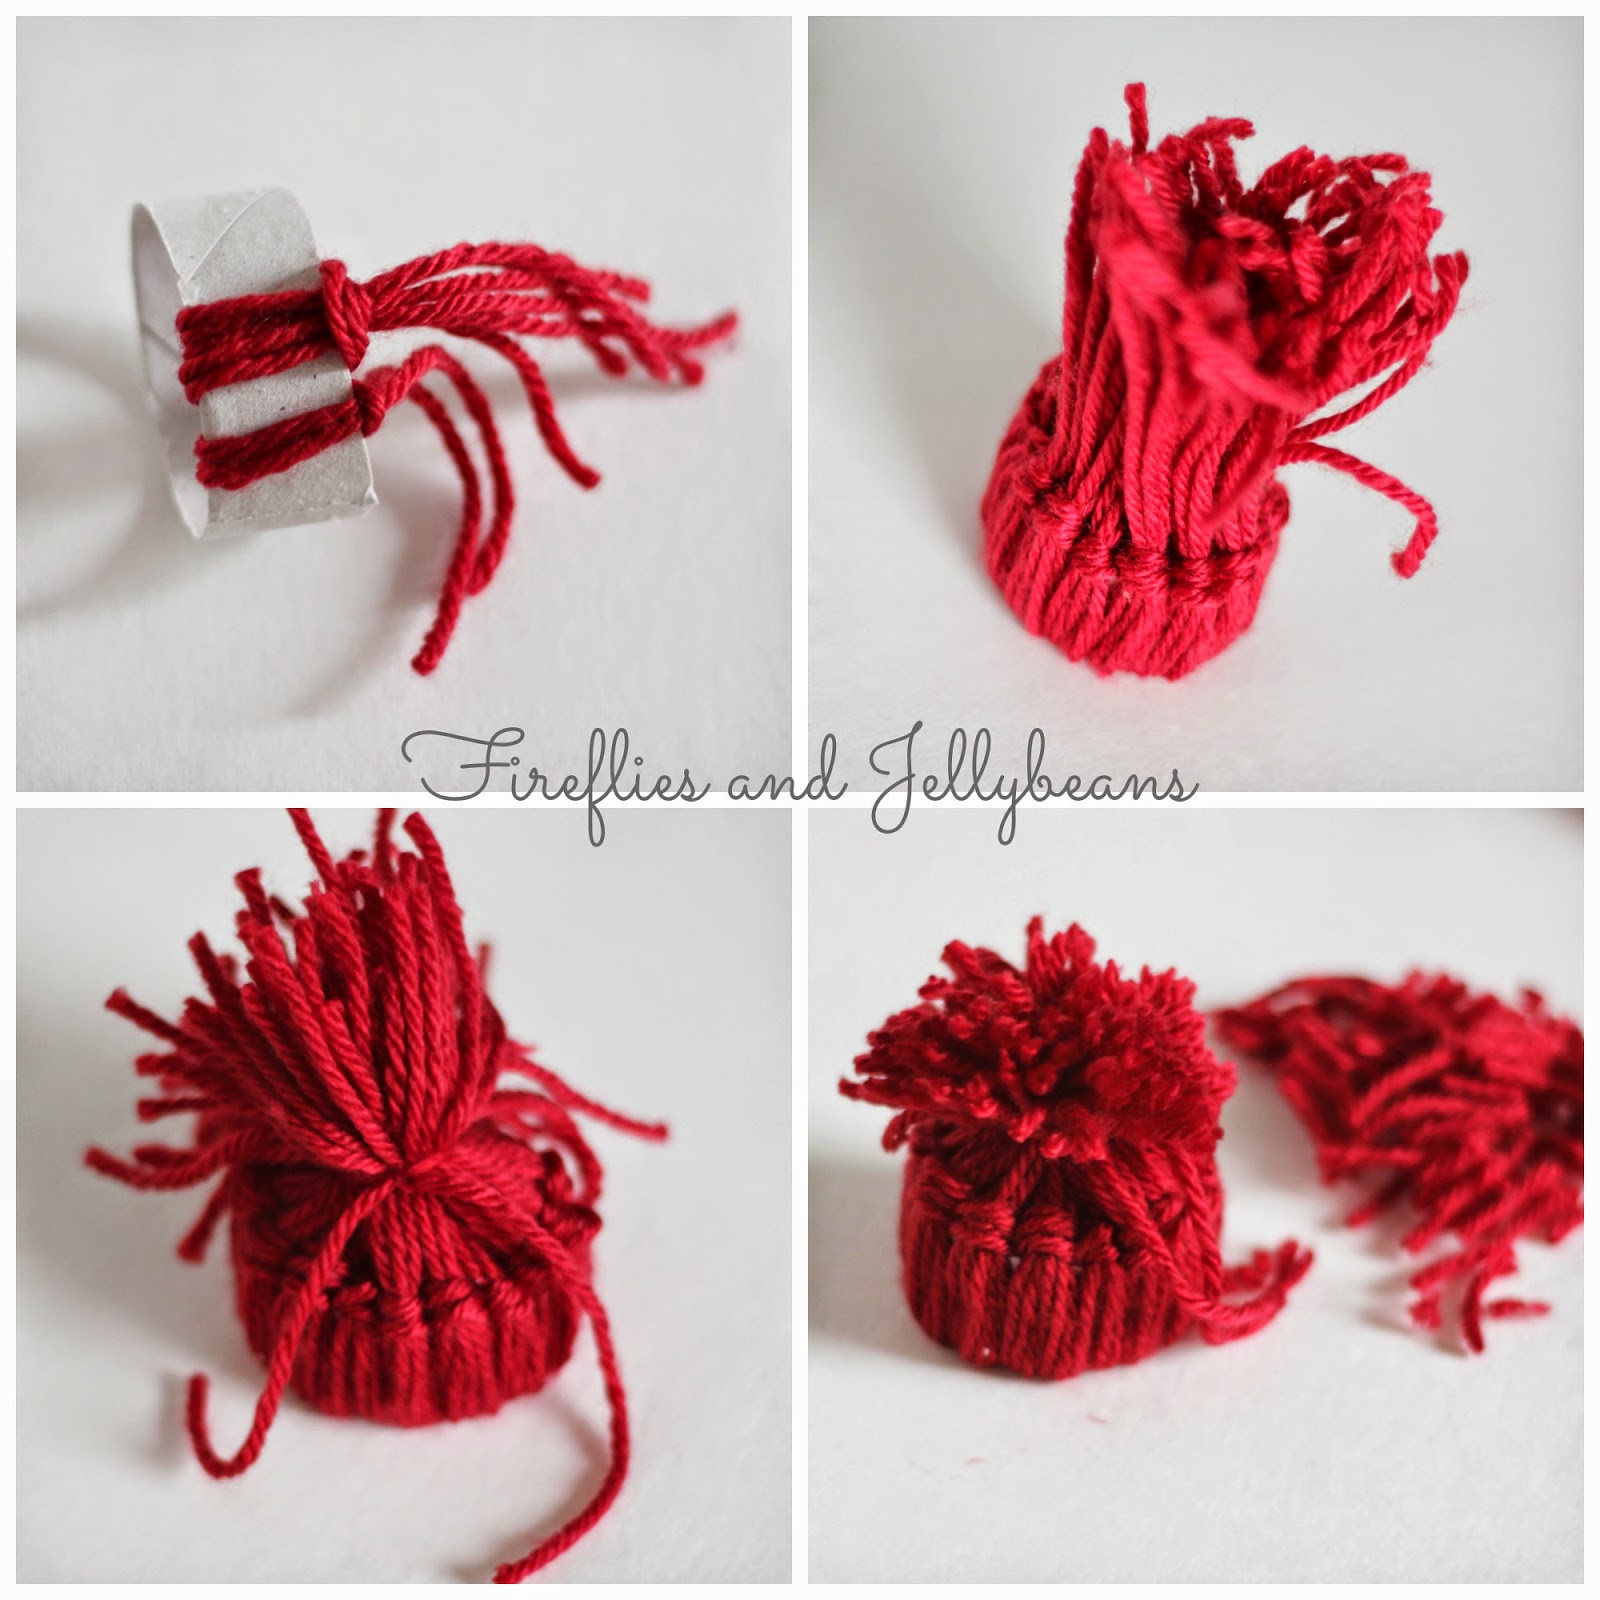
7. Continue looping your yarn around the tube. To make it go faster you can combine 3 or 4 stands at time. But if you want your kids to be occupied longer - make them do it one at a time! ;)
8. Continue all around the tube.
9. Gather all the long stands to the top and tie a string around the outside to form the hat shape.
10. Trim off the long stands to get a nice even "ball" on toop
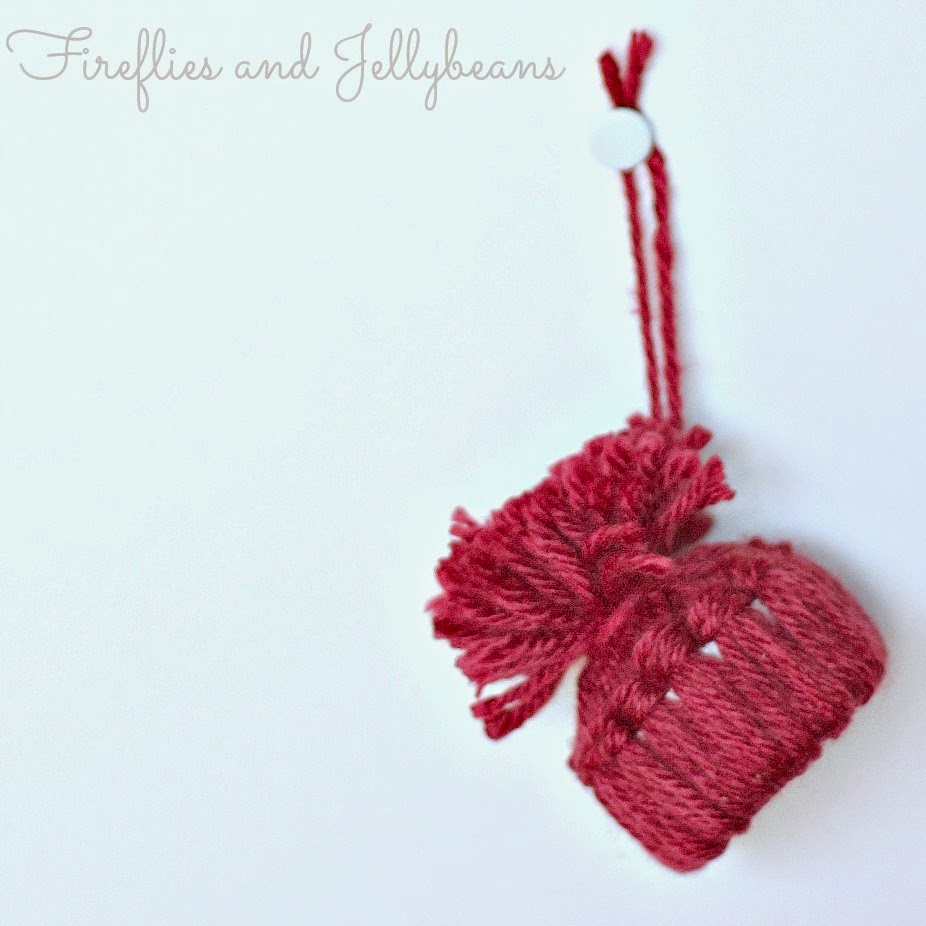
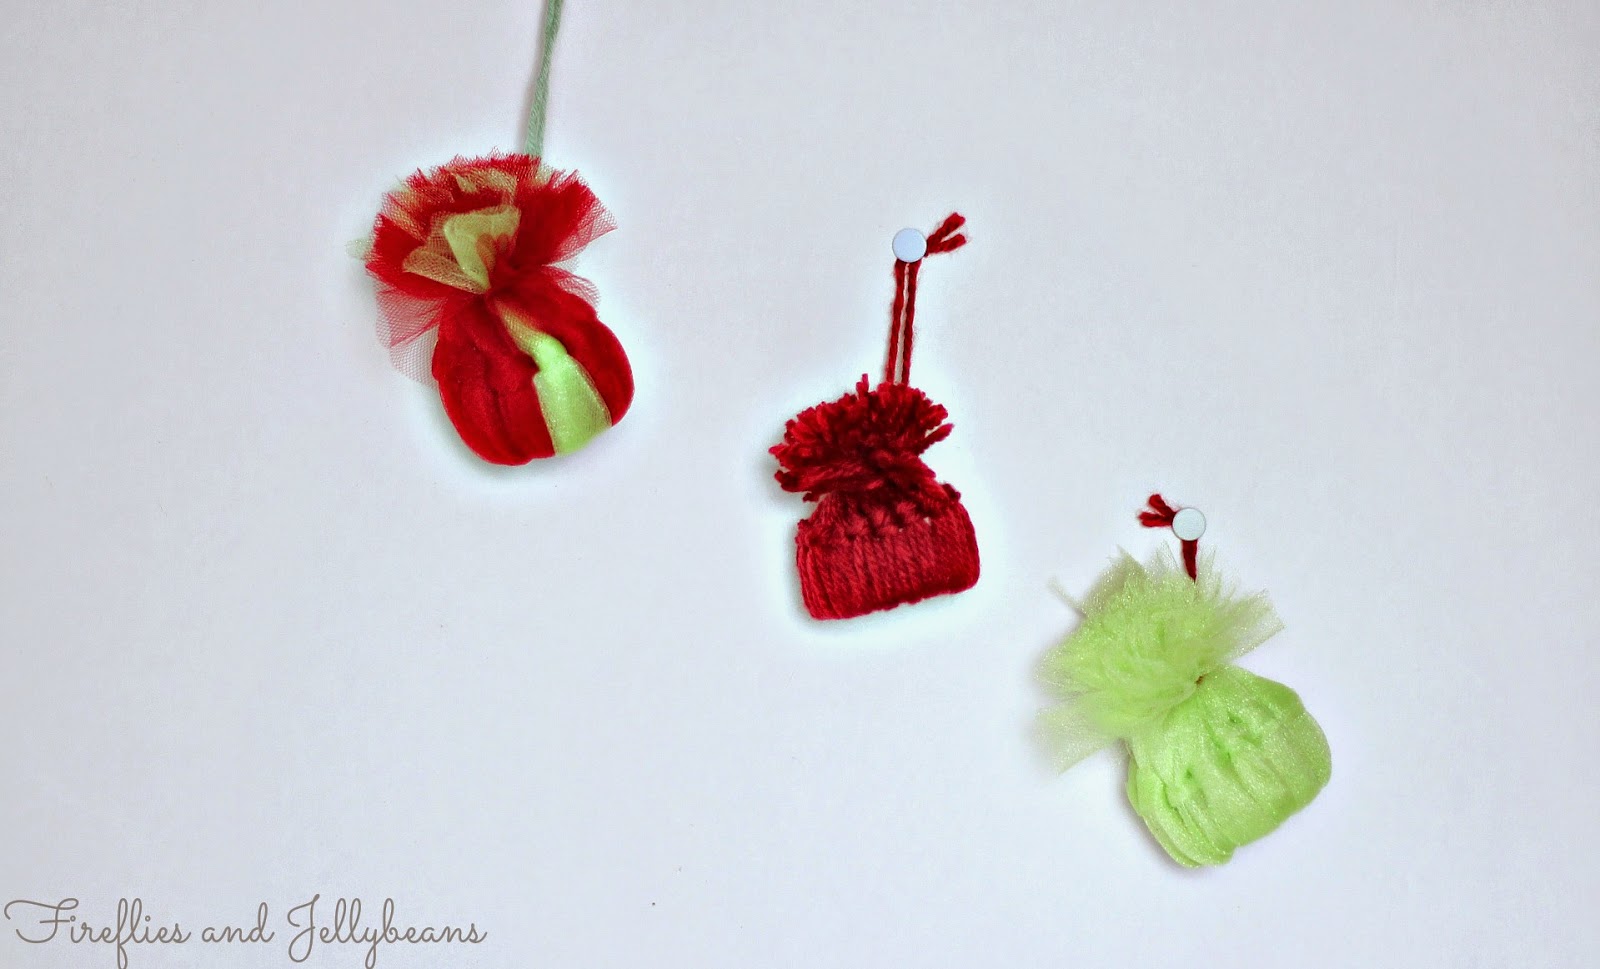
Tie a string around to hang it up and you are done!
You can also use tulle using the same steps as above. You don't need as many strands since the tulle is thicker (I used 17 stands for this one). You can also make different stripe patterns too!
Make a bunch:
They would make a great add-on to a teacher gift and the kids can say they made them too!
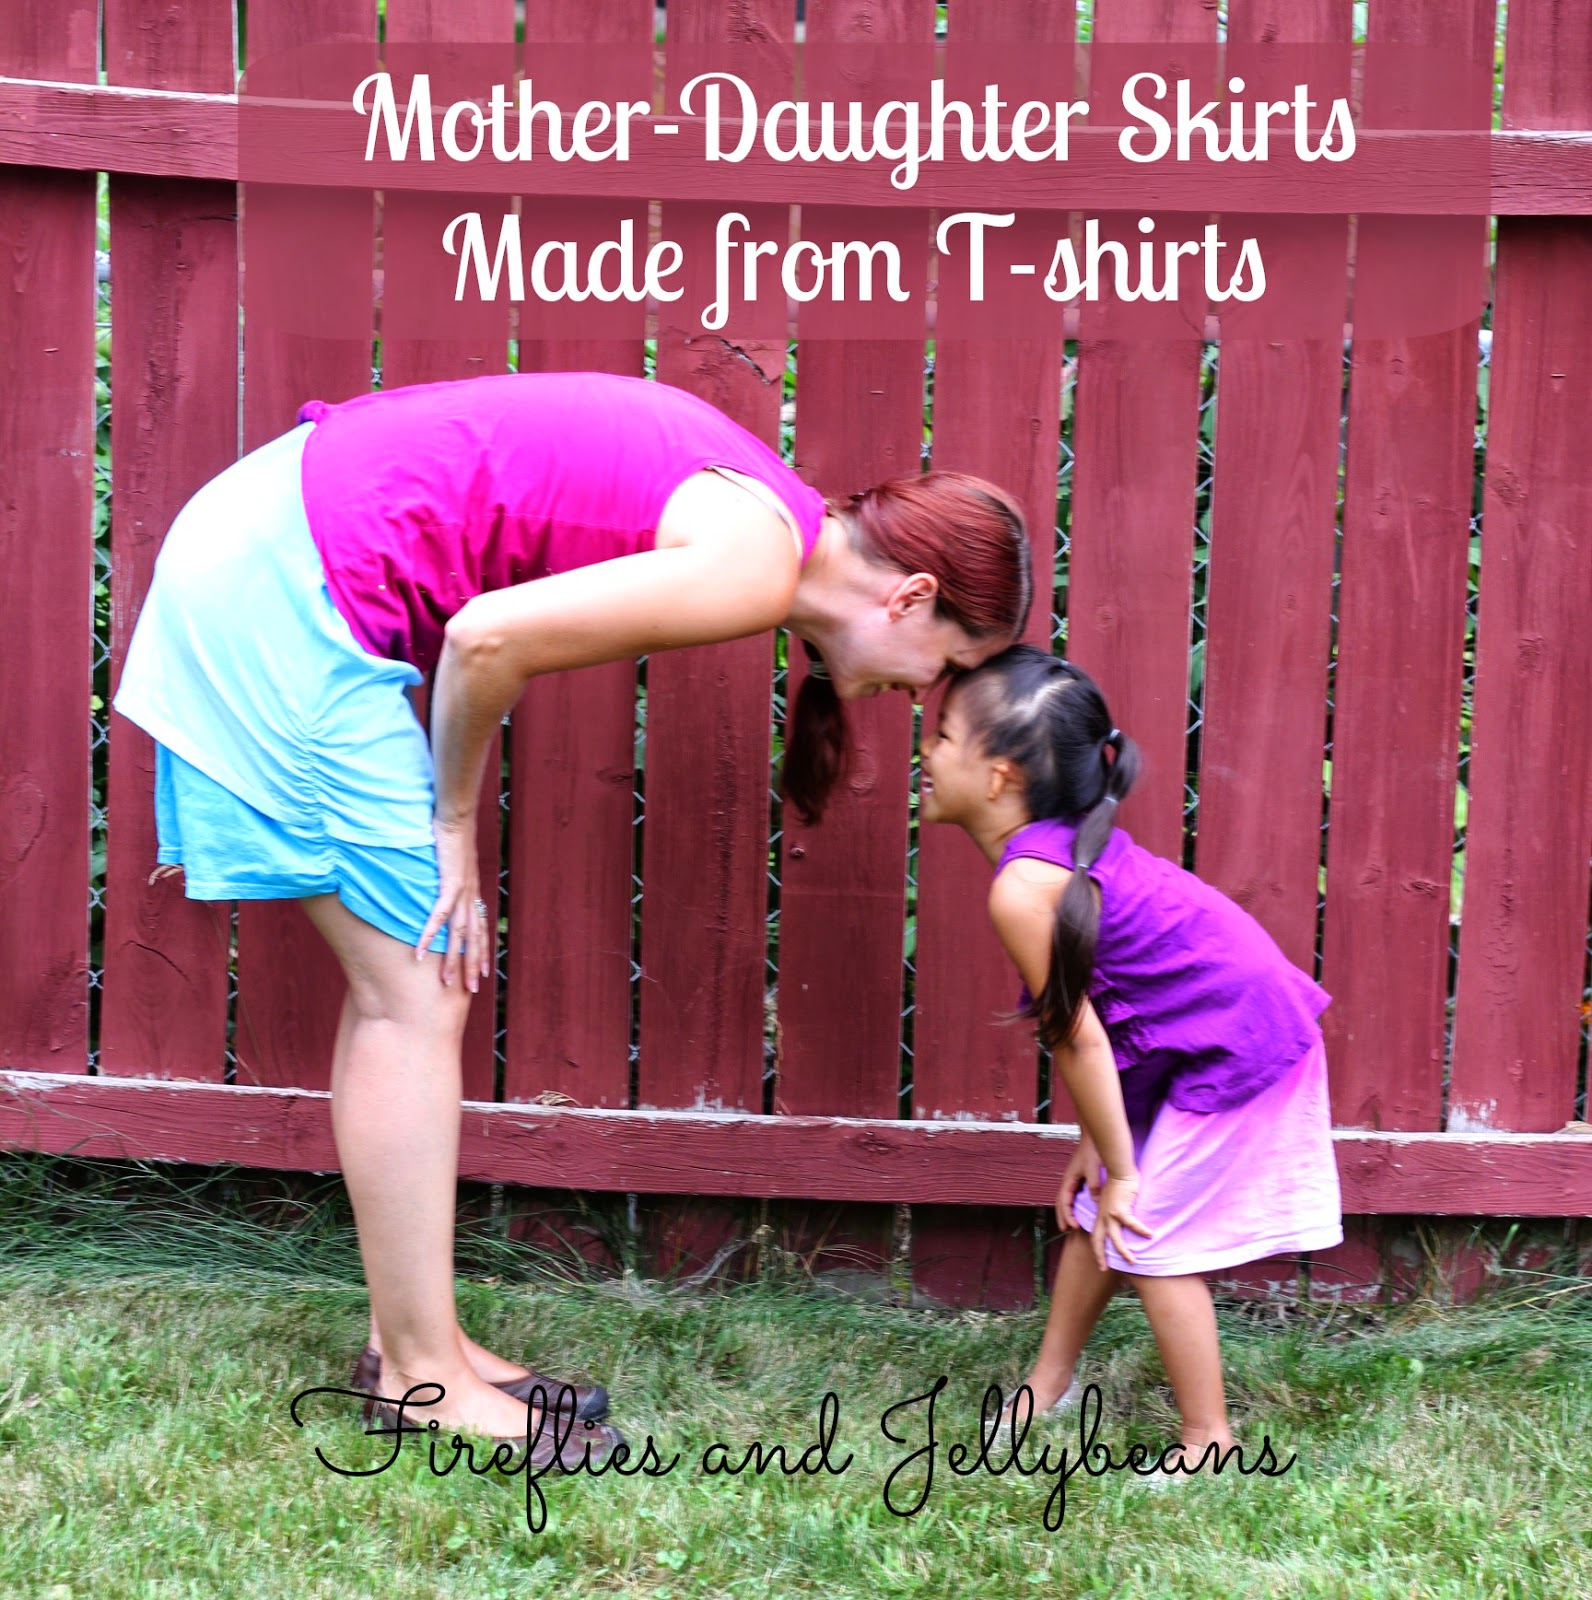
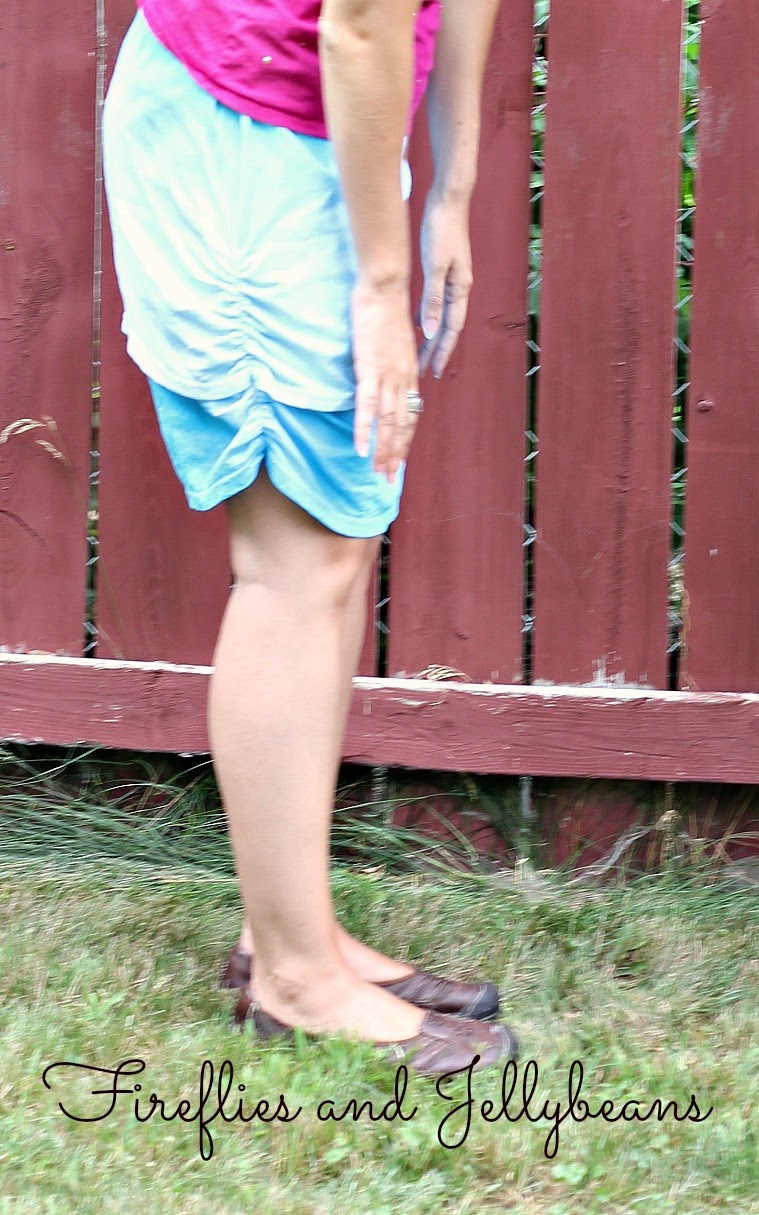
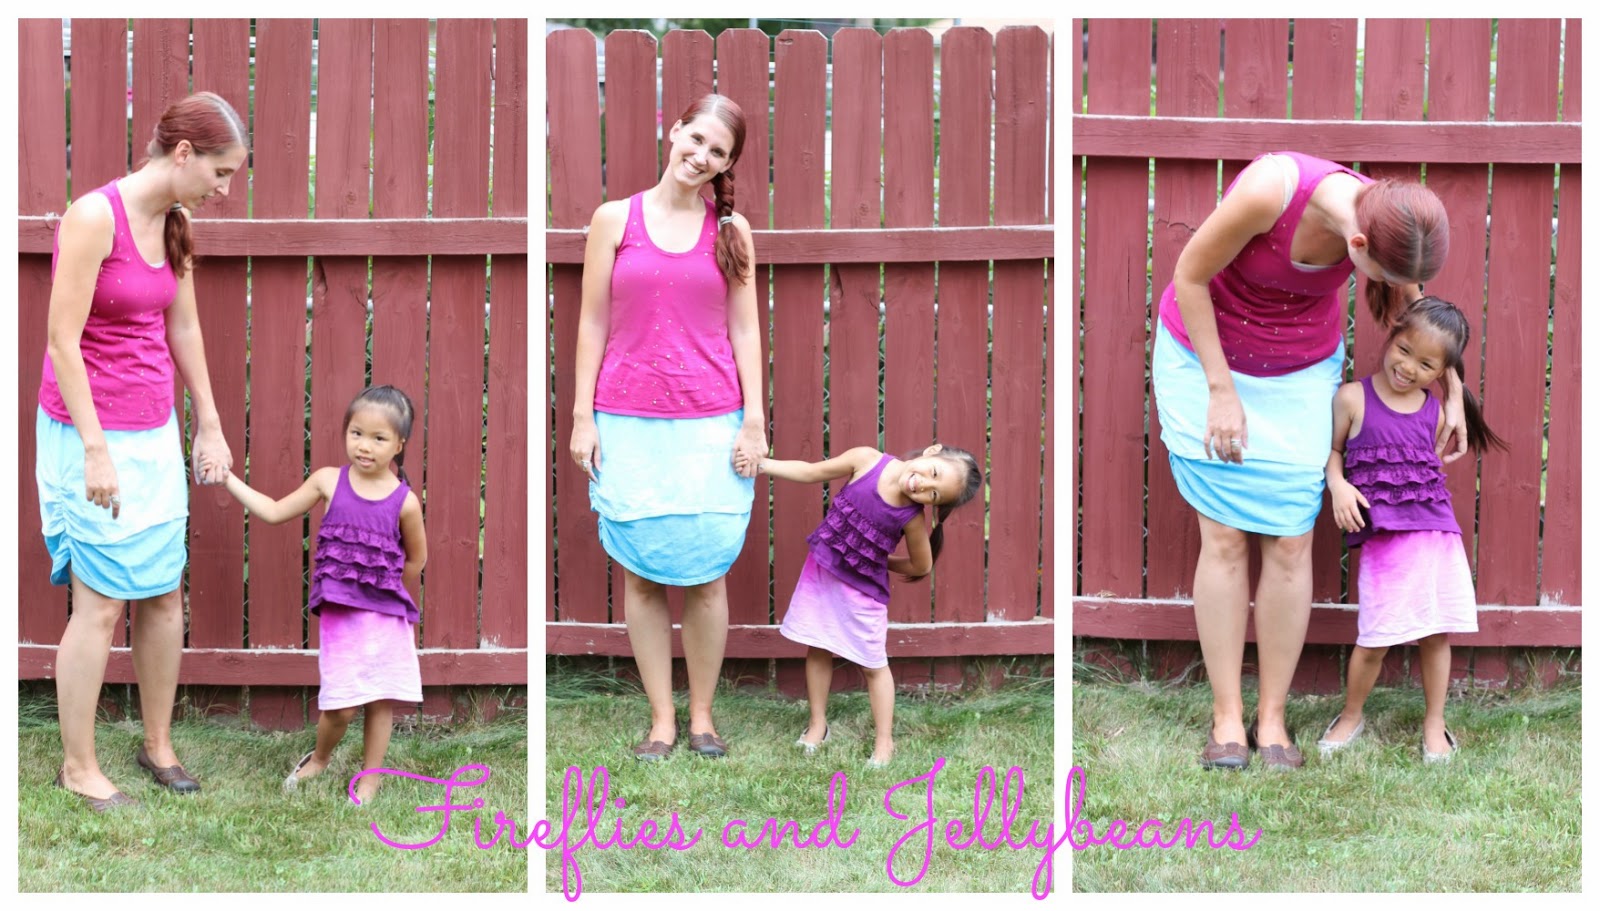
I am so excited to participate in Tulip's Tie Dye Your Summer! Even though summer almost over these skirts are so easy and fun to make and would make a great Back-to-School project as well! Tulip One-Step Tie-Dye kits are so easy to use! They come with everything you need! Just add water to the pre-made bottle and you are all set. The dyes are permanent and color-fast, so they won't fade in the wash! Tulip One-Step Tie-Dye is America's Favorite Tie Dye! Perfect for multi-color projects, group activities and family fun!
Here is how to make your own skirt!
For the "mom" version
1. You will need a Large t-shirt (I wear a medium skirt) 2" elastic, Tulip One-Step Tie Dye Kit.
2. Cut you t-shirt right under the sleeves. (I used 2 shirts to make the length longer so you can also cut 2 if you want)
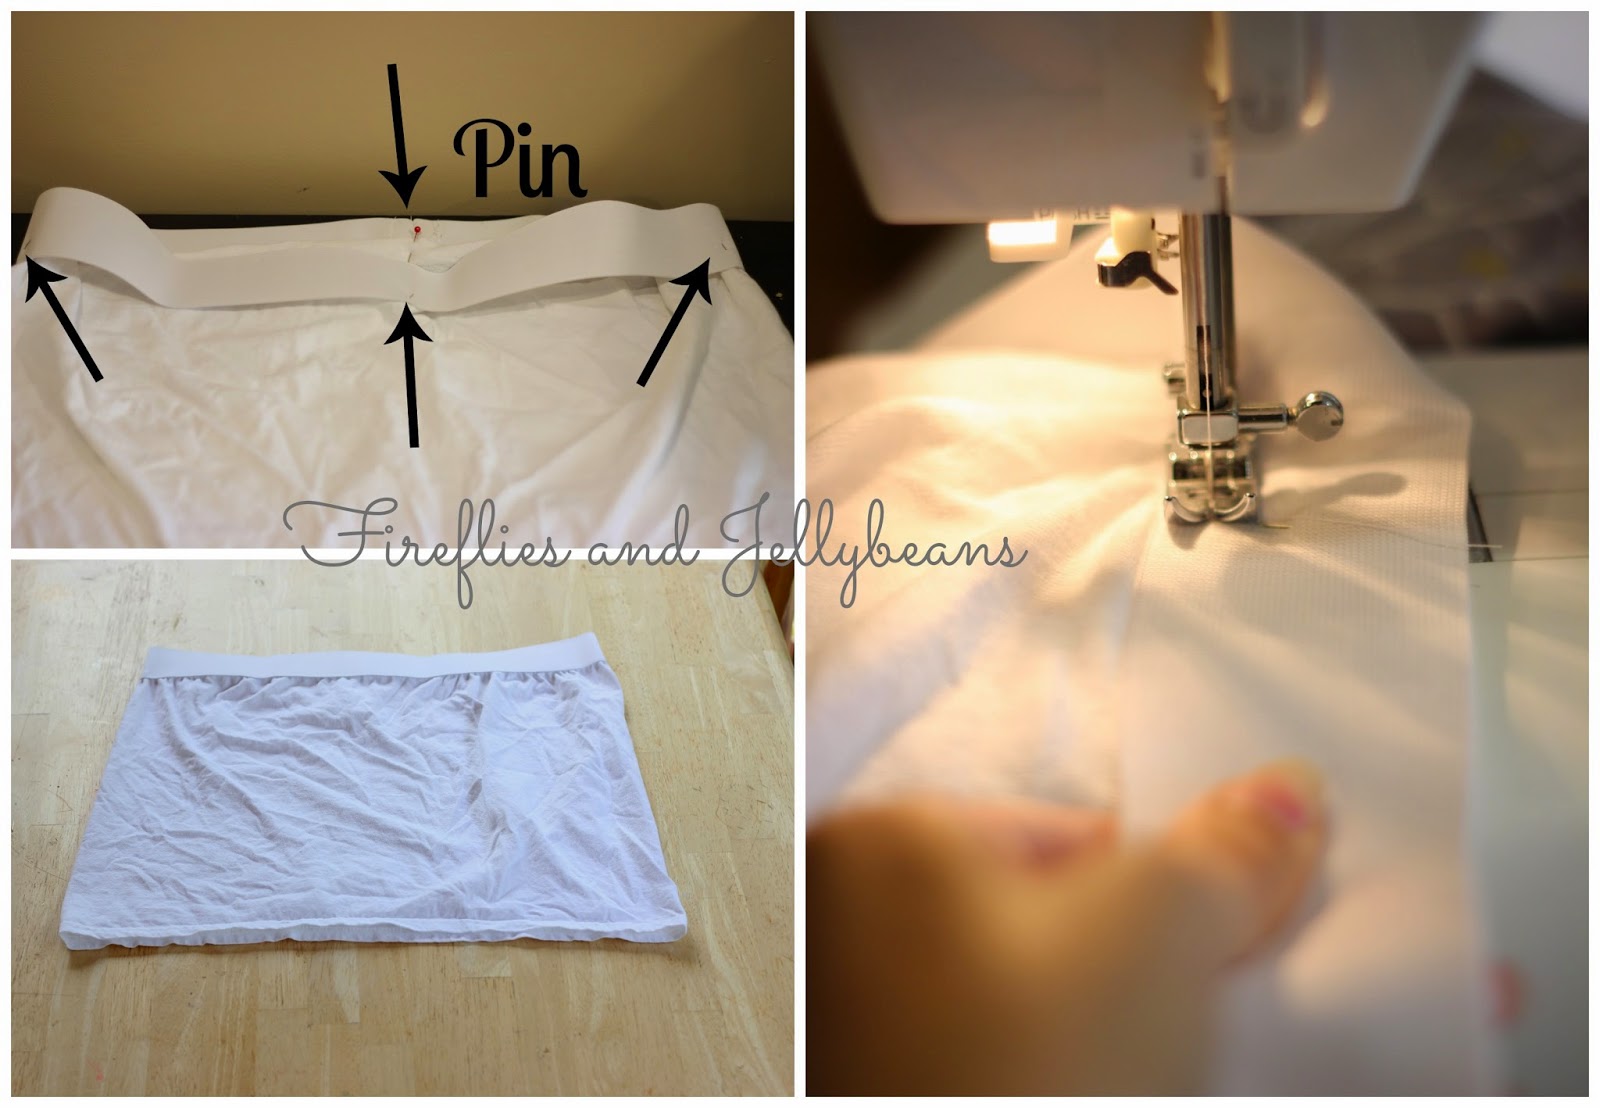
3. Measure around your waist and add 1". This is how long you should cut your elastic. Sew the elastic to make a loop with a 1/2 inch seam.
4. To finish off the edges of the elastic fold the unfinished edges out and use a zig-zag stitch to finish them off.
5. Your Elastic will be smaller then the top of the skirt - that is good. Pin your elastic on each side and in the middle of the front and back with some slack in the middle of each pin.
6. As you sew on the elastic you want to stretch it as you sew. This will "gather" the skirt for you. Use the pins as a guild on how much to stretch it - you want to pull on the elastic and the fabric should be taunt but not stretched.
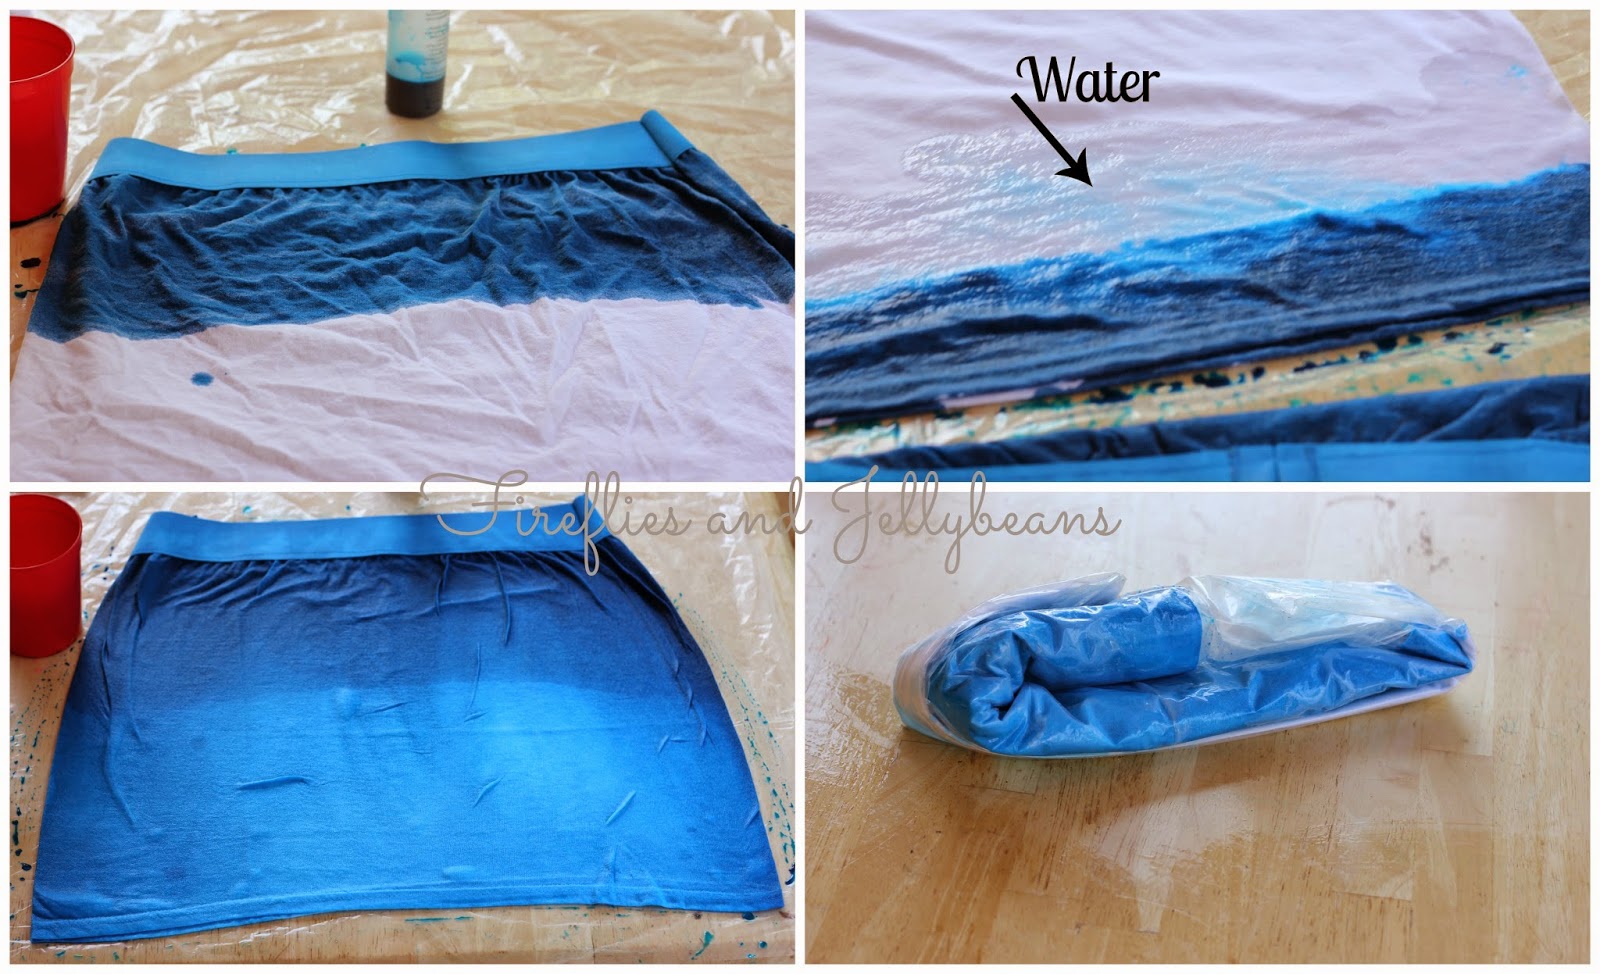
Now we are going to Dye the Skirt. Use gloves so that your hands wont get dyes too, and you will probably want an apron or use your paint clothes because these dyes are permeant!
7. Set out a big piece of plastic on your table. Fill up the pre-made Dye bottle with warm water to the fill line and shack until it is mixed well. Squirt a lot of dye on the top of the skirt.
8. Pout some water on the line of the dye.
9. Use your (gloved) hands to draw the dye down the skirt.
10. Wrap it up in the plastic and let it set for at least 6-8 hours.
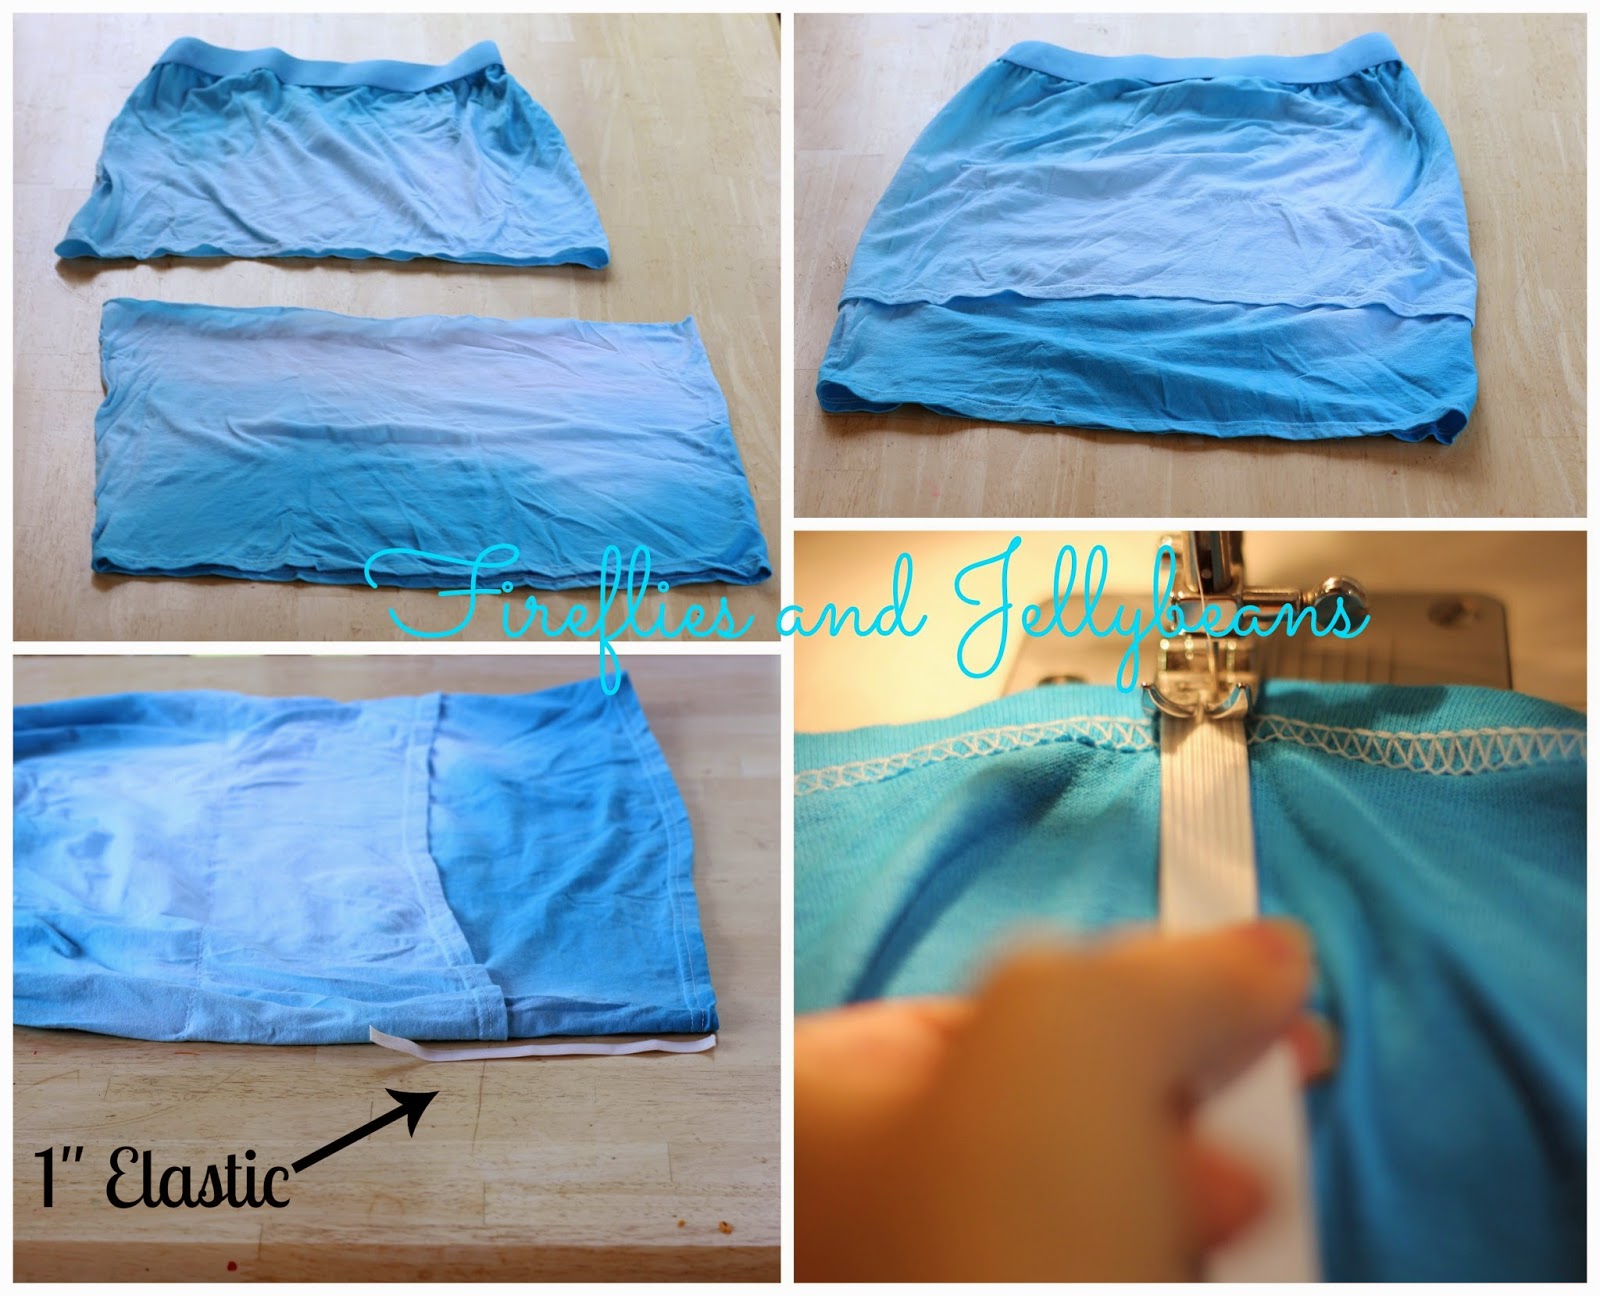
11. I dyed 2 pieces of fabric to make my length longer. I dyed my separately. I just inserted the bottom layer into the skirt for the length I wanted and sewed around it with a zig-zag stitch.
12. To add the gathers on the sides I cut a 10 inch piece of 1" elastic. and lined it up on the side of the skirt.
13. Starting at the bottom sew a couple stitches (zig-zag) to anchor it and the pull on the elastic (but not the fabric) to stretch it as you sew. This will create the gathers.
See how it adds the gather detail on the sides?
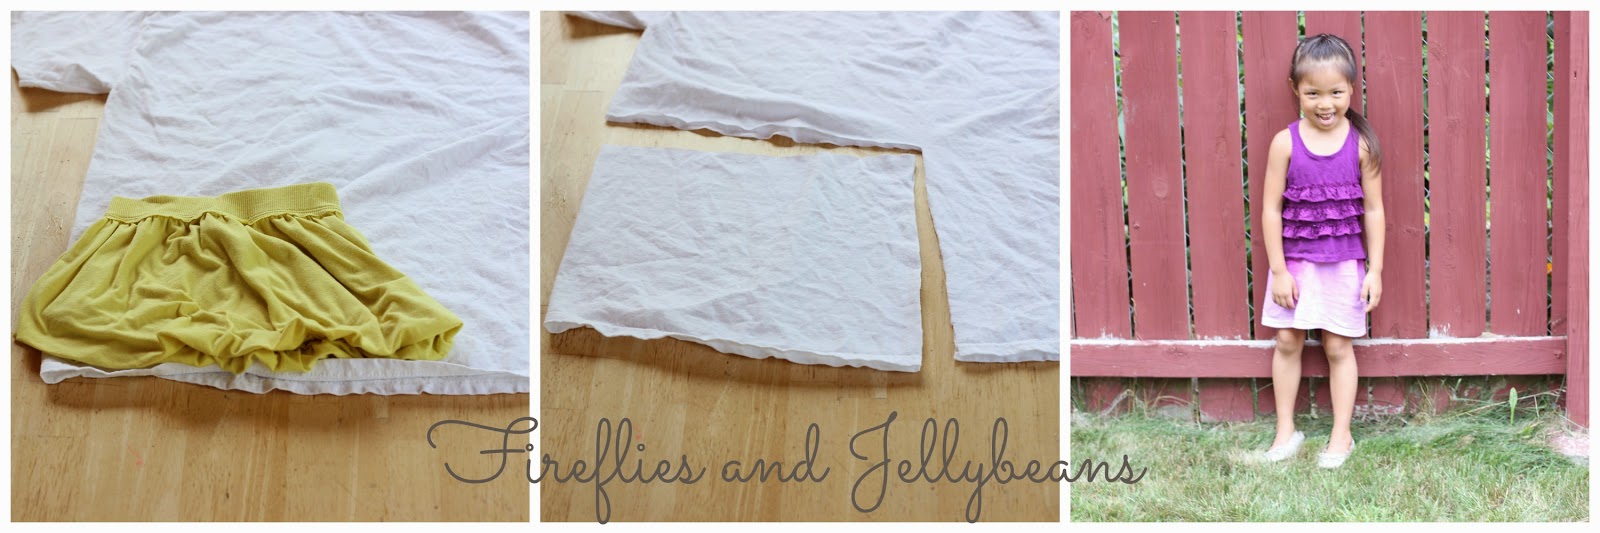
To make my daughter's skirt- I used a skirt she already had to help with the sizing. I cut out a rectangle out of the t-shirt and sewed up the seam (I only had one since I cut it on the fold). I attached the 2" elastic the same way as I did my skirt and also dyed it the same way too. I did not add the second layer since it was already long enough.
This was a super fun project and my daughter always loves it when I make stuff for her!
Check out other fun stuff you can make with Tulip:
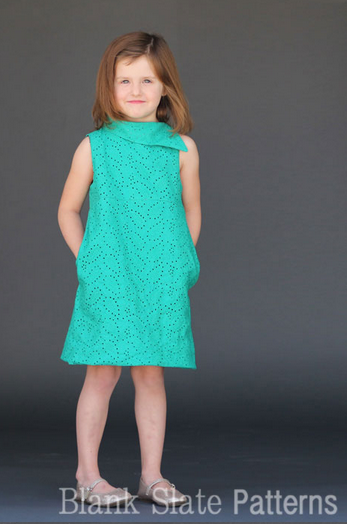
My husband was getting rid of some dress shirts. which is like free fabric! So I made a dress for my daughter.
I used Blank Slate's Fresh Bloom Frock pattern.
It is an intermediate pattern so I was a little nervous about using it but that collar to to die for so I went for it! The pattern was great to work with and I am already working on a second Fresh Bloom Frock for a photo session of the kids! There are step-by-step directions with pictures the whole way through and the pattern goes from 18m-8 so lots of sizes!
**I bought this pattern and I am NOT getting compensated for this post! I just loved it and wanted to share!**
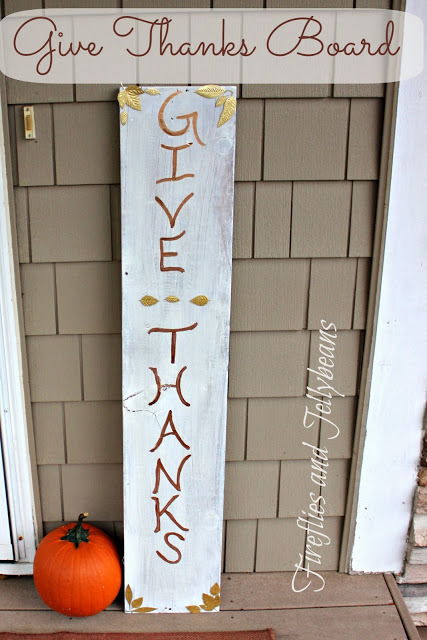
This months 12 Months of Martha Box had a bunch of fall themed paper, stickers and liquid gilding. I thought our porch need to be decorated for Thanksgiving (the often time forgotten holiday). So, I made this Give Thanks Board.
Here is what you will need:
1. Paint, scrap board, Martha Stewart liquid gilding, Martha Stewart Fall Stickers.
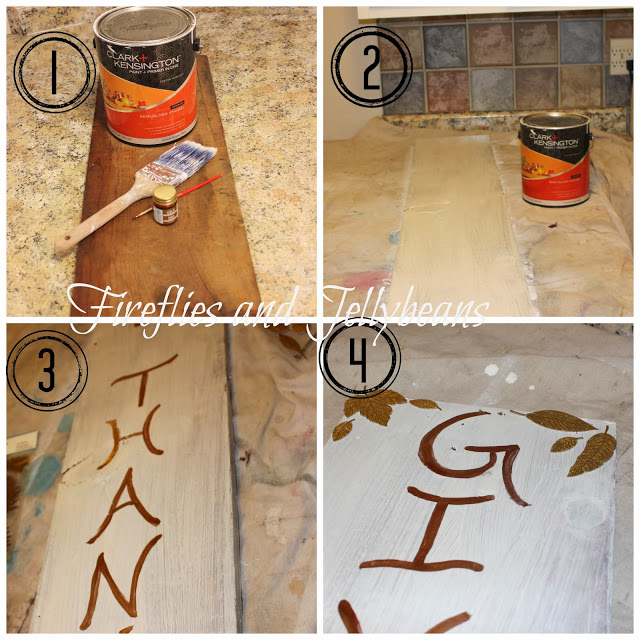
2. Paint your board. I want my board to look rustic, so I only did one coat.
3. Lay out and paint your words. I free handed mine after measuring how to fit all the letters on the board. But you could use a stencil or this trace method if you are not confident in your writing skills.
4. Add stickers on to the board as you see fit.
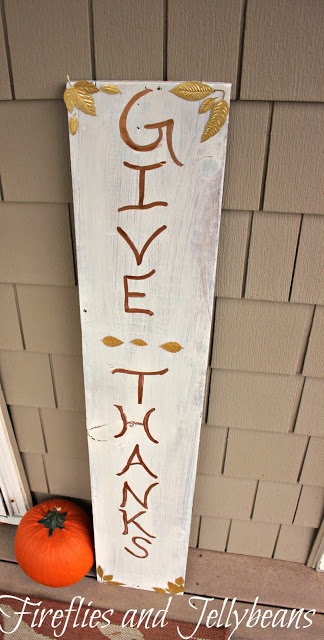
And you get a great decoration for your front porch that can be made in one afternoon!
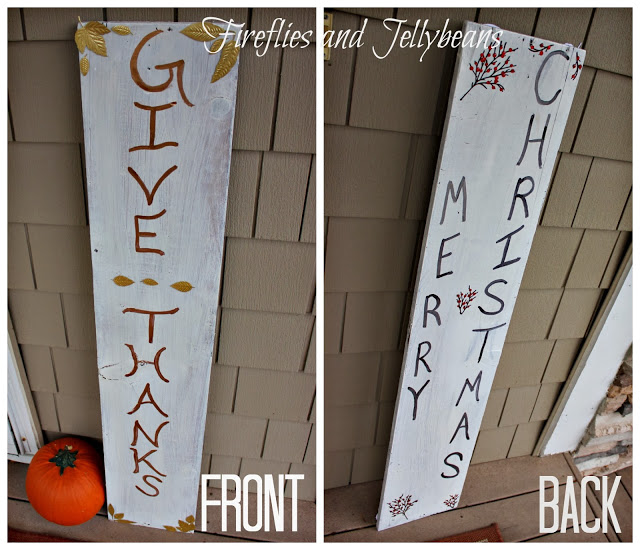
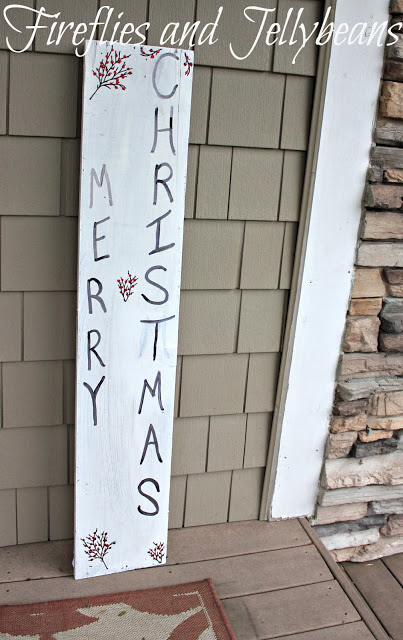
But WAIT- there is more... flip it over and decorate it for Christmas!
Then it will be all ready to go for you the day after Thanksgiving! I love a two-in-one design... less things to store!
So, I hate wearing flip-flops. They hurt my toes and I cannot stand the feeling of them on my feet. I know I am totally weird but there it is! But- I do think that they are adorable. I got a pair of flip-flops for my birthday, and I decided to repurpose them into a cute summer decor for my 3 season porch. What could be cuter them to make them flip-flop photos?
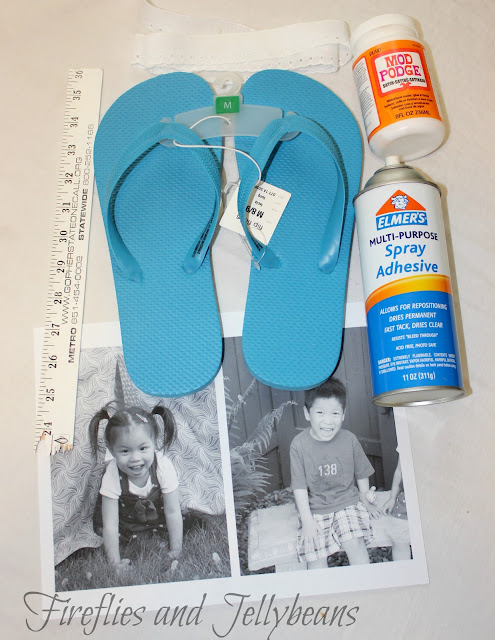
Here is what you will need to make your own:
Flip-flops (the cheap ones!)
Lace
Mod Podge
Spray Adhesive
Photos printed on paper
scrap wood (I used a broken ruler)
Hot Glue (not pictured)
Optional: Paint markers (not pictured)
1. Start by cutting off the band.
2. Trace around your flip-flop on your photos (my photos are 5X7 printed my regular paper in black and white). Cut out your pictures and attach them to the flip-flop using spray adhesive. Poke a hole through the paper where the top hole was on the sandal.
3. Brush Mod Podge over the pictures to seal them to the flip-flops. I did 2 light coats. Let dry completely.
4. Cut out 4 pieces of lace about 6 inches long each.
Use a pencil to help push the lace through the hole in the sandal.
Use hot glue to attach the lace to the backside.
5. Use hot glue to attach your piece of scrap wood to the back of your flip-flops to attach them together.
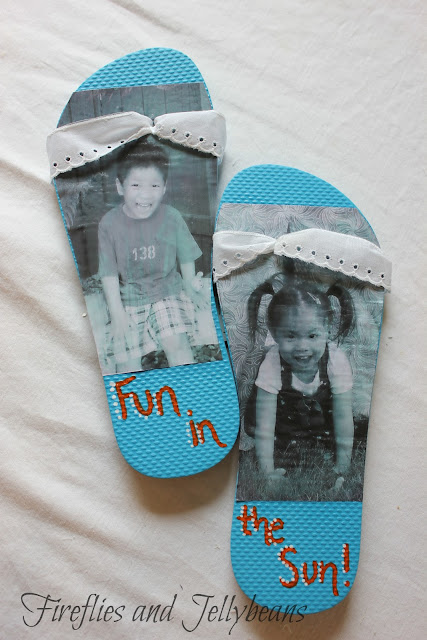
6. Optional: Use Paint Marker to add some fun to the bottom of the sandal.
I hung mine up on the wall.
I think these turned out pretty cute and would make a great gift!
So tell me, do you love or hate to wear flip-flops?
This post is sponsored by DASANI. All opinions are 100% mine!
I have been talking about how DASANI is celebrating reducing, recycling, reusing in many ways! They have created a new bottle made out of 20% plants, their bottle is 100% recyclable down to the ink they use on their labels, and they are partnering with New Balance to re-purpose their bottles into shoes.
DASANI is also giving back through a fun Facebook app: Photosynthesis
Get creative with Facebook’s new timeline feature and support a good cause by ‘recycling’ your Facebook photos into an eye-catching image to top off your profile. For each photomontage created through the app, DASANI® will make a donation to the national non-profit organization, Keep America Beautiful in support of recycling initiatives on college campuses throughout the U.S.
How to use the app:
Fans who have ‘liked’ the DASANI® Facebook page can access the application on the Photosynthesis tab of the Facebook page. First, fans will select a photo from either their Facebook albums or a design from DASANI®, to create into a photo-mosaic. The Photosynthesis app will ‘recycle’ all of the fan’s existing Facebook photos into a stunning mosaic that fits perfectly as a cover image on their profile. Each time a fan participates, DASANI® will donate $1 to the nationally recognized nonprofit, Keep American Beautiful, in support of their Bin Grant Program on college campuses. In addition, the fan’s profile photo will be added to the DASANI® mosaic of supporters, which will be featured on the Photosynthesis tab.
Thanks to everyone who linked up to our RRR party! And be sure to check out DASANI's Facebook page and use their Photosynthesis app to create some really fun mosaic pictures as well as helping keep America clean!


