Showing posts with label sewing. Show all posts

Thursday, April 9, 2015

DIY Coasters (15 minute Craft: Teacher Appreciation Gift)

I love my kids teachers. They work hard and do a fantastic job!  I am a teacher too, so I know how much they put into it.  So I always like to get them something to show our appreciation.  Teacher Appreciation week is May 4-8th so you have time to make this! 


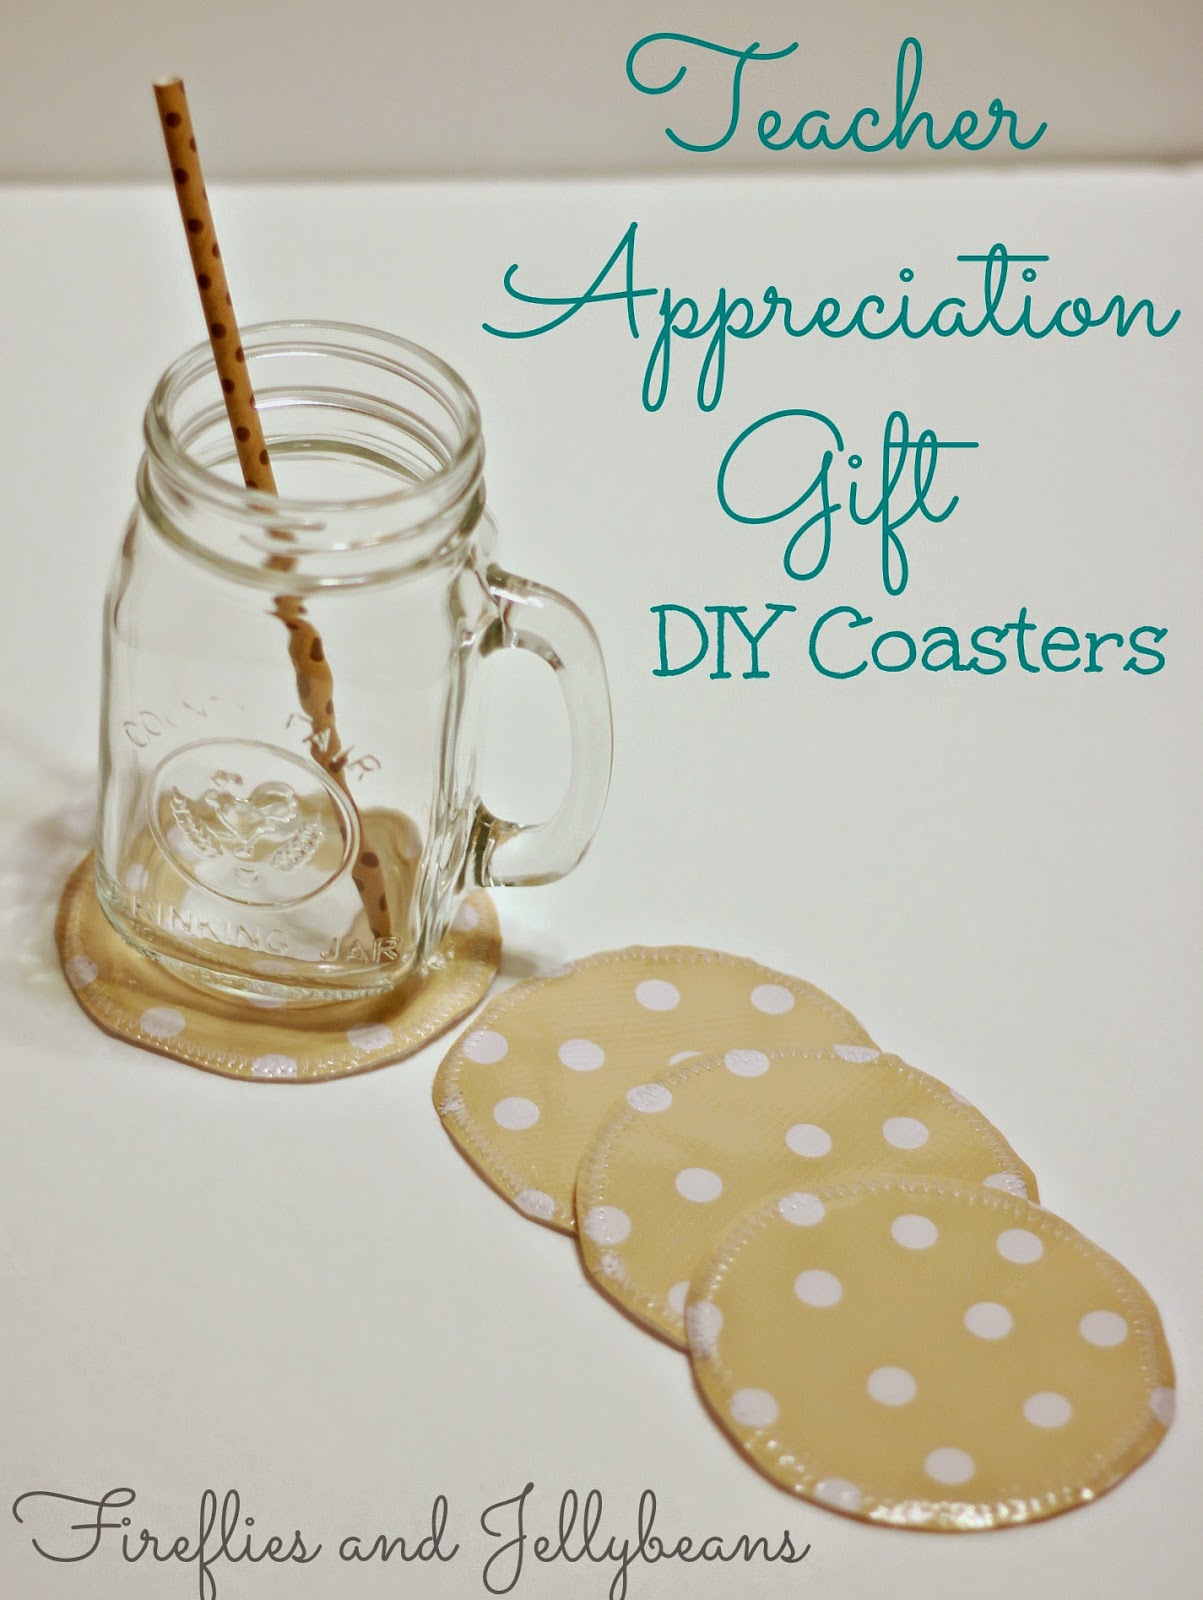
Here is an easy DIY for you to do to show teachers that you appreciate them.  DIY Coasters paired with a cute glass, some straws and a fun beverage... to show that you know they deserve a break for all the hard work they have done.  This gift uses Oil Cloth since it is water resistant.  You can find it at Joann's (by the home decor fabrics- you may need to ask someone) but they have a limited selection.  I got this print from Oil Cloth By the Yard.  Lots of cute patterns! 

Here is what you will need to do:
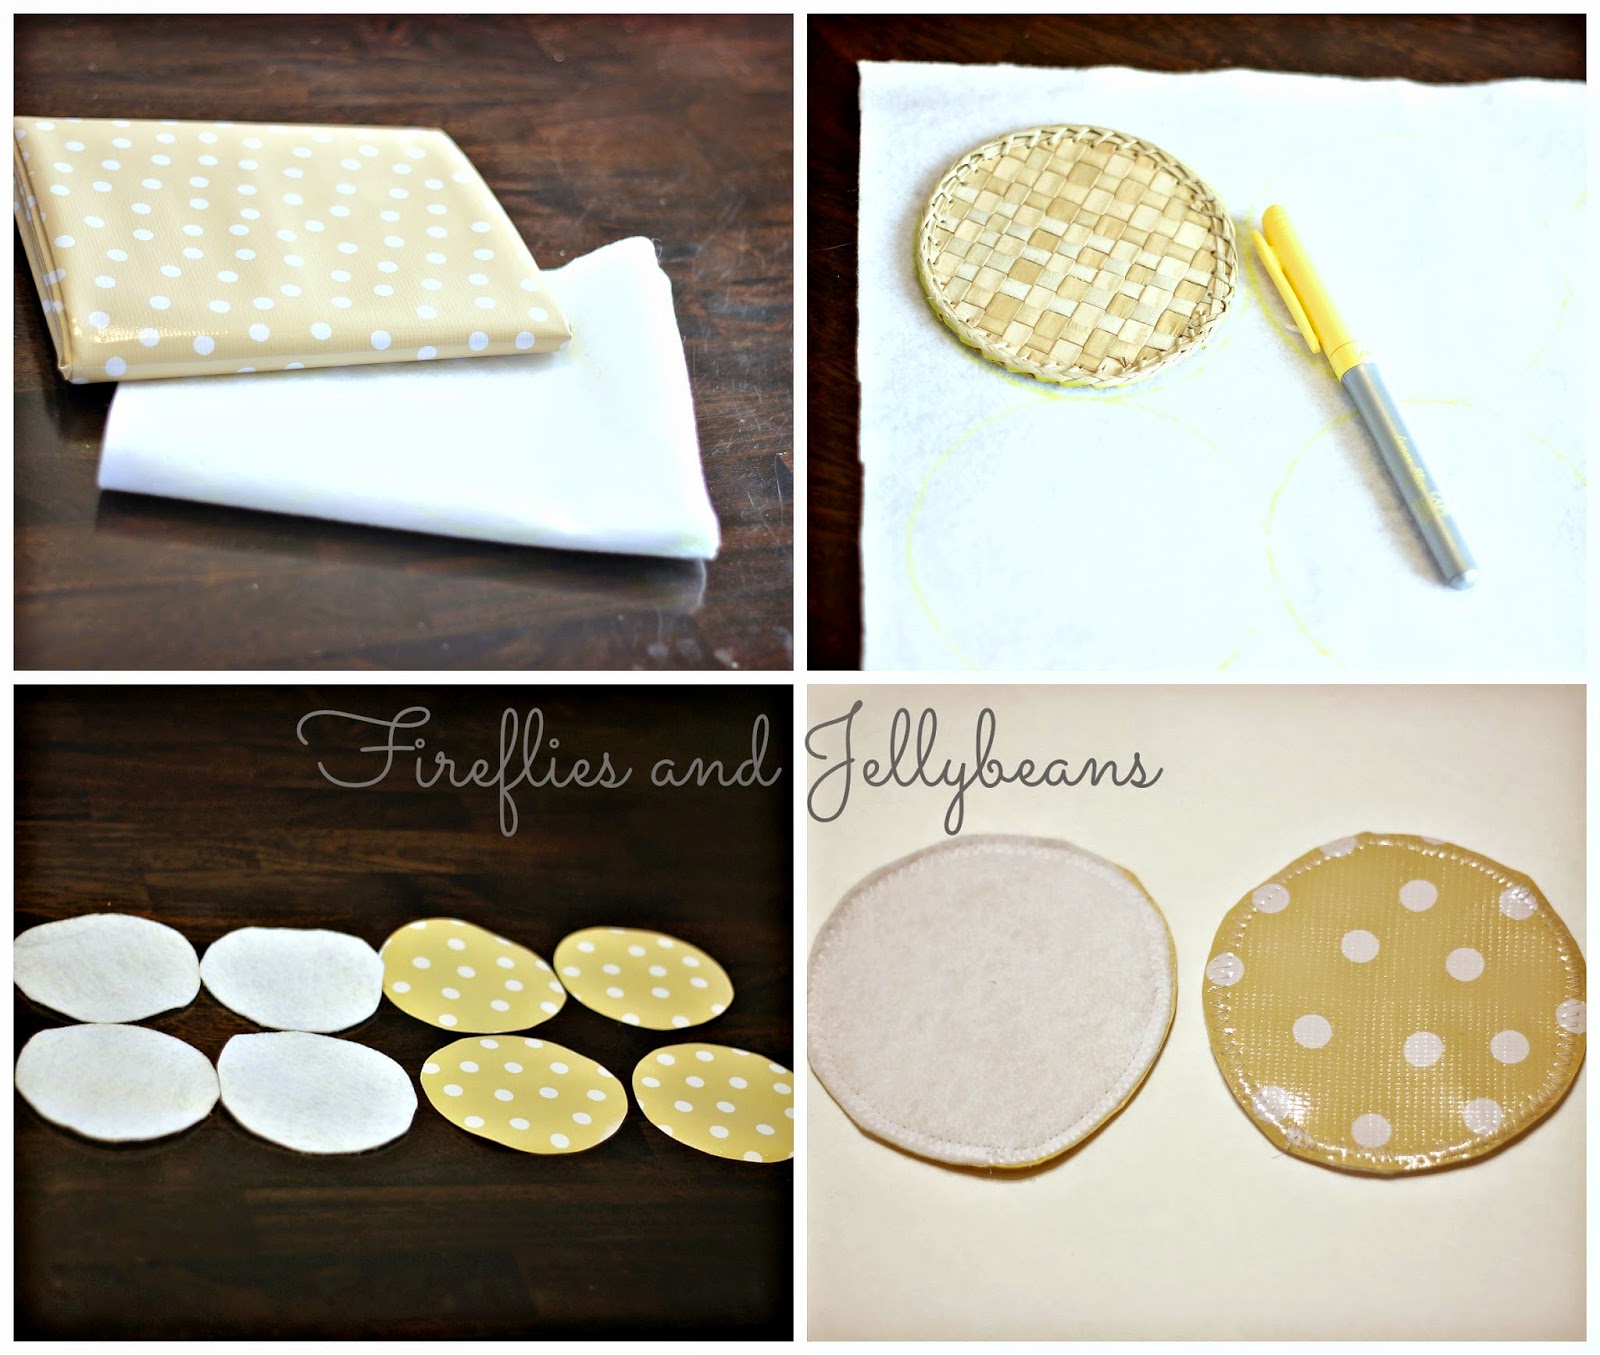
1. Gather supplies: 1/4 yard Oil Cloth,  1/4 yard Felt, Sewing machine and other sewing tools.
2. Trace out the coasters.  I used a coaster I had as a template but you could also use a cup.
3. Cut out 4 of each out of the felt and the oil cloth (or more if you want).
4. Use a zigzag stitch and sew around the edge as close to the edge as you can get.  Since the oil cloth and felt do not fry you can leave unfinished edges out.  


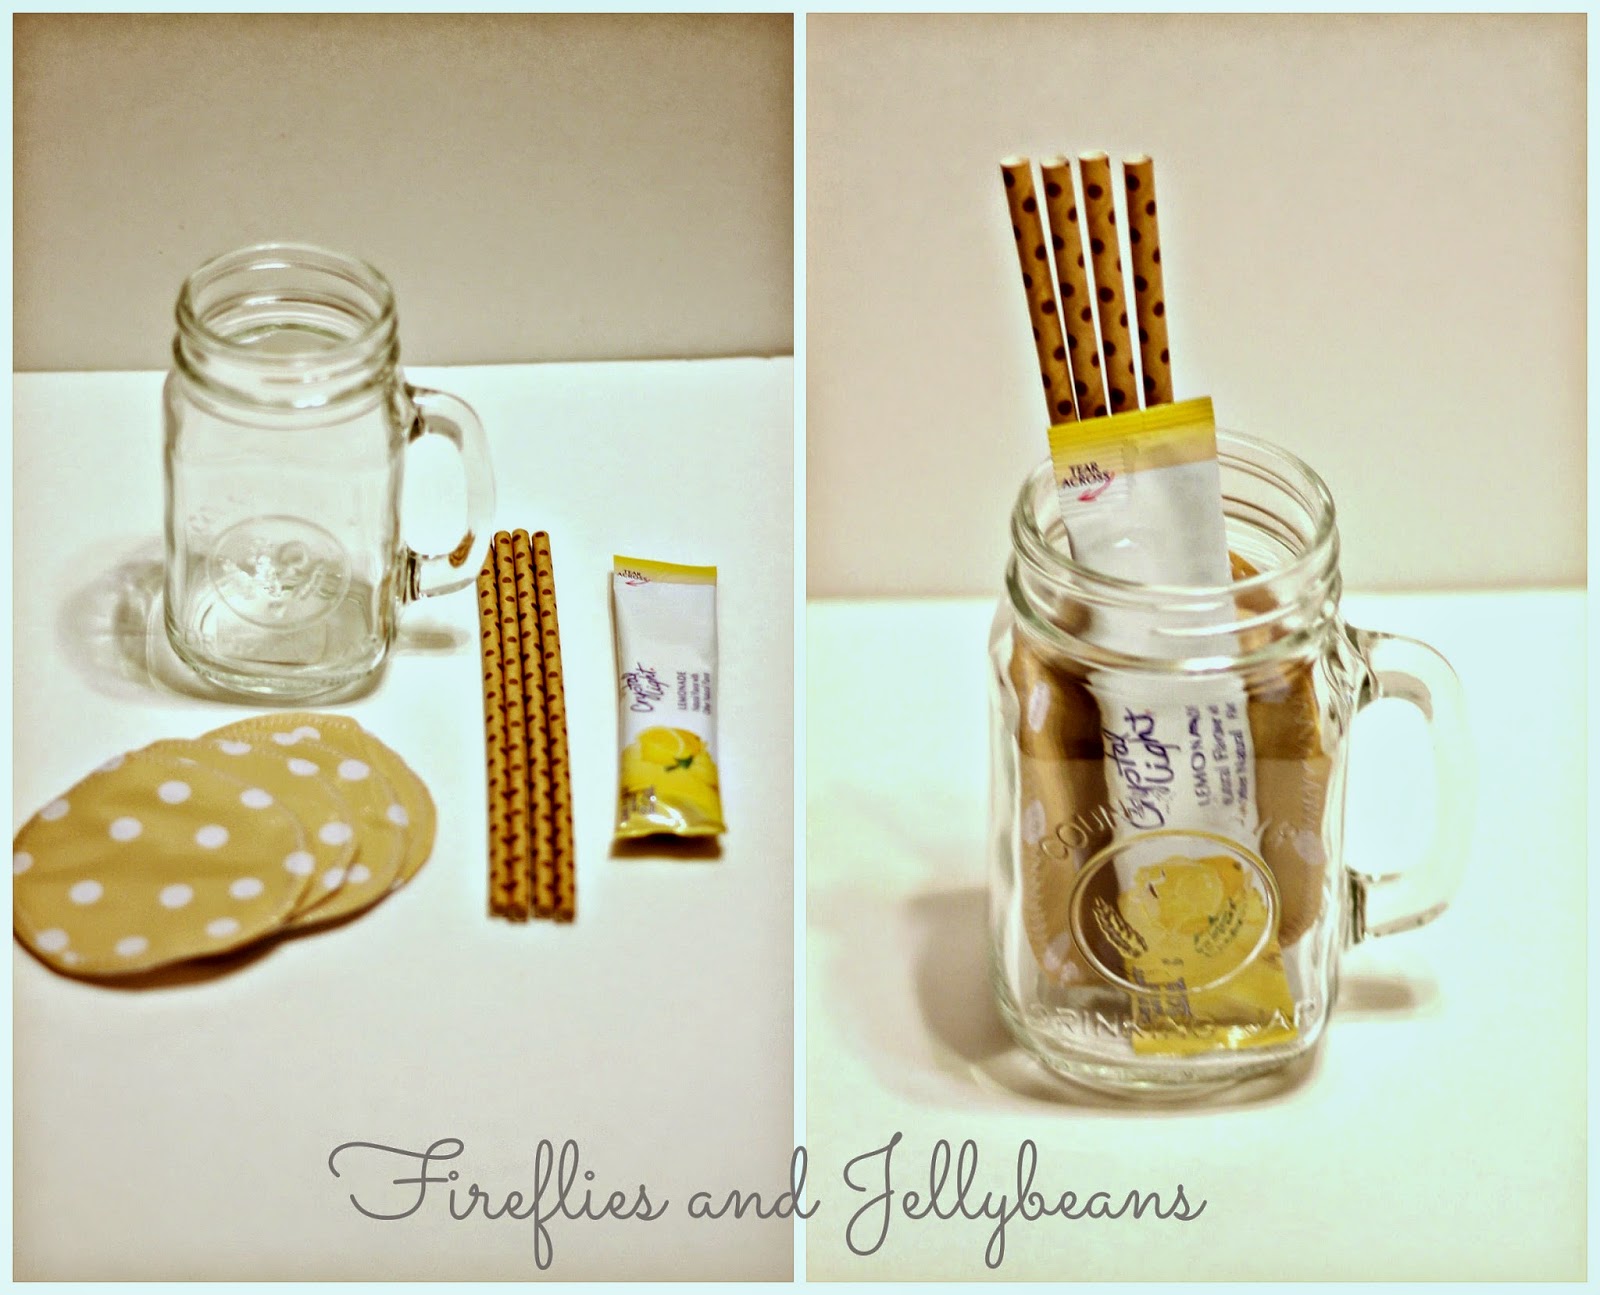
And your done!  I got this cute glass much from the Dollar Tree and the Paper straws from Target.  I added lemonade mix to complete the gift! 
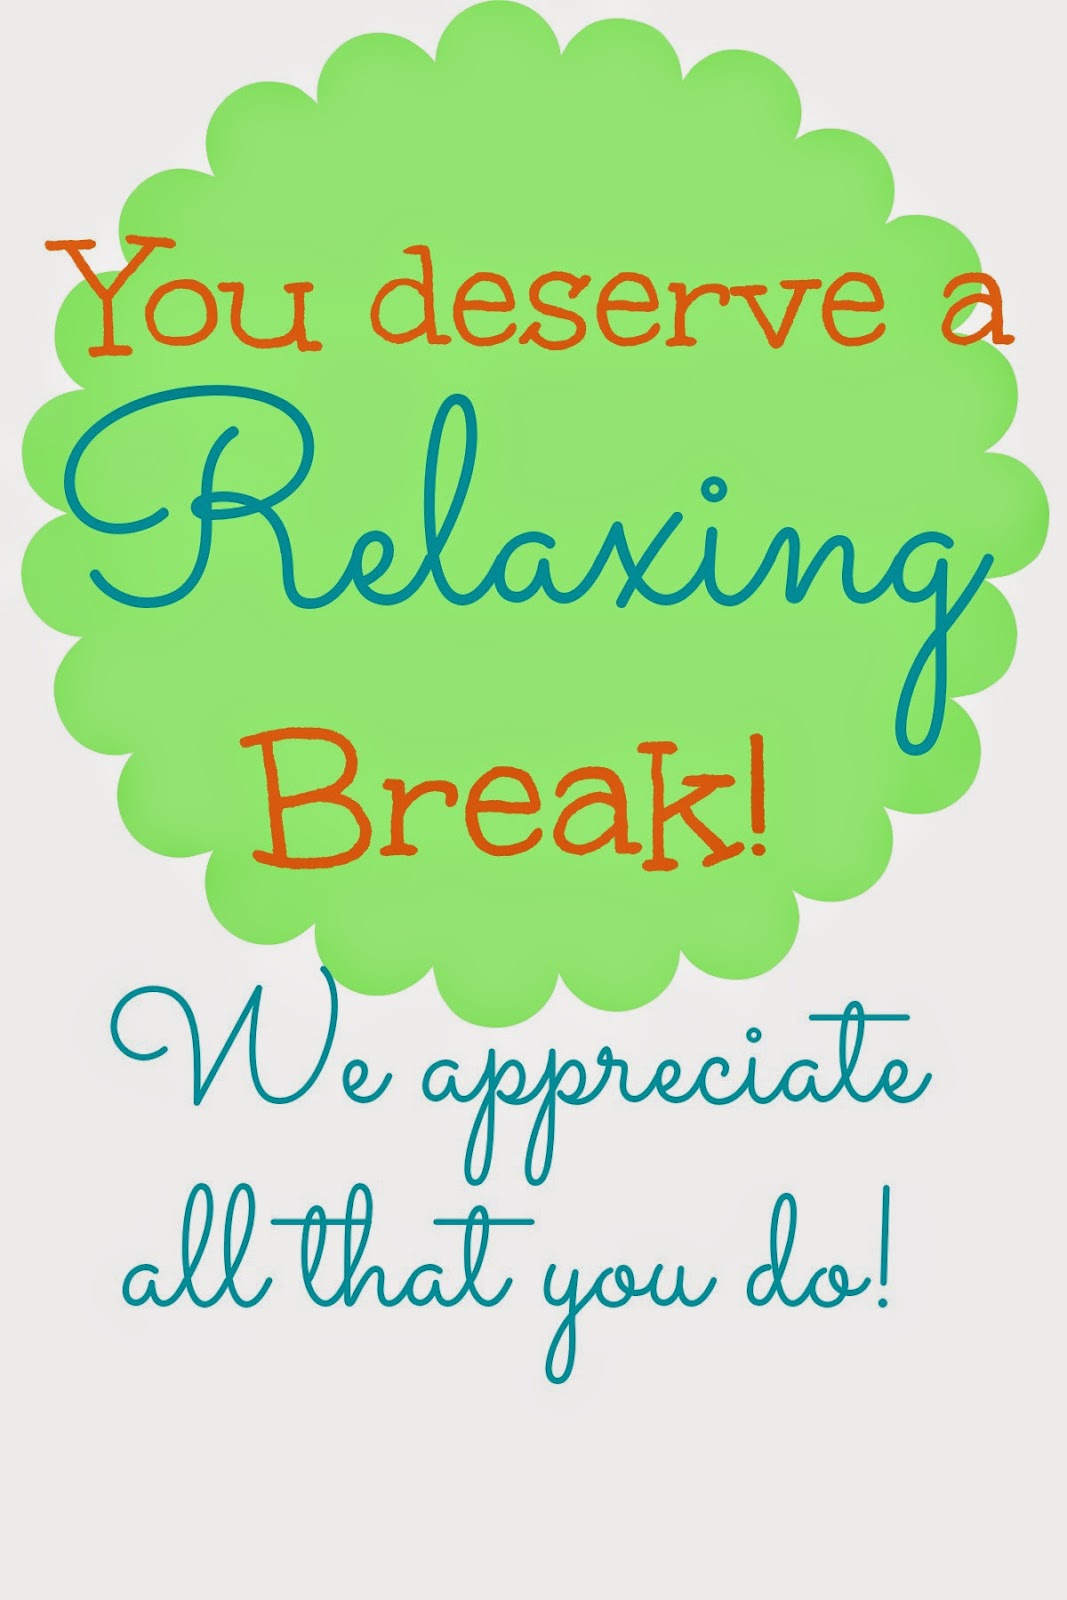
Here is a printable you can add to the gift! Just right click and save the image.  


Joining in the fun with:
 

Monday, September 22, 2014

Make your Own Barbie Doll Sleeping Bag {tutorial}


My kids are obsessed with putting things to sleep.  Baby-dolls, Teddy Bears, stuffed animals, transformers - you name it and they will put it down for a nap!  I ofter hear "Shhhhh, mom - my transformer is sleeping" So, I decided to make a sleeping bag for my daughter's barbie dolls.  


This is a great beginning sewing project, so you can do this! .  It also would be a great starter project  to work on with a little sewer like your daughter (or grand-daughter, niece, friends kid...etc)


Here is what you will need:
Fabric: I recommend felt or flannel for that soft feel, but woven knit works too!
Stuffing/batting (just a little for the pillow)
Sewing machine with thread and other sewing tools (like scissors)

I used the same fabric for both the inside and outside of the sleeping bag, but you could totally mix it up and use different patterns together.

**All seam allowances are 1/4 inch**

1. Cut out your fabric.  Cut two 12.5X6 rectangles and two 9.5X6 rectangles
2. Place right sides together and sew around 3 sides leaving the bottom side open.

3. Flip both rectangles right side out
4. In the longer rectangle put the stuffing in
5. Push the stuffing all the way to the top to form a pillow
6. Top Stitch across right under  your stuffing to form the pillow shape.

7. With right sides together place the smaller rectangle on top of the larger rectangle with the unfinished edges both on the bottom.  Starting 1-2inches down on one side, sew 3 sides like below.
8. Trim your corners and flip right side out.
 
And your done... Put your barbie down to sleep and tell everyone "Shhhhh- Barbie needs her beauty sleep!"

This would make a great add on for a girls gift!  
And wouldn't it be fun to make it with your daughter to give to her friend?! 

Friday, May 16, 2014

Fresh Bloom Frock Pattern


My husband was getting rid of some dress shirts. which is like free fabric!  So I made a dress for my daughter.  

I used Blank Slate's Fresh Bloom Frock pattern.  
It is an intermediate pattern so I was a little nervous about using it but that collar to to die for so I went for it!  The pattern was great to work with and I am already working on a second Fresh Bloom Frock for a photo session of the kids!  There are step-by-step directions with pictures the whole way through and the pattern goes from 18m-8 so lots of sizes!  


**I bought this pattern and I am NOT getting compensated for this post!  I just loved it and wanted to share!**

Wednesday, April 30, 2014

Easy DIY Princess Dress-up Aprons Tutorial {remixed}

I have made Dress-up Princess Aprons for years now.  But I have decided to remix the tutorial a little bit and show you how easy it is to alter it to make it what ever princess you want!   


Here is how you make this version:

You will need:
2 colors of Felt
1/4 inch Elastic
Sewing machine with sewing tools: scissors, thread, needle etc

1. Cut the different pieces:
8X8 inch square
2X42 inch strip
Two 16X28 inch rectangles (one in each color) 

2. Take the top color, fold in half the long way, and cut out a rounded triangle shape.  Open it up and place it on top of the bottom color and place the strip on top of that and sew across the top and down the sides.

3. Take the square and fold it in half and cut out a heart shape top.  Open it up and place it right sides together on to the top of the strip- make sure to line it up in the middle. 
4. Cut a 10-12 inch strip of elastic and sew it to the top back side of the the heart shape neckline.  

Too cute! 

I made a bunch of them for my daughter's Princess Birthday Party (Post coming soon!) 
Honestly- how cute is this picture?!  

Here are other Princess Aprons I have made... as you can see you can change or add your own spin onto it! 


Tuesday, April 22, 2014

Girls Just Wanna Have Fun Easy to Sew Dress (#SteamTeam, #NetflixKids)

Thank you to Netflix for Sponsoring this post
Ok- Lovely Readers - I am going to show you THE EASIEST dress to sew in the entire world.  No lie!  It is so easy!  Because mom's wanna have fun and not spend all day sewing!  We are girls too right?!

Here is how to make it. 
1. You will need a t-shirt and this already gathered fabric (I found mine at Joann's).  This fabric is the key to the easiness to this dress! Measure your daughter's waist before you go to the fabric store- this stuff is prices per inch - so you just want to get what you need.  It is not super expensive (especially when you use a coupon!) but it is just easier not to have a lot of waist! 
2. Fold in half and sew down to side to make a skirt. (You could just be done here if you just want a skirt... but with 2 more steps you can have a cute dress!)
3. Place your t-shirt in your skirt (with the seam in the back) and pin in place.  I pinned on the sides to keep it in place. 
4. Sew on the top of the dress.  While you are sewing stretch out the skirt so that the elastic is taunt- this will help the t-shirt gather in the right places.  Sew all the way around the skirt.  I used a small zig-zag stitch but you can also use a straight stitch.

Now put it on your daughter and play some Girls Just Wanna Have Fun music! 

Doesn't the Hello Kitty pattern flash you back to the 80's?  Netflix's stream Team theme this month is Totally Tubular - a throwback to the 80's!   My kids are loving watching all my favorite cartoons.  Every night before the kids go to bed they want to hear a story about when I was a little girl.  So, they got so excited when they found out they could watch the same shows I did when I was little. 

Here are some of our favorites: 

Here are some other fun ways to flashback to the 80's: 

Shrinky-Dinks


Make your own Jello Pudding Pops

Do you remember watching Jem and the Holograms and sining with them?  Or were you a Smurfs Fan?  What were your favorite 80's shows? 

Monday, March 17, 2014

DIY Crinkle Ribbon Baby Blanket Toy

A friend at our church is having twins.  It is so exciting because it took a lot of work to get these babies, and we are so happy for this family!  I always like to give a something hand made when I give gifts so, I made these crinkle ribbon blanket toys.  They are great because they can loop to a stroller, carseat of swing  or come along with the baby.  The crinkle adds another sensory aspect that babies love!  

Here is how to make your own. 

Tuesday, February 18, 2014

Angry Birds Hoodie DIY

My oldest son turned 6 last week.  6!  I mean where did my baby go?!  
He is totally into Angry Birds (like most boys his age!)  So I set out to get him an Angry Birds hoodie... and they don't really have them like I wanted (with the bird face on the hood)  so I made one and now I am sharing it with you! 

Thursday, August 15, 2013

Easy DIY Ruffle Top with the Summer of Joann

To say that I love Joann's Fabric and Craft Stores is an understatement!  Love love love love love Joann's... I am at that store at least once a week and my kids have been trained how to shop there! So, when I was asked to be part of the Summer of Joann's challenge - I was quick to accept!  I got to look through this catalogue and pick out a project that I want to make (and put my own spin on).

I choose this great ruffle top!  Theirs is crocheted... I don't have the time (Although I think it looks AMAZING!) so I put my own spin on it to make it super easy and cute!  
Find the full directions HERE to make Joann's version.

Here is how you can make an easy ruffle top:

What you will need:
Knit shirt or tank top
two coordinating fabrics

1. Cut your fabric pieces.
Here are some suggested dimensions (in inches):
12M - 3 X 36 and 6 X 36
18M- 4 X 36 and 7X 36
24M & 2T- 5 X 36 and 8 X 36
3T & 4T- 6 X 36 and 9 X 36

2. Finish off the bottom edges - I surged mine, but you could also hem them.
3. Gather your strips (I do mine at the same time) I use Dana's cheater method to make the ruffles.  Sew the ends together to make a tub.
4. Cut off the bottom of the shirt just a couple of inches under the armpit.
5. Pin the ruffles to bottom of the shirt with right sides together.
6. Sew the ruffles to the shirt.

Done!  Totally cute and easy! 


Sign up to be a preferred customer and you can get a 20% off coupon

Disclaimer: I was provided with a gift card to Joann's to buy the supplies for this project.  All options and projects are mine!

Tuesday, February 19, 2013

Easy Burp Clothes {Tutorial}


I am working with WholePort - they sell a bunch of crafting supplies!  This month they sent me some fun baby print flannel fabric!   So I got to work making some things for our baby boy due April 7th 2013!

First up were Easy cute burp clothes:
Here is what you will need:
Cloth Diapers (I got my 5 pack at target)
Sewing Macine with sewing supplies (like thread, scissior, etc)

1. Cut your fabric so that it is about 1/2 longer then the sids and wide enough so that you can fold it around the end of the cloth diaper.  I make my about 6 inches wide so that it would be a 3 inch wide stripe.

2. Use an iron to press a 1/4 inch fold on all four sides.  This will give a finished edge.

3. Fold in half and pin around the botton of the burp cloth.  Sew on all 4 sides as close to the edge as you can.


4. Repeat for the other side.

Make as many as you want... they make a great baby shower gift! 


I also make a blanket for the crib with the cute fabric and some soft minky.  I just cut out my crib size blanket (I used one I had from before... about 45X60 inches).  Sewed with right sides together leaving an opening to turn right side out.  Then turned it right side out and top sewed all around the edge closing the opening and done! 

I also made a Crinkle Tag blanket

Content Ad