Showing posts with label Easter. Show all posts

Friday, April 18, 2014

Family Easter Event {Walk With Jesus}

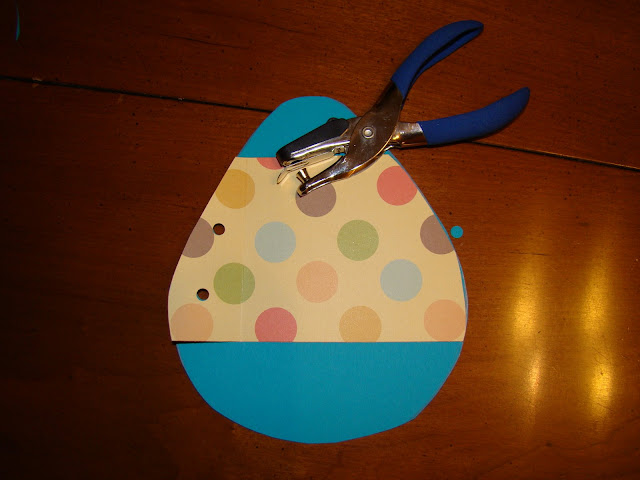
It's Good Friday and I am sharing with you an Easter Family event we did at our church.  Pin it for next year! 
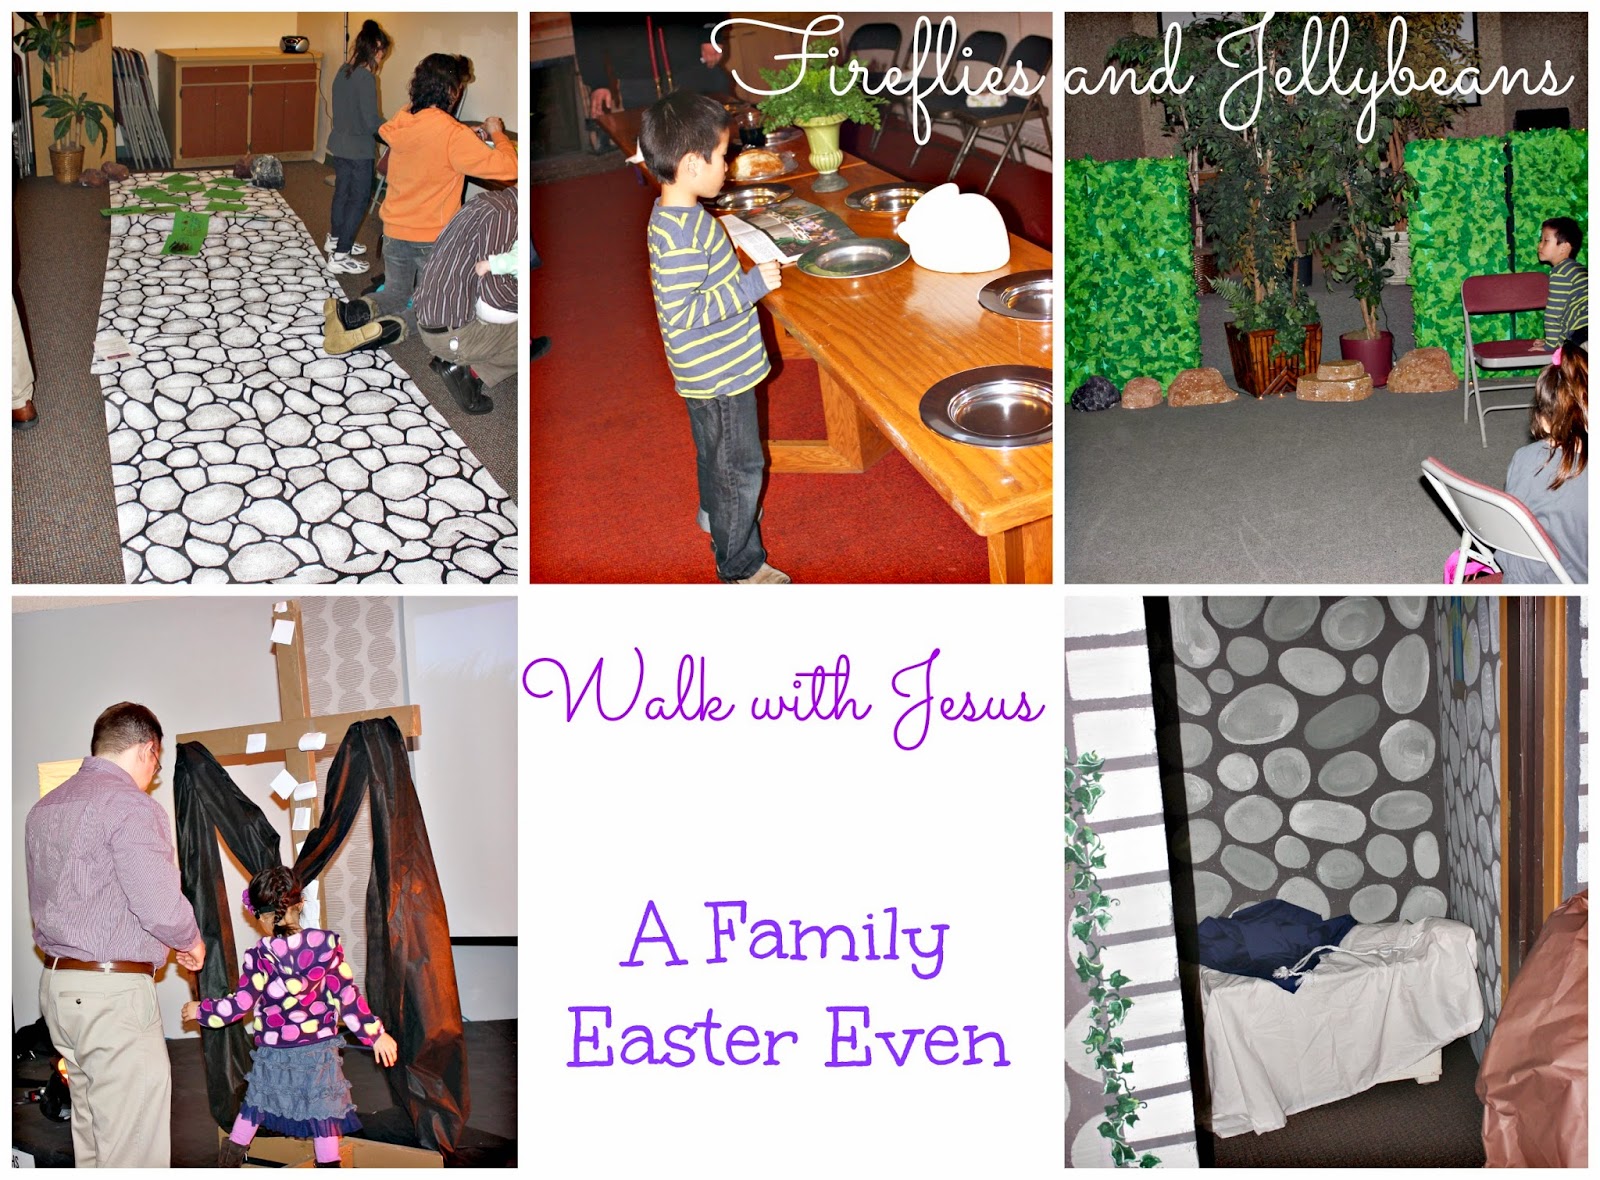
I helped plan a family Easter event at our church.  We wanted to go deeper with families on Easter then the normal Easter Egg Hunt {which we also do}.  We wanted to provide parents a way to share the Resurrection Story with their kids.  We used Group's Walk with Jesus (I am not affiliated with Group) as a base... but we changed it up a bit.  Group's version is more large group story telling and we wanted it to be more one-on-one with the parents telling their kids the info.  

We set up 5 stations... kind of similar to Stations of the Cross but made for families. Each room was decorated like the places Jesus went on his way to the cross and resurrection.  We provided a scrip for the parents with the verses, a short narrative, some questions to talk about and also an action to be done at each station.  Most of our narrative and questions came from Groups Walk with Jesus so I will not be sharing that part of it since it is copyrighted. 

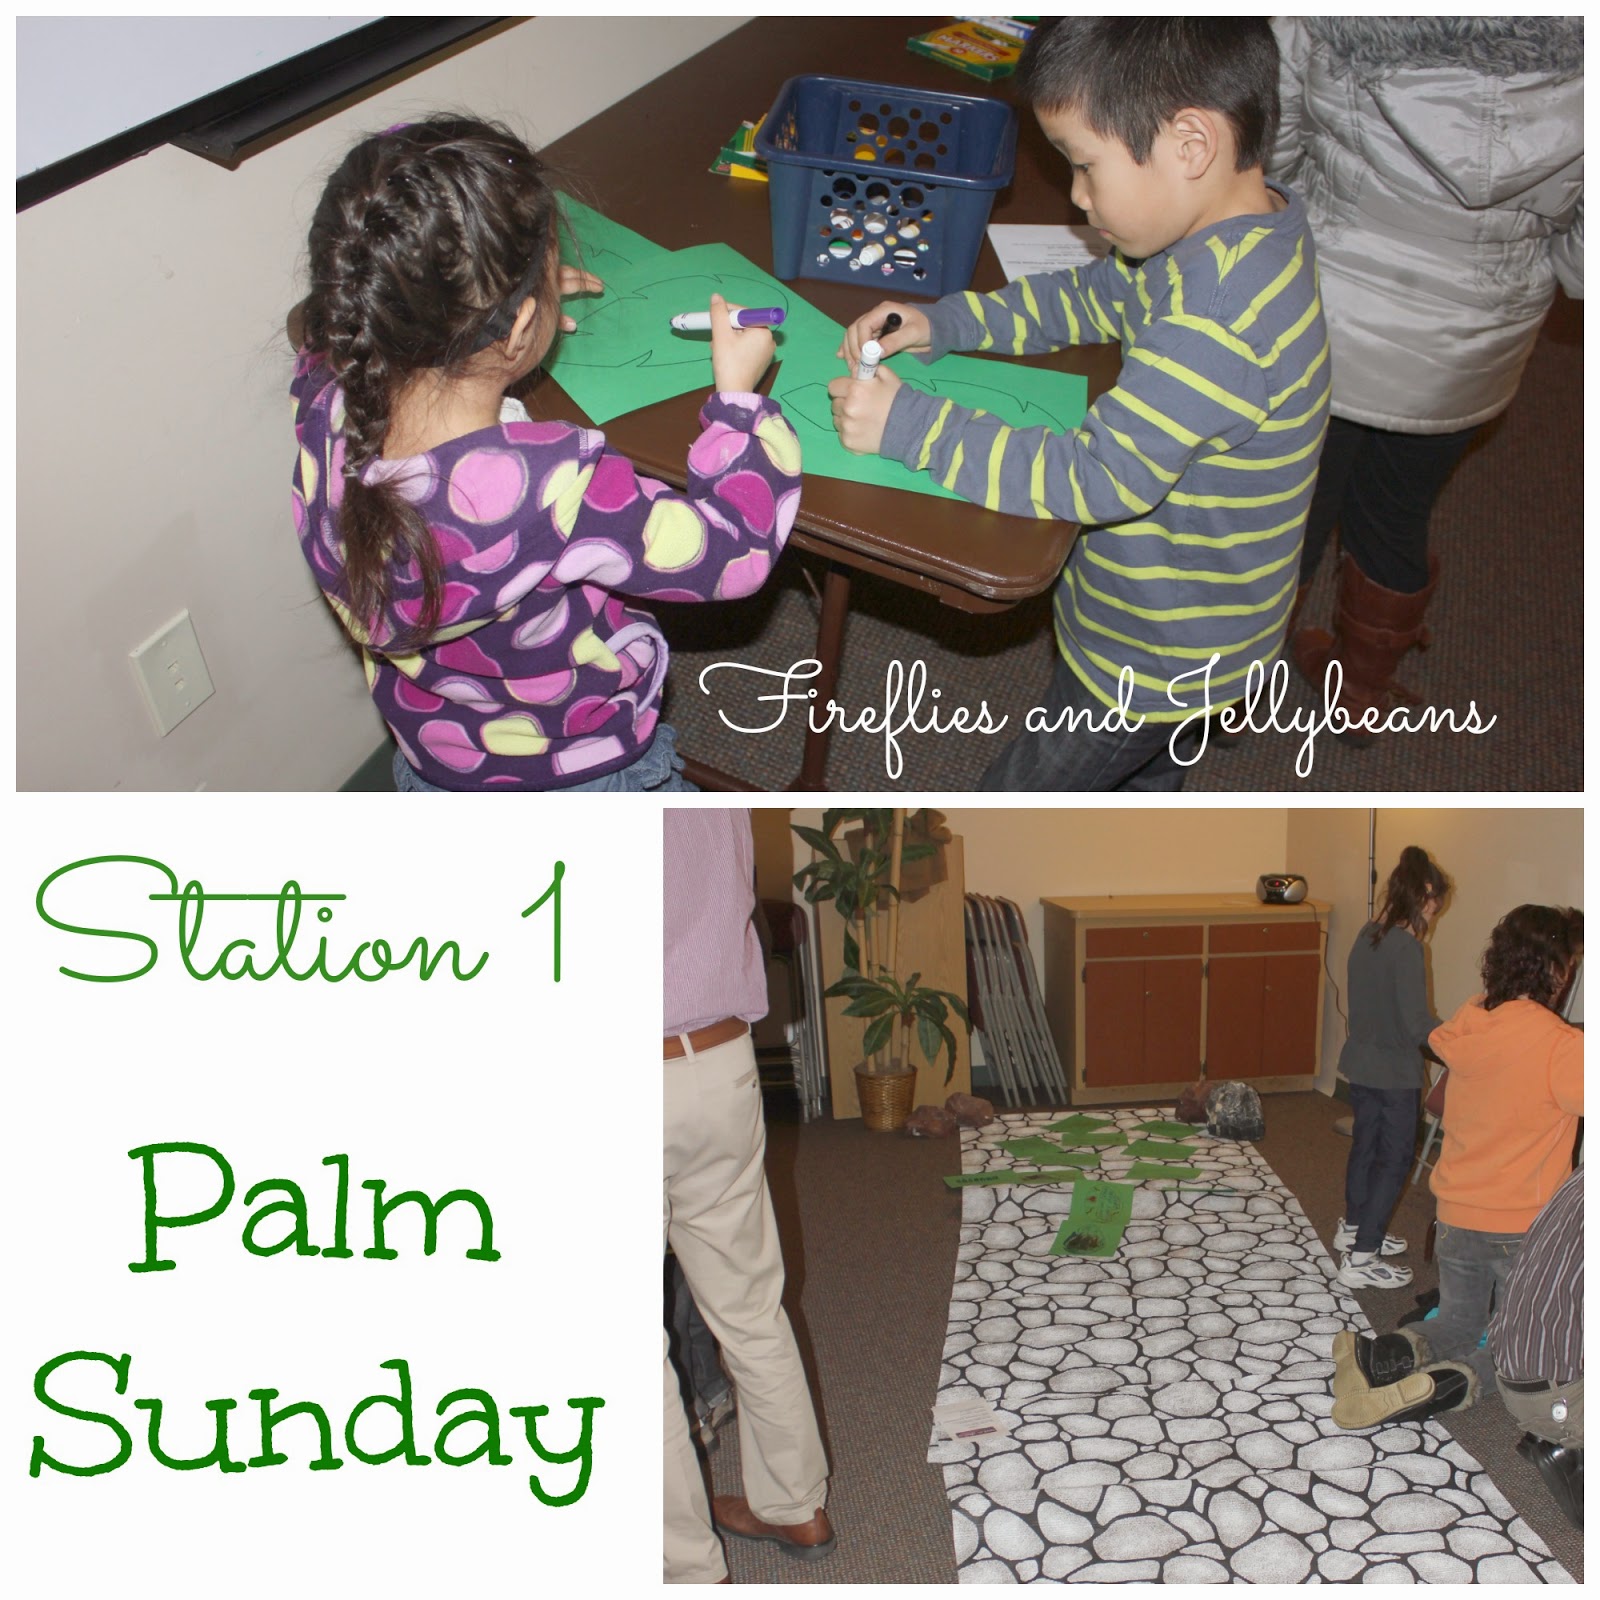
Station 1 - Palm Sunday
Decor: A path - could use butcher paper - some rocks and trees.  We set tables on the side of the room to decorate the palm leaves. 
Verses: Luke 19:36-40 

Action: we had the kids write praises to Jesus or draw a praise picture on the palm leaf.  They then laid it on the path and said "Hosanna!"  

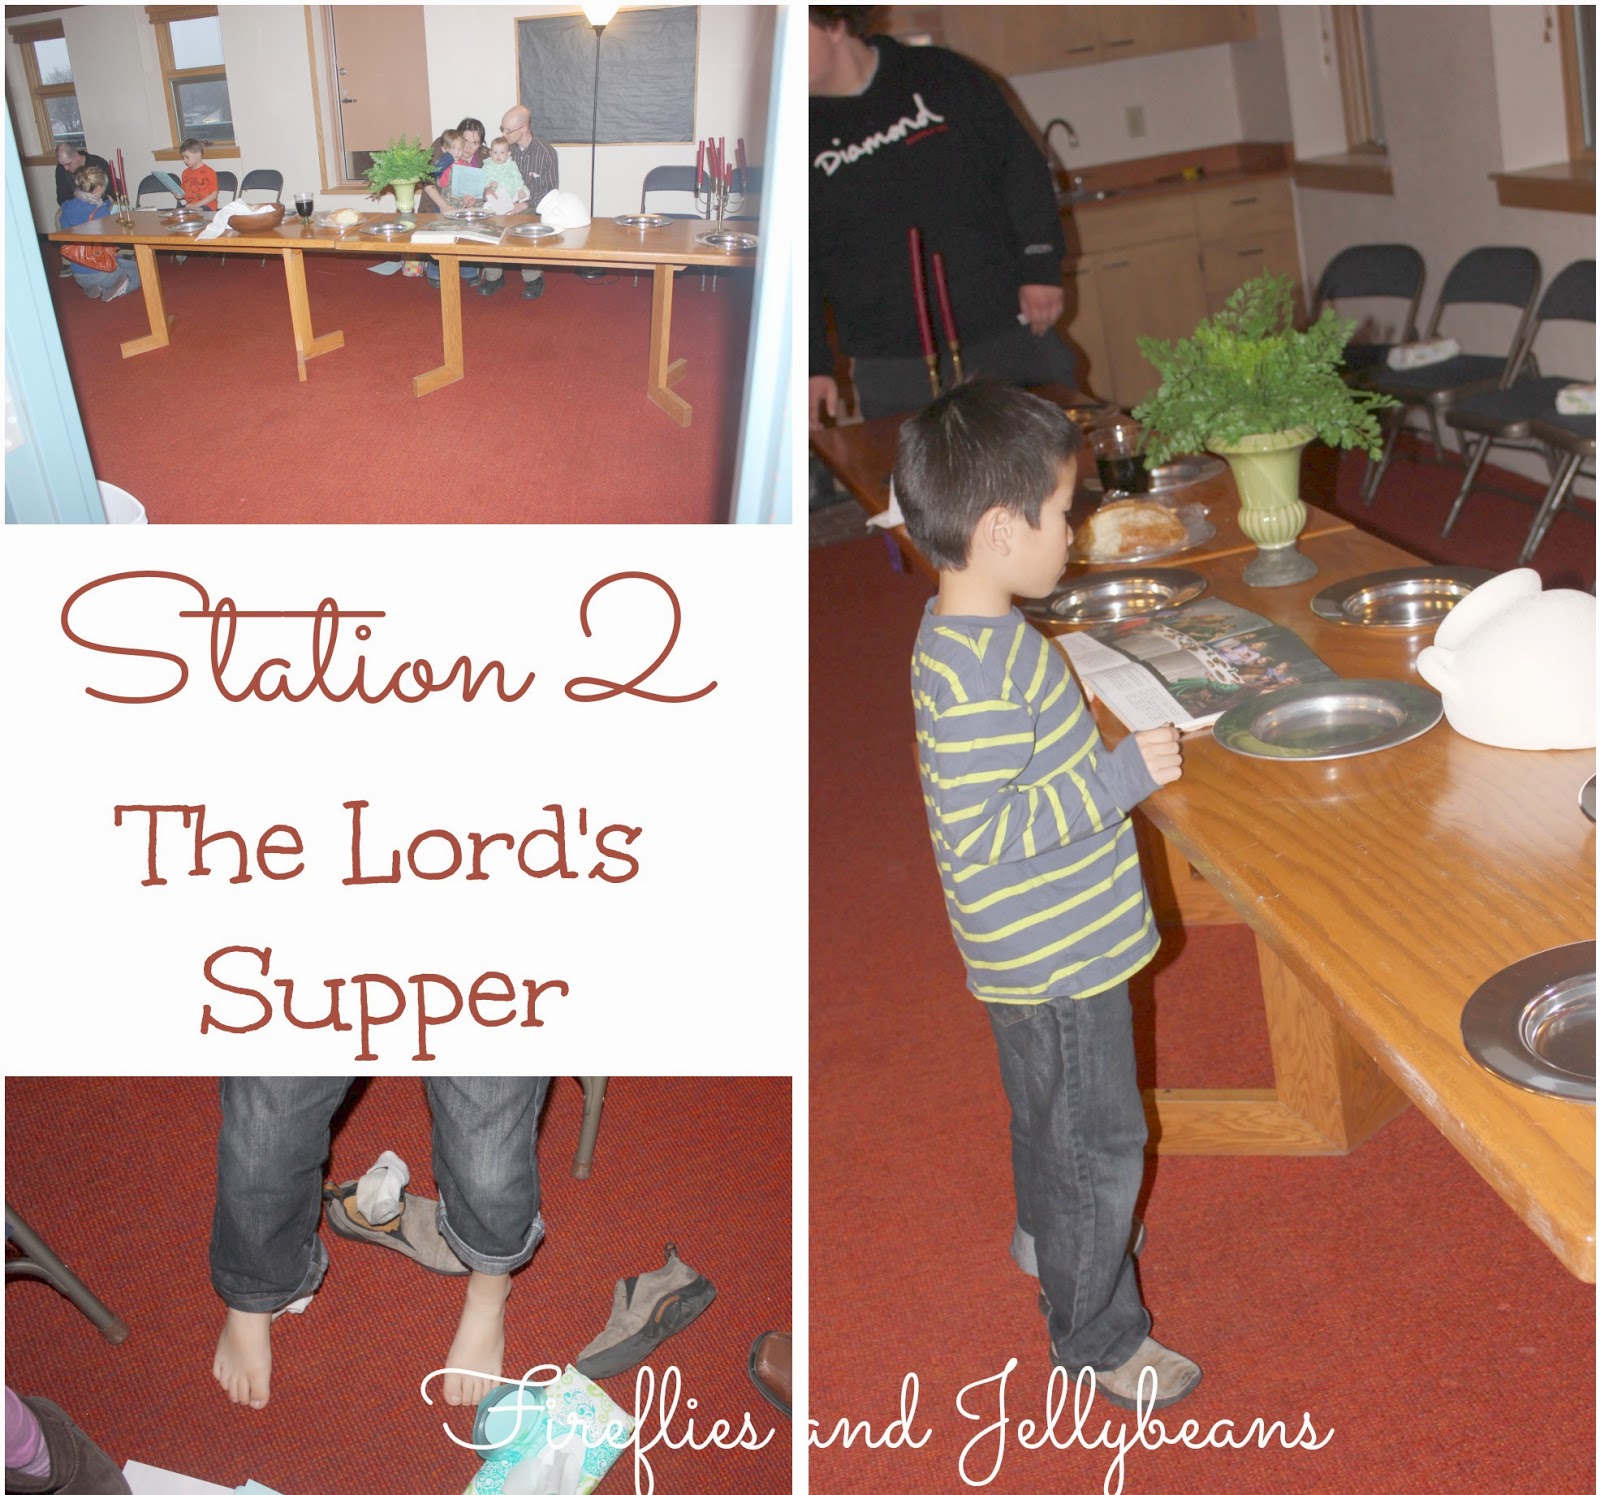
Station 2- The Lord's Supper
Decor: table set with plates, bread, cup of juice and other table decor.
Verses: John 13:1-17 

Action: we had chairs set around the outside of the room and wet wipes set on the floor.  We had the parents wash their kids feet and say "Follow Jesus because He loves you!"

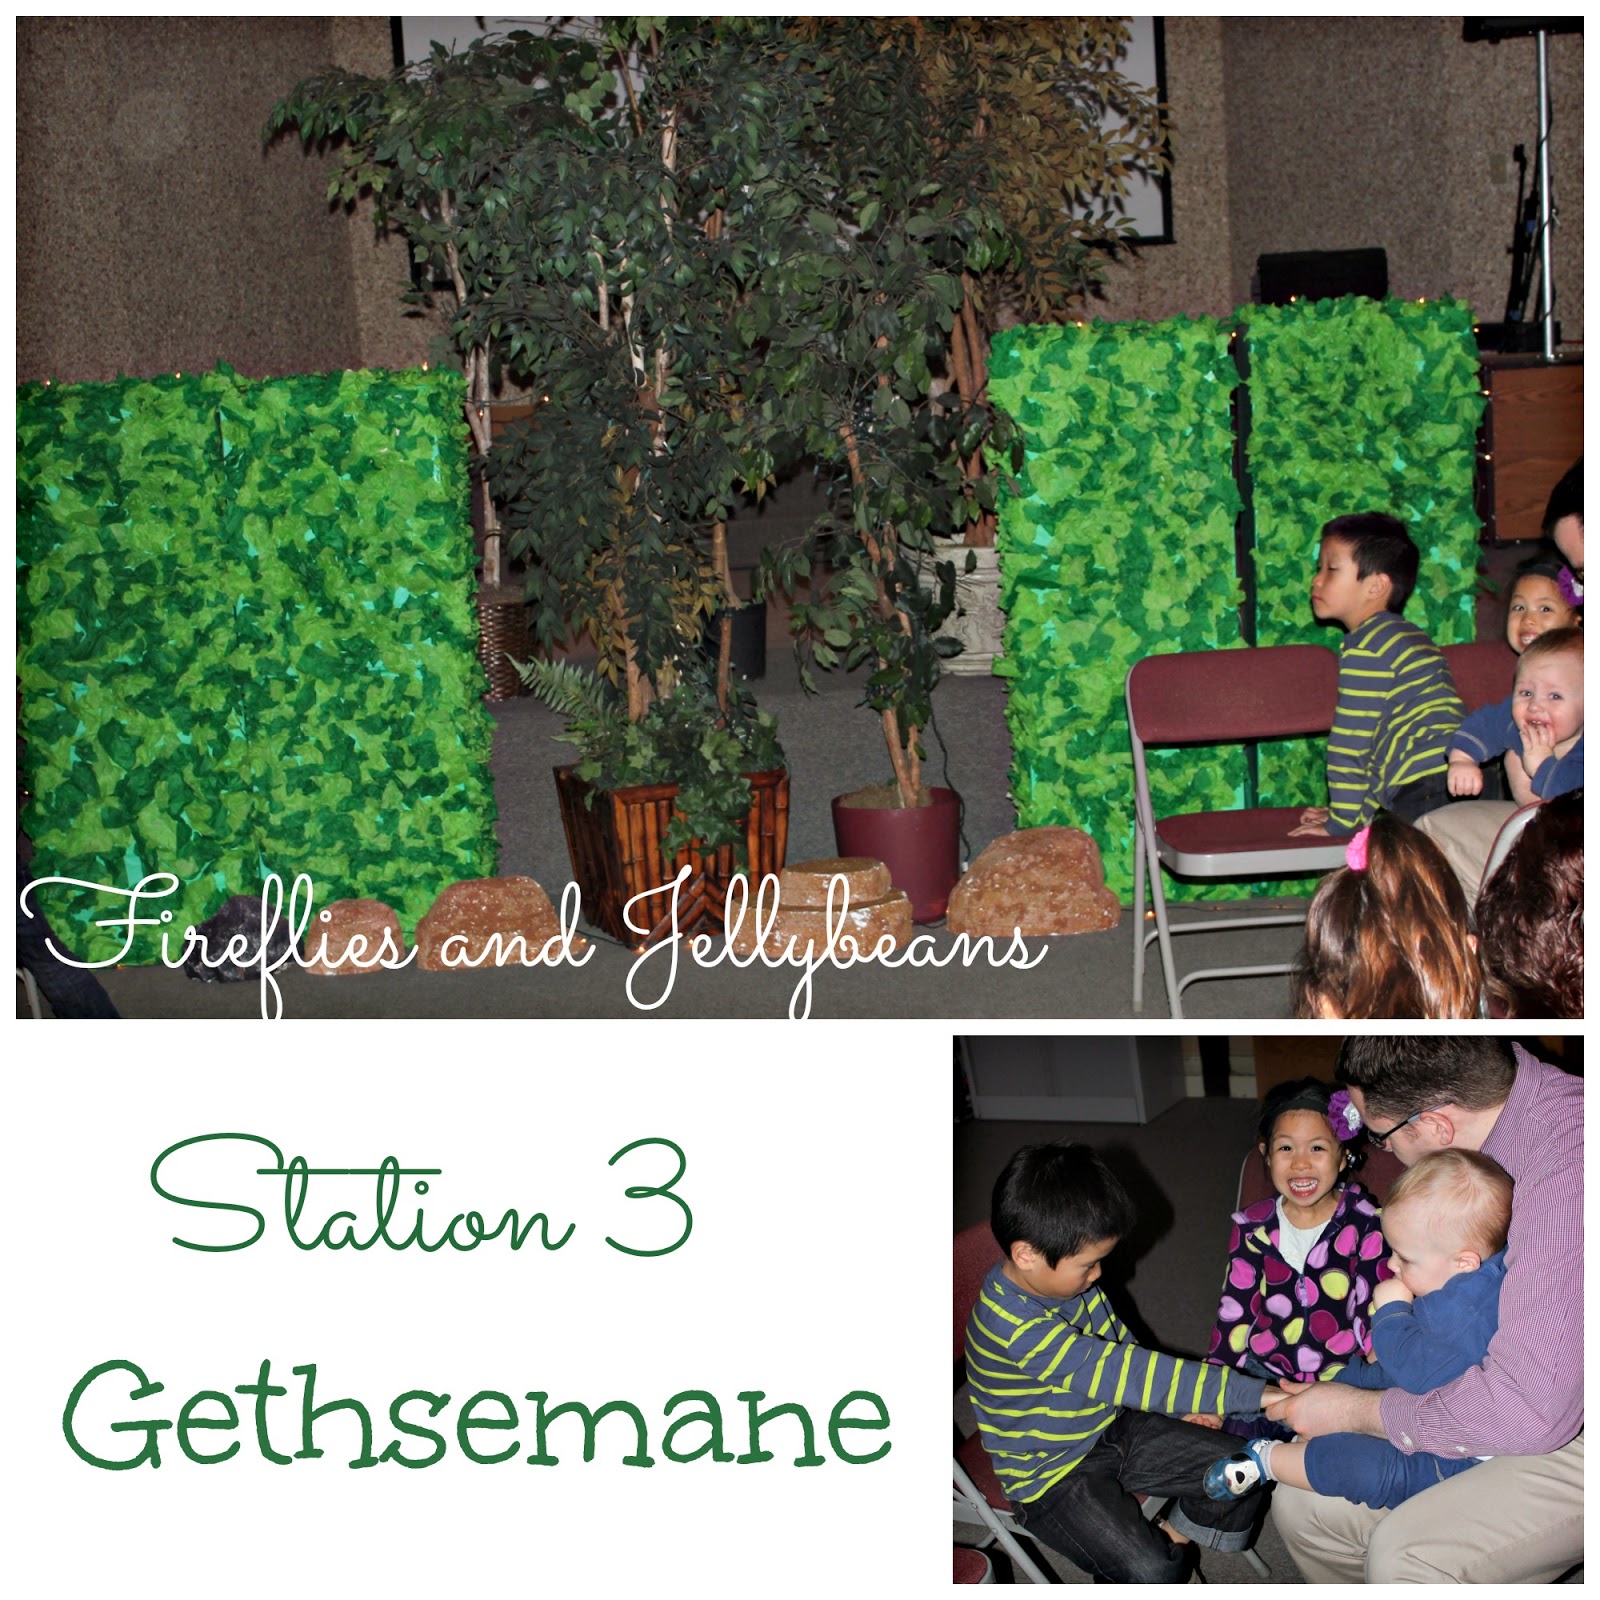
Station 3 - Gethsemane
Decor: Trees, bushes, twinkle lights. We had the lights off since it was supposed to be the middle of the night. 
Verses: Matthew 26:36-56 
Action: We had groups of chairs set up for families to pray about a tough situation the kids may be going through.  We also had them talk about hard times and how God helped them through it. For older students (middle school and adults) we had them pray for the people suffering around the world. 

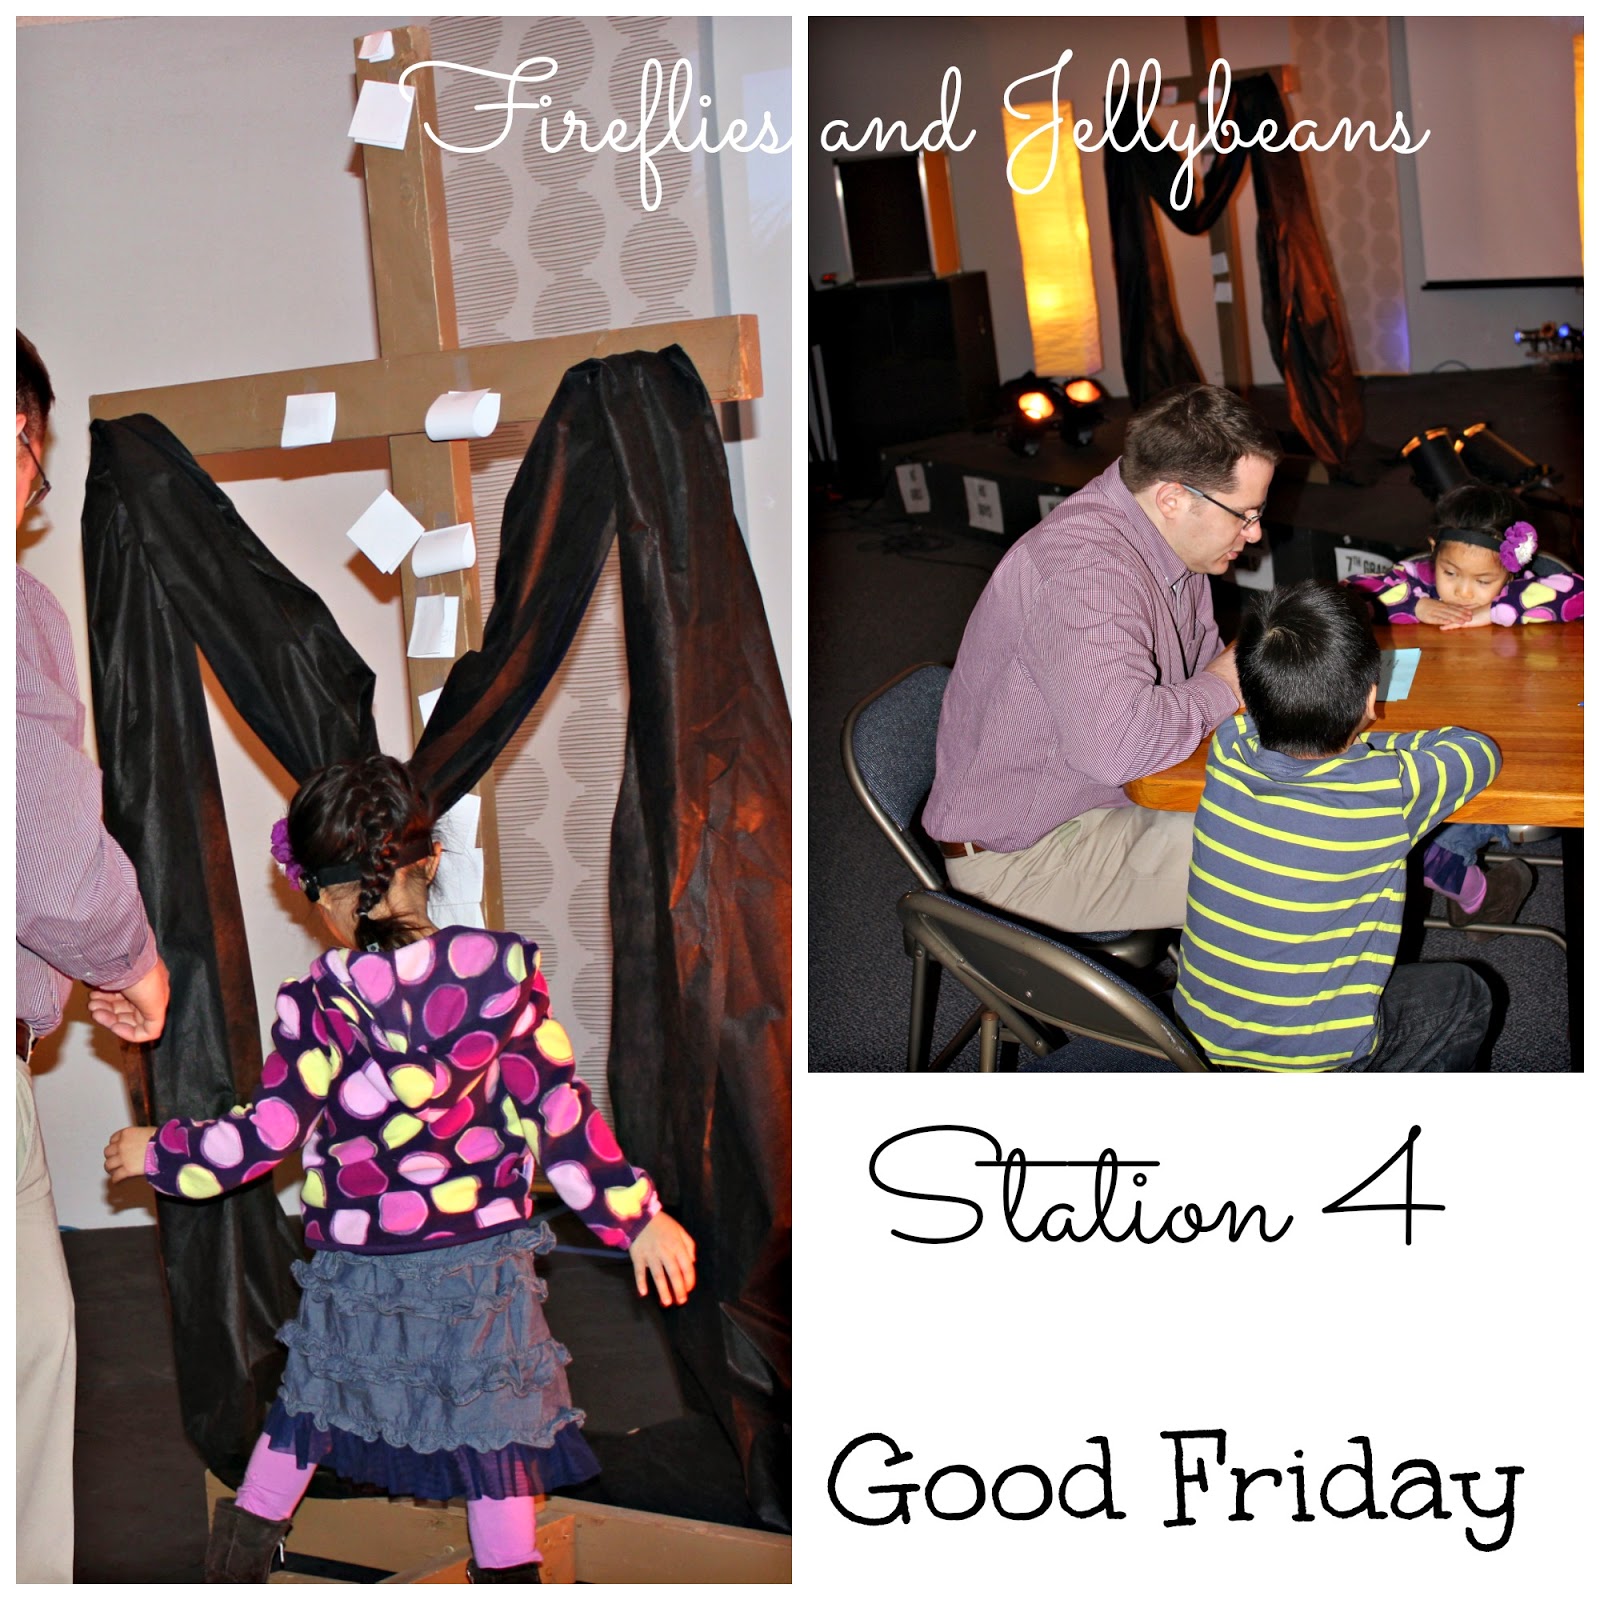
Station 4 - Good Friday
Decor: Cross at the front of the room. 
Verses: Matthew 27:32-44
Action: Write a sin down and tape it to the cross.  


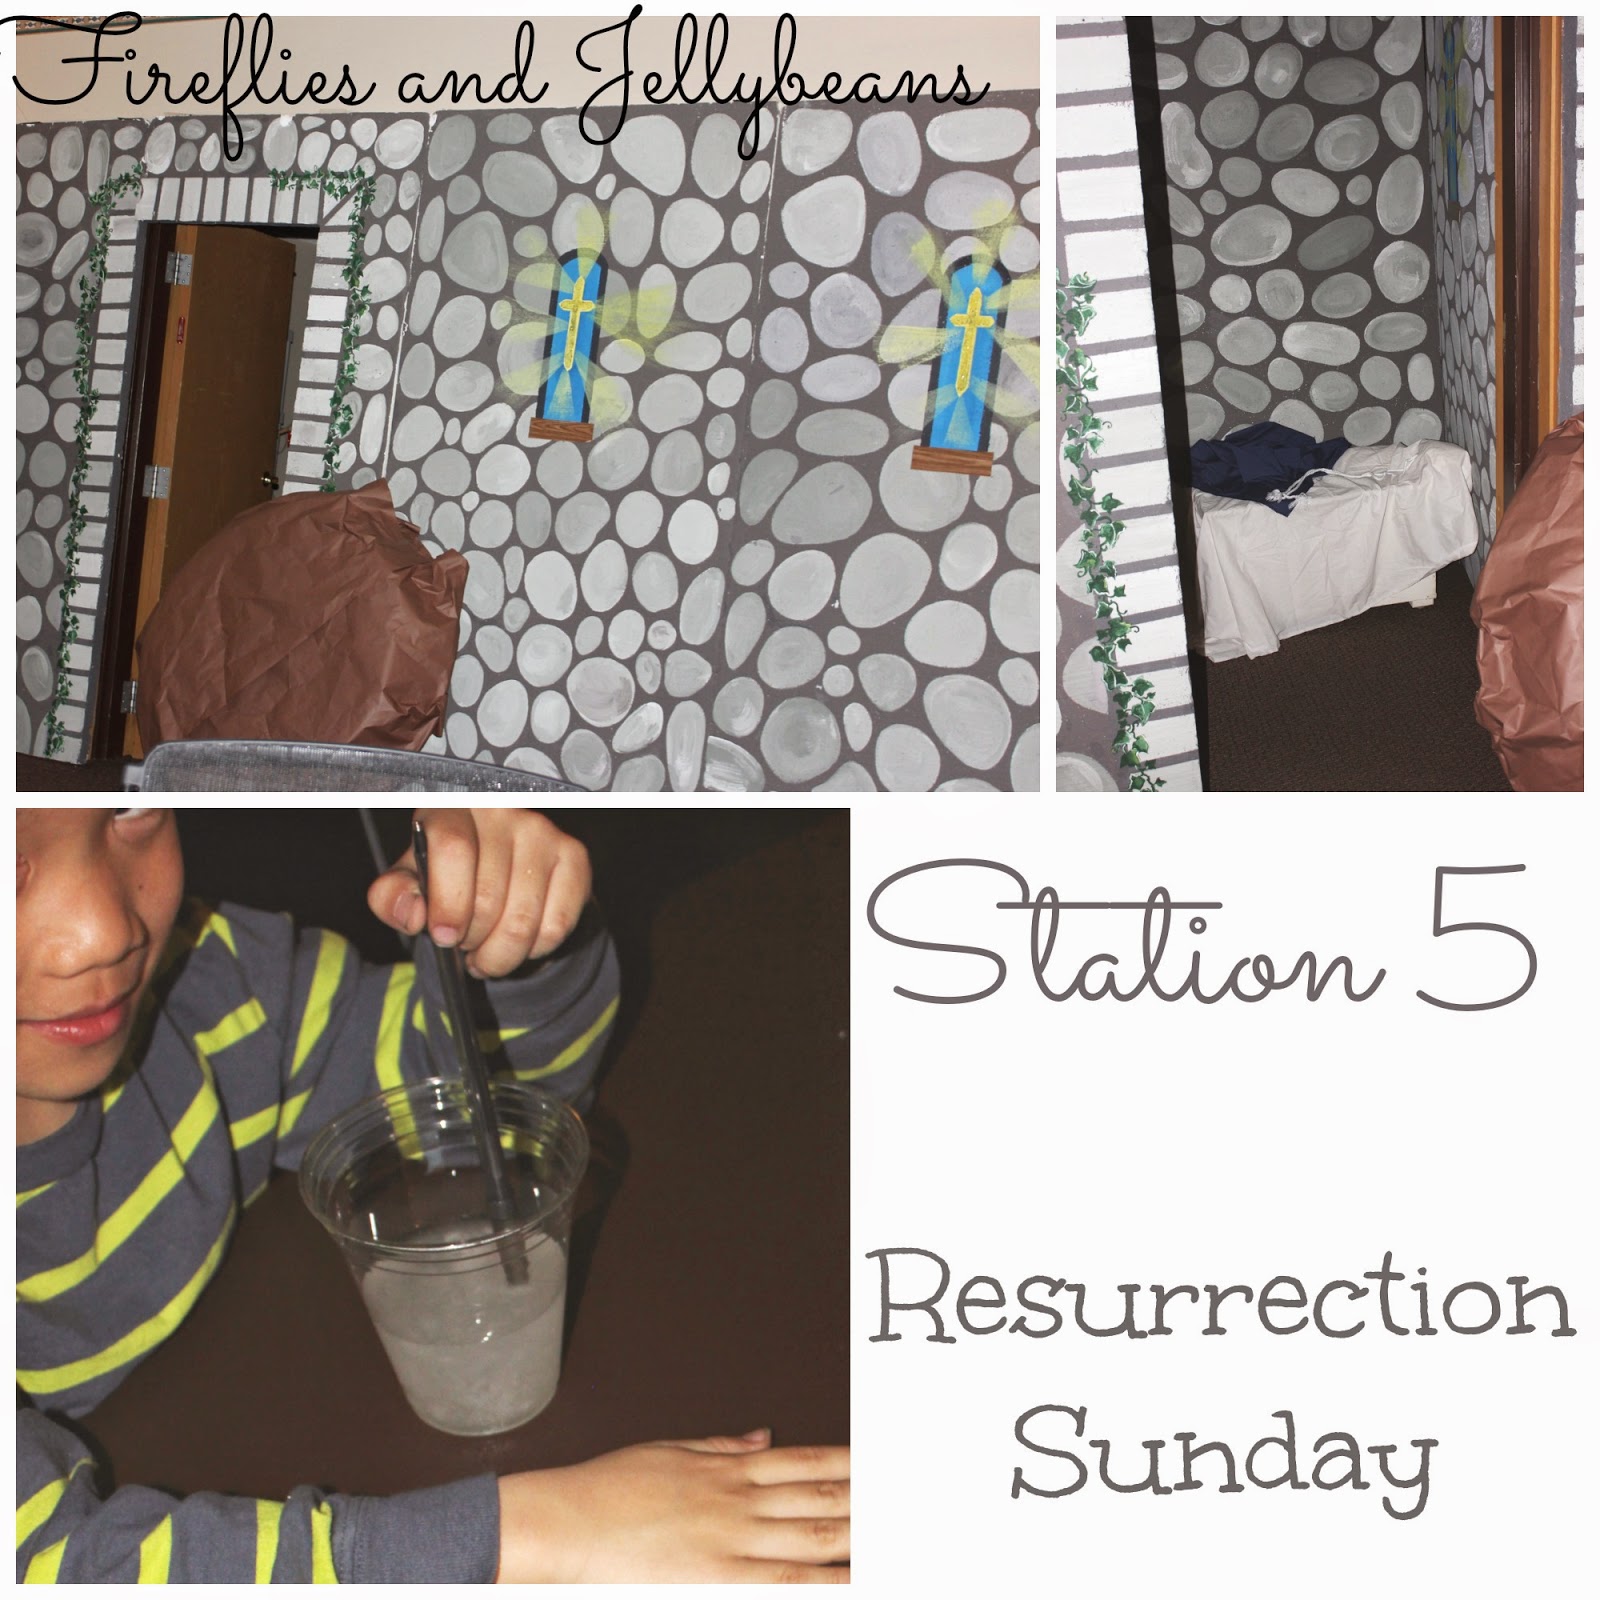
Station 5- Resurrection Sunday
Decor: We had large stone walls (made from Styrofoam panels) from an early VBS event so we used those to create the tomb.  We used a kiddie pool wrapped in paper to make the rock.  I also created a small indent into the room using more stone walls. we placed a small bench inside with some cloth to show that it was empty.  
Verses: John 20:1-16 
Action: We ordered the dissolvable paper from Group.  We had everyone write down their sin from Good Friday on the paper, put it in the water and watch it dissolve.  

Some hints to help you set up your own:
  • Use what you have:  Our church had a lot of props that we used to help set up the rooms.  I bet yours does too! 
  • Have groups of chairs in each room so that there is a spot for the families to sit together and read the script.  We did this in a few of the rooms but the rooms that did not have them it was hard to talk as a family
  • Have a host for each room.  We didn't this year but it is in the plan for next year.  Some one to help families get started, keep them moving, and keep the supplies in order.
  • We had some back ground noise in each room to help so that you are not hearing everything the other families are saying.
  • Use a Bible version that is family friendly, like the message or New living, something that the kids can understand when you are reading it to them. 
This was  a great event to get families to talk about the real meaning of Easter/Resurrection Sunday.  It was a great way for the kids to see and experience some of the stories they have heard about.   We went with our kids and it was a little over their heads (we have a 6, 4, and 1 year old) but it was still good to start the conversation.  My 6 year old has heard all the stories but it was good to get him to think about how to apply it to himself.  I also liked that these stories were coming from me and not just the Sunday school teacher.   It is a good thing for your kids to hear your faith from you too! 


Friday, April 6, 2012

Last minute Easter Card {Tutorial!}

Did you know that our very first craft on F&J was an Easter Egg card?  Yep.... a little over 3 years ago this is the craft that launched me into the craft blog world.  It is super easy to make and I thought I would share it as a last minute Easter Idea for you!  So here is my very first post on F&J  re-posted just for you!


Materials:
Scissors
hole punch
Scoring tool (I use a ruler and a skewer)
Plain Card stock
Strip of decorative paper
Ribbon
Pencil
Marker


1. On the card stock draw an egg shape:
2. Cut out the egg shape

3. Place your strip of decorative paper upside down, place the egg shape on top of it and trace around the outside of the egg shape
4. Cut out on the lines that you traced on the strip of decorative paper
5. Place the strip on to your egg being careful to line up the edges
6. Use your scoring tool to score a straight line for the fold. I use a ruler and the pointed side of the skewer to make my score. Be sure to leave enough room for you to punch 2 holes on the other side.
7. Punch two holes through both layers
8. Tie a ribbon through the two holes to attaching the top paper to the bottom paper. Write a creative greeting on the front. I am not creative so I wrote "Hoppy Easter!"


Here are some more last minute Easter crafts you can make:


Friday, March 23, 2012

Spring Yarn Vase


Today, I have a fun and easy spring decor craft for you:

Here is what you will need:
Mod Podge
Paint brush
vase
yarn


Here is how you make your own:
1. Paint on the Mod Podge on the top of the vase down about an inch.  You don't want to go down too far because the Mod Podge dries.
2. Wrap your yarn about the vase over the Mod Podge.  Be sure to cover the end and push all the rings together tight.
3. Paint on some more Mod Podge.
4. Wrap more yarn... repeat, repeat, repeat!

5. Wrap all the way down to the bottom of the vase and use Mod Podge to glue the end in the place.  I had to hold in in place while it dried.   If you are in a hurry you could also use a dot of hot glue.

Add some cute embellishments and you have an adorable spring vase!


Linking up:


Tuesday, March 20, 2012

Embellished Book Page Eggs {Tutorial!}

With all this beautiful weather I am in the mood for spring!
 It is a good thing today is officially the first day of spring!

Here is what you will need:
plastic eggs
Mod Podge
Book pages
Brush
Hot Glue and Embellishments {not pictured}

1. Tear your book pages up into small pieces
2. Brush on your Mod Podge over your egg
3. place a piece of paper over the Mod Podge and brush some more on the top of the book page
4. Continue adding more pieces brushing on Mod Podge on the egg and on the top of the book pages.

5. Cover the whole egg with book pages.  Yes- your hands will get very sticky!  Let your eggs dry.

6. Use hot glue to attach your embellishments.  I use yarn, ribbon, lace and buttons. 


Linking to:

Tuesday, March 13, 2012

Spring Yarn Wreath with Lifestyle Crafts {Tutorial!}

Lifestyle Crafts is releasing their Blossom Dies today!
They are adorable and just in time to get ready for SPRING!
Be sure to get  your 20% off code at the bottom of the post.

I made this super cute Spring Yarn Wreath:
I got the Bloom and Butterfly Dies

Here is what you will need:
8 inch Styrofoam wreath
Yarn
Bloom and Butterfly Dies from Lifestyle Crafts
Paper
Buttons
Hot Glue (not pictured)

1. Wrap your wreath.  Place a blob of hot glue on the back of the wreath and wrap your yarn over it to start.  Continue wrapping your yarn around making sure to keep your rings close together.  Wrap all the way around the wreath and place a blob of hot glue to hold the end in place.

2.  Cut out your Dies and embellish them with buttons.


3. Attach your butterflies and flowers to your wreath with straight pins.

3. Hang it up!

Get 20% off your order at Lifestyle Crafts
  with code: FIREFLIES

Tuesday, March 29, 2011

$3 Plush Easter Backpack!

Here is the project that I posted over on the CSI PRoject in case you missed it!
We do all sorts of thrifty crafting over at F&J, so I had to take up the $5 challenge!  Actually $5 is a bit pricey for me so I made an Easter project that cost only $3!
Here is a SUPER cute alternative to the Easter basket.  It is an Easter Backpack.  My kids are obsessed with backpacks. They love to wear them, put things in them, and take the off to leave on the floor for me to trip on!  I found these cute plush Easter animals at the Dollar Store thought "Why not make them into a backpack?" {does anyone else's brain work this way?!}

Here is what you will need:
1 Plush animal (Dollar Tree $1)
1 Set of 2 bandannas (Dollar Tree - $1)
1 Roll of ribbon (Dollar Tree $1)
Sewing supplies {Thread, sewing machine, scissors...etc} (Have on hand - $0)
Total cost = $3

1. Fold one of you bandanna in half and lay your plush toy on it.  Cut the bandanna off 3-4 inches below the plush toy. 

2. In each of the bottom corners cut a 1inch X 1inch square out. 

3. Now we are going to sew a casing for our ribbon.
Flip your bandanna over to the back side and fold down 1/2 and inch bigger then your ribbon.  My ribbon was 5/8th of an inch so my casing was about an inch.
Sew the casing.

4. Now we are going to take some stuffing out of the plush toy to make it fit on the backpack better.
Cut open a seam on the toy... I found the neck was the easiest.  I used seam ripper and scissors to help.
Take out the stuffing from the belly, but leave it in the head, arms and legs.
Whip stitch the opening closed.  It does not need to be fancy since it will not be showing.

5. Now we are going to attach the toy to the fabric. 
Place your toy on to ONE side of your fabric (On the RIGHT Side)
Sew across the neck and legs.
Since we took out the stuffing it is do-able... you have to stuff it in your machine... and you feel a little weird about sewing across the bunny's neck, but it is for a cute cause so you move on!

6. Now we are going to sew the back together. 
Fold your fabric over the plush toy so that right sides are together.  Sew down the sides and bottom, but NOT THE CORNERS!!  Also stop sewing when you get to the casing.
 
 7. You will need another opening on your casing on the other side of the back as well.  Cut a small whole on the side opposite of the other open part of the casing.  You can also use Fray Check or Clear Nail Polish to make sure the hole does not fray.
 8. Cut 2 pieces of ribbon that are each 3 feet long (36 inches)
 9. Pull on of your ribbons completely through one hole on one side of your casing.  (I use a safety pin to help)

10. Repeat the same thing on the other side with the other ribbon.
 11. Put your ribbons into the INSIDE of the bag and pull about 1/2 an inch out of the square opening on the bottom of the back.  Square off the ends of the bag and sew the ribbons in the seam.  repeat on the other side.

Turn your back right side out!

 I also tacked the head to the top of the bag to help it stay up.
 Pull on your ribbons and your have a cute Drawstring backpack  with an Easter plush toy on the front!

 You can make a second one for only $1 more!  You can use the 2nd bandanna and the left over ribbon from the 1st one!  That is two Easter backpacks for $4!! 
 With all that money your just saved you can find some cute things to put inside! 
 These little backpacks are the perfect size for 1 - 4 years olds!

Linking to:
I read orange A Crafty Soiree


Content Ad