Showing posts with label photography. Show all posts

Friday, June 27, 2014

JournalWays

This is a sponsored post for JournalWay, all opinions are 100% mine.

If you are like me, you have a lot of digital pictures of your kids and family... I mean I have a bunch on my phone, on my camera memory card, and on my computer.  Some times the pictures end up on my family blog but mostly they stay digital... and that is not right!

That is what I am excited to introduce you to JournalWays!  It is a great way to get your pictures off your phone, camera, and computer and printed for all to see!  And it is also a great way to record life, journal about everyday things to remember for always!


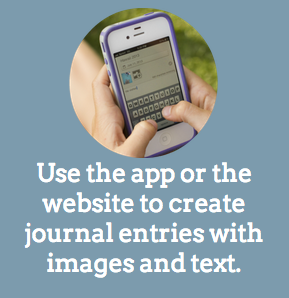
Because JournalWays works on your iPhone and computer.  You can take pictures on your iPhone and create a page for your book on your iPhone, or use your computer.


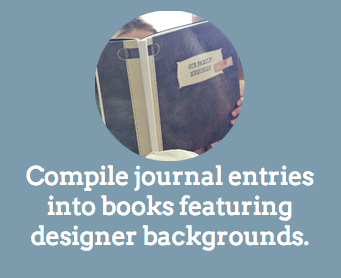
In a nutshell, the JournalWays app allows you to pair up to four photos with 700 characters of text in entries from your iPhone or iPad.  The books are created through JournalWays by choosing pre-made template designs that look like real scrapbook pages.

And JournalWays has video tutorials to help you know how everything works.  It is easy to navigate the site and the tutorials make it even easier!


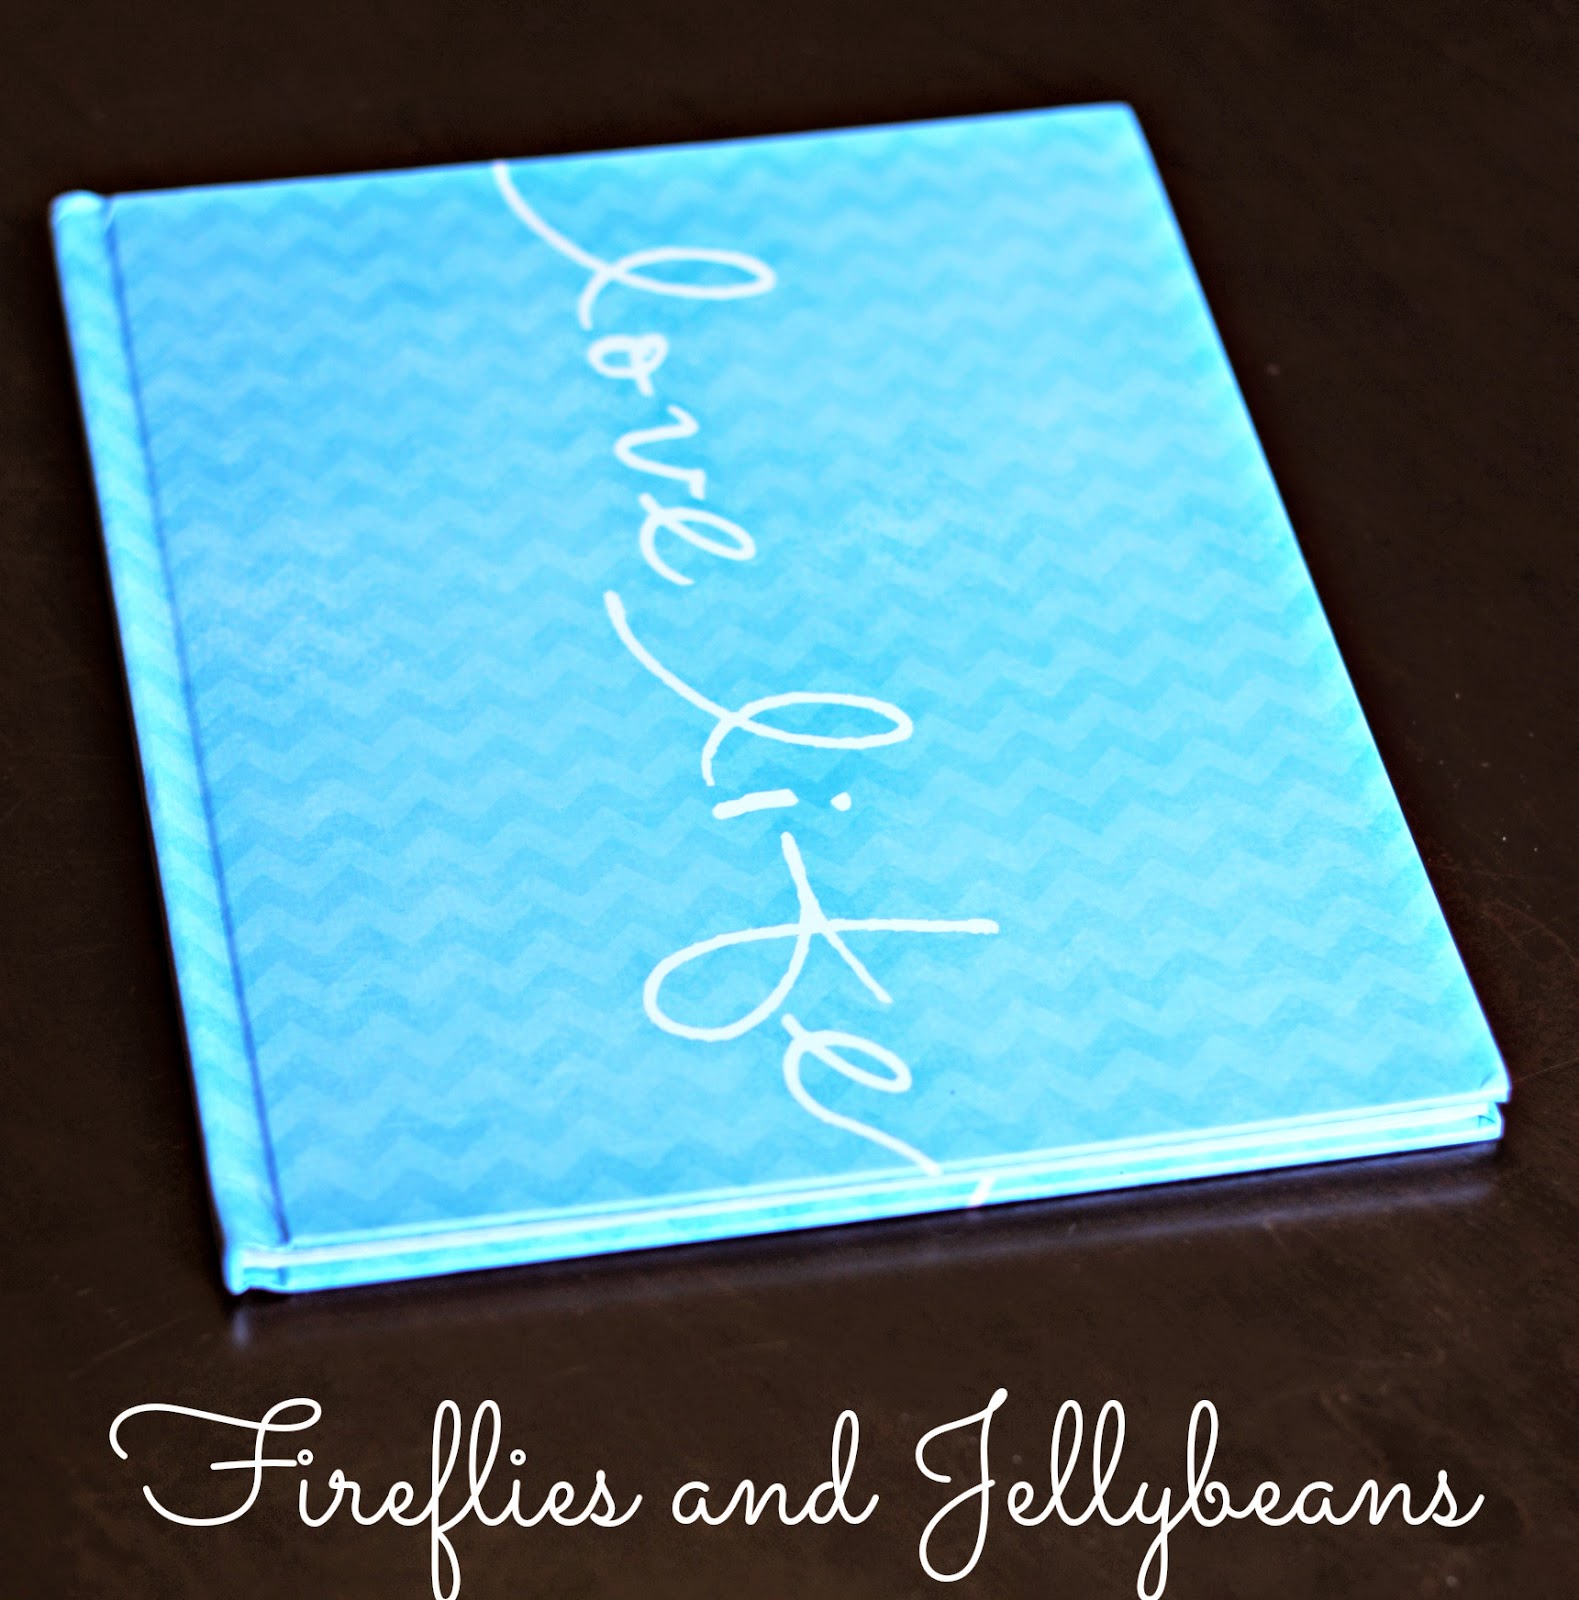
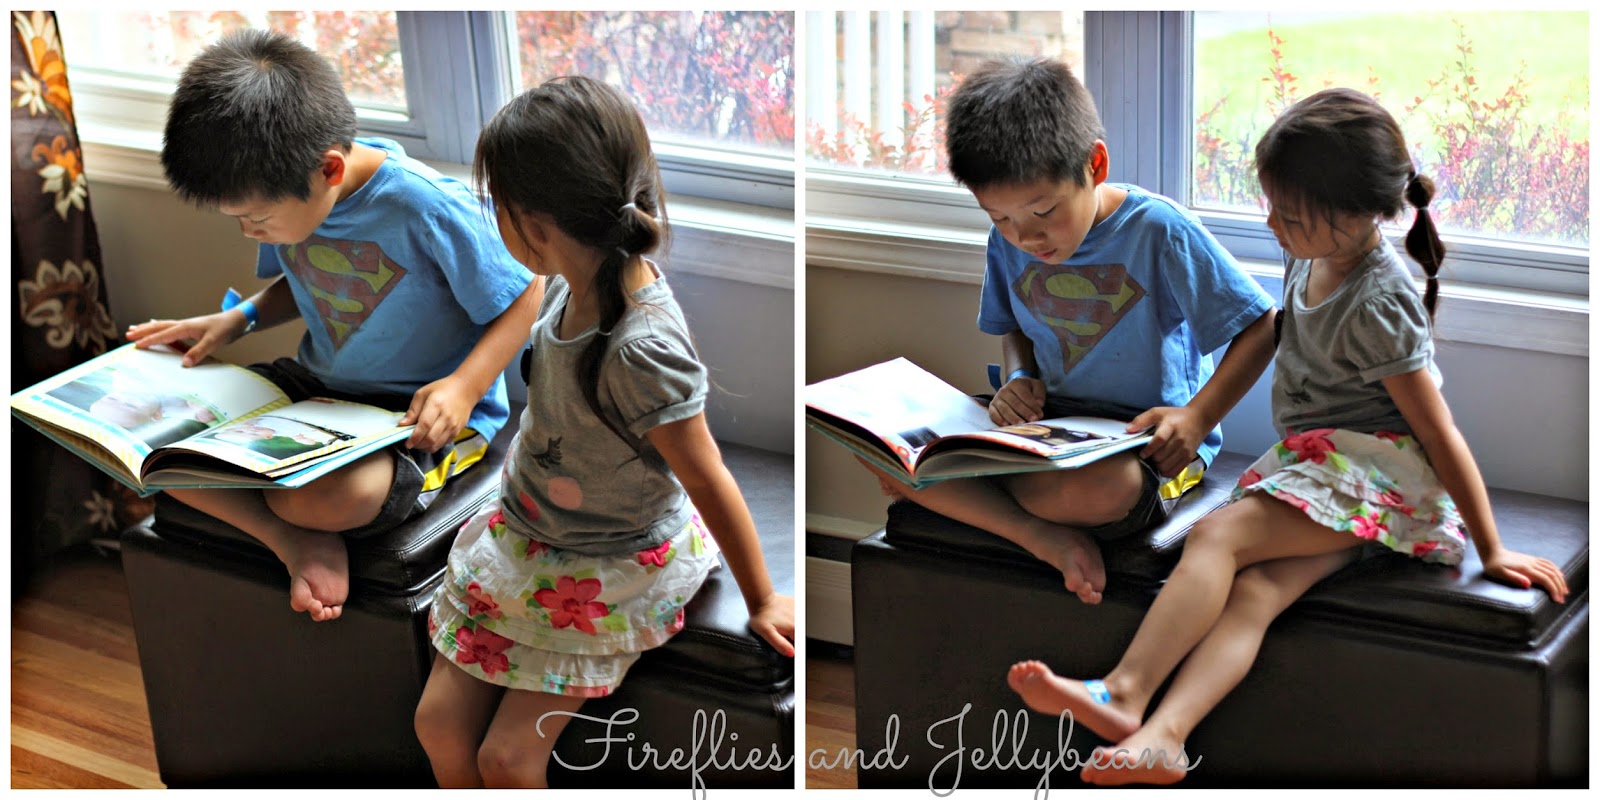
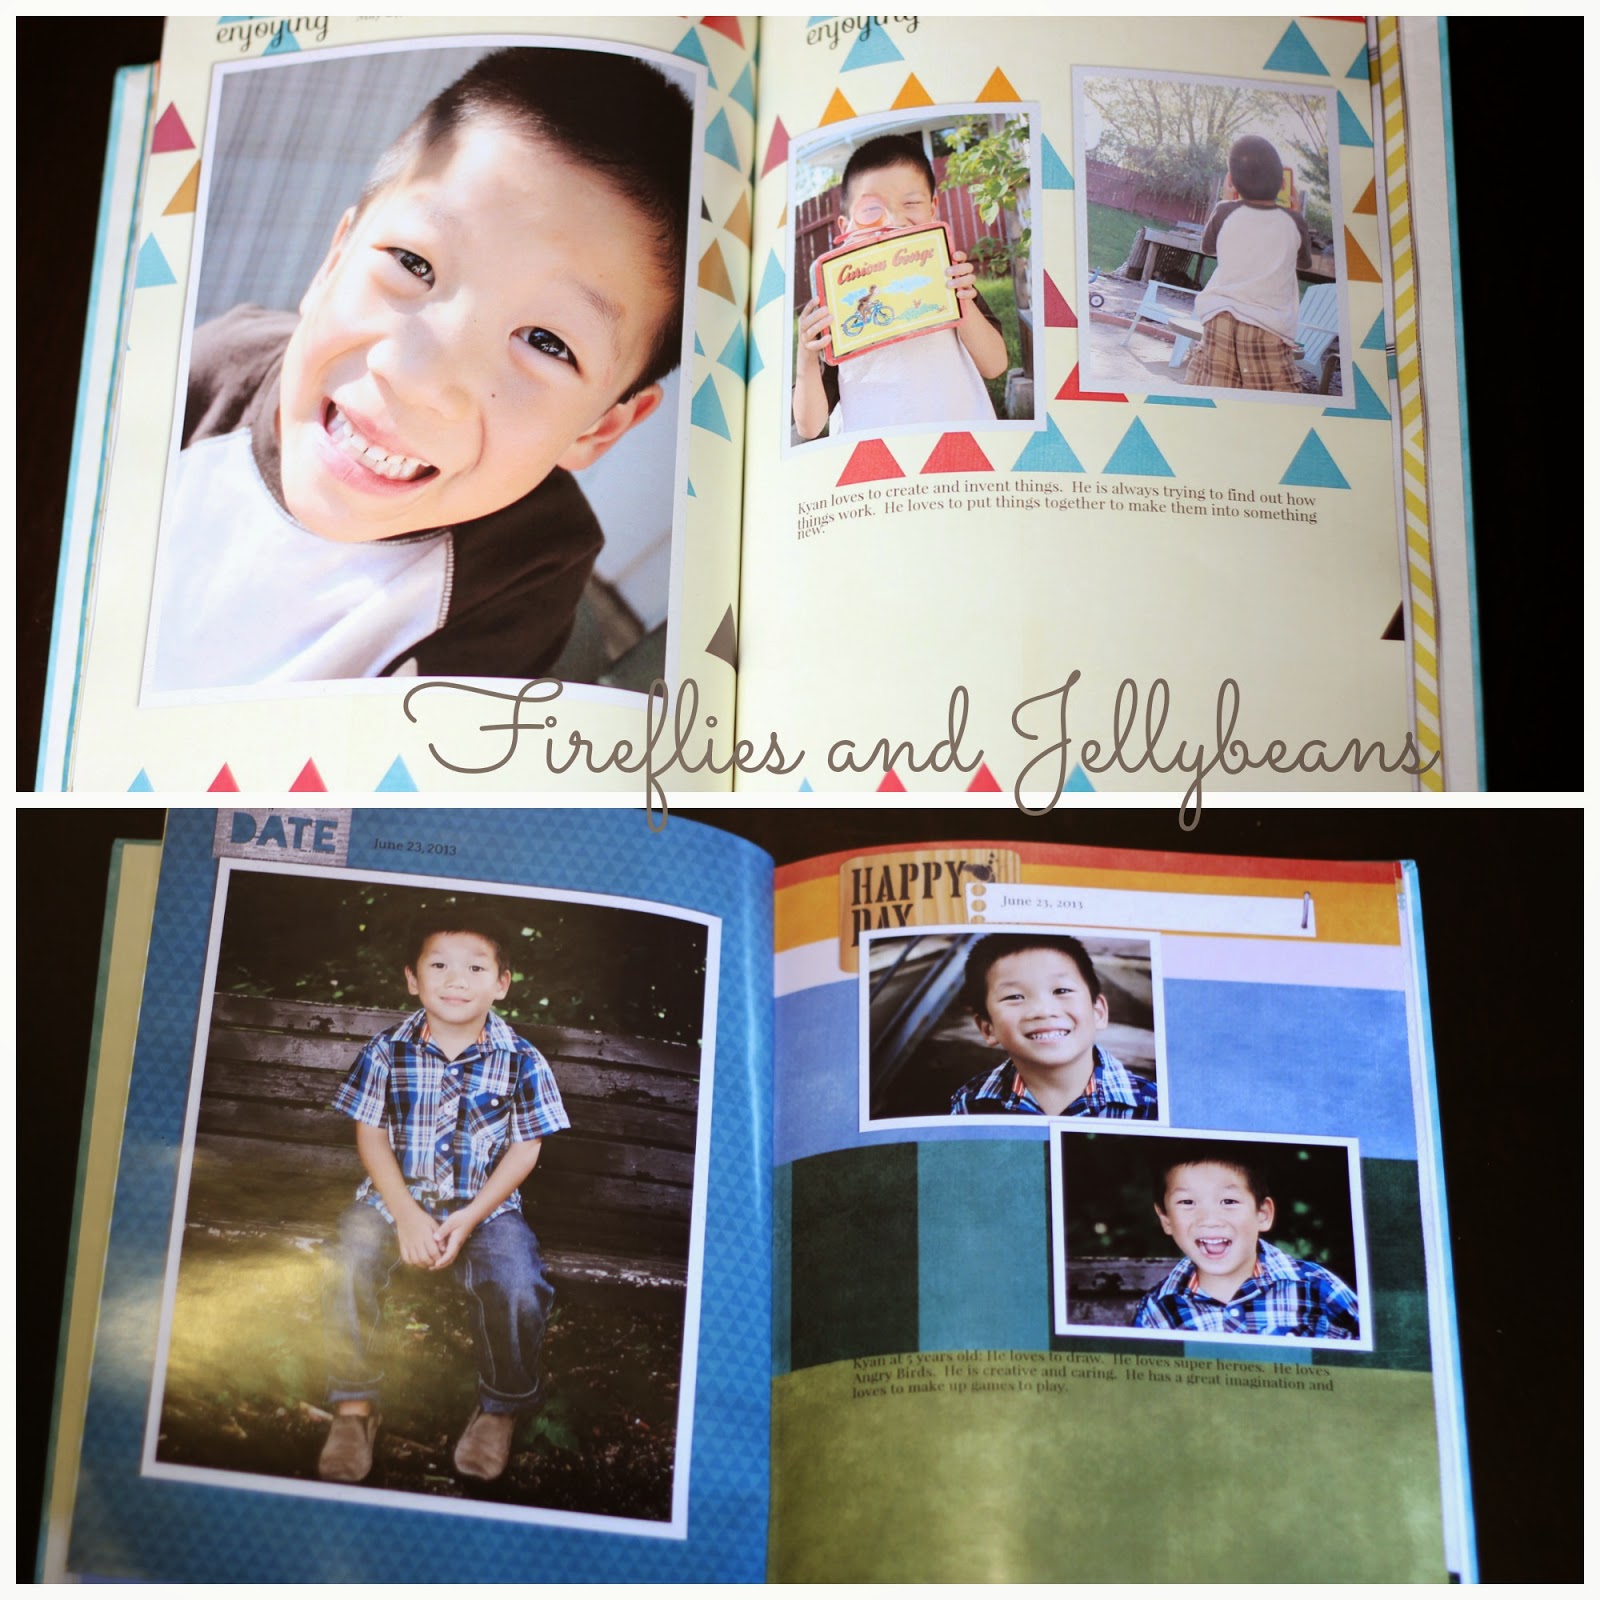
I was able to create and sample a photo book.  The one I made was able to cover a year of our life and the kids LOVE looking through it!

It is amazing how much the kids change in a year (especially when they are little) and now I have this fun book to remember it all!  You have a choice between hardcover or soft cover (right now the hardcover are half off!)  The book I got was high quality and we love it!

It is just so great that you can record journal entries along the way and then use them to publish a book when you are ready.  Creating the book in bits and pieces is very doable.  JournalWays saves all your entries for when you are ready to use them.

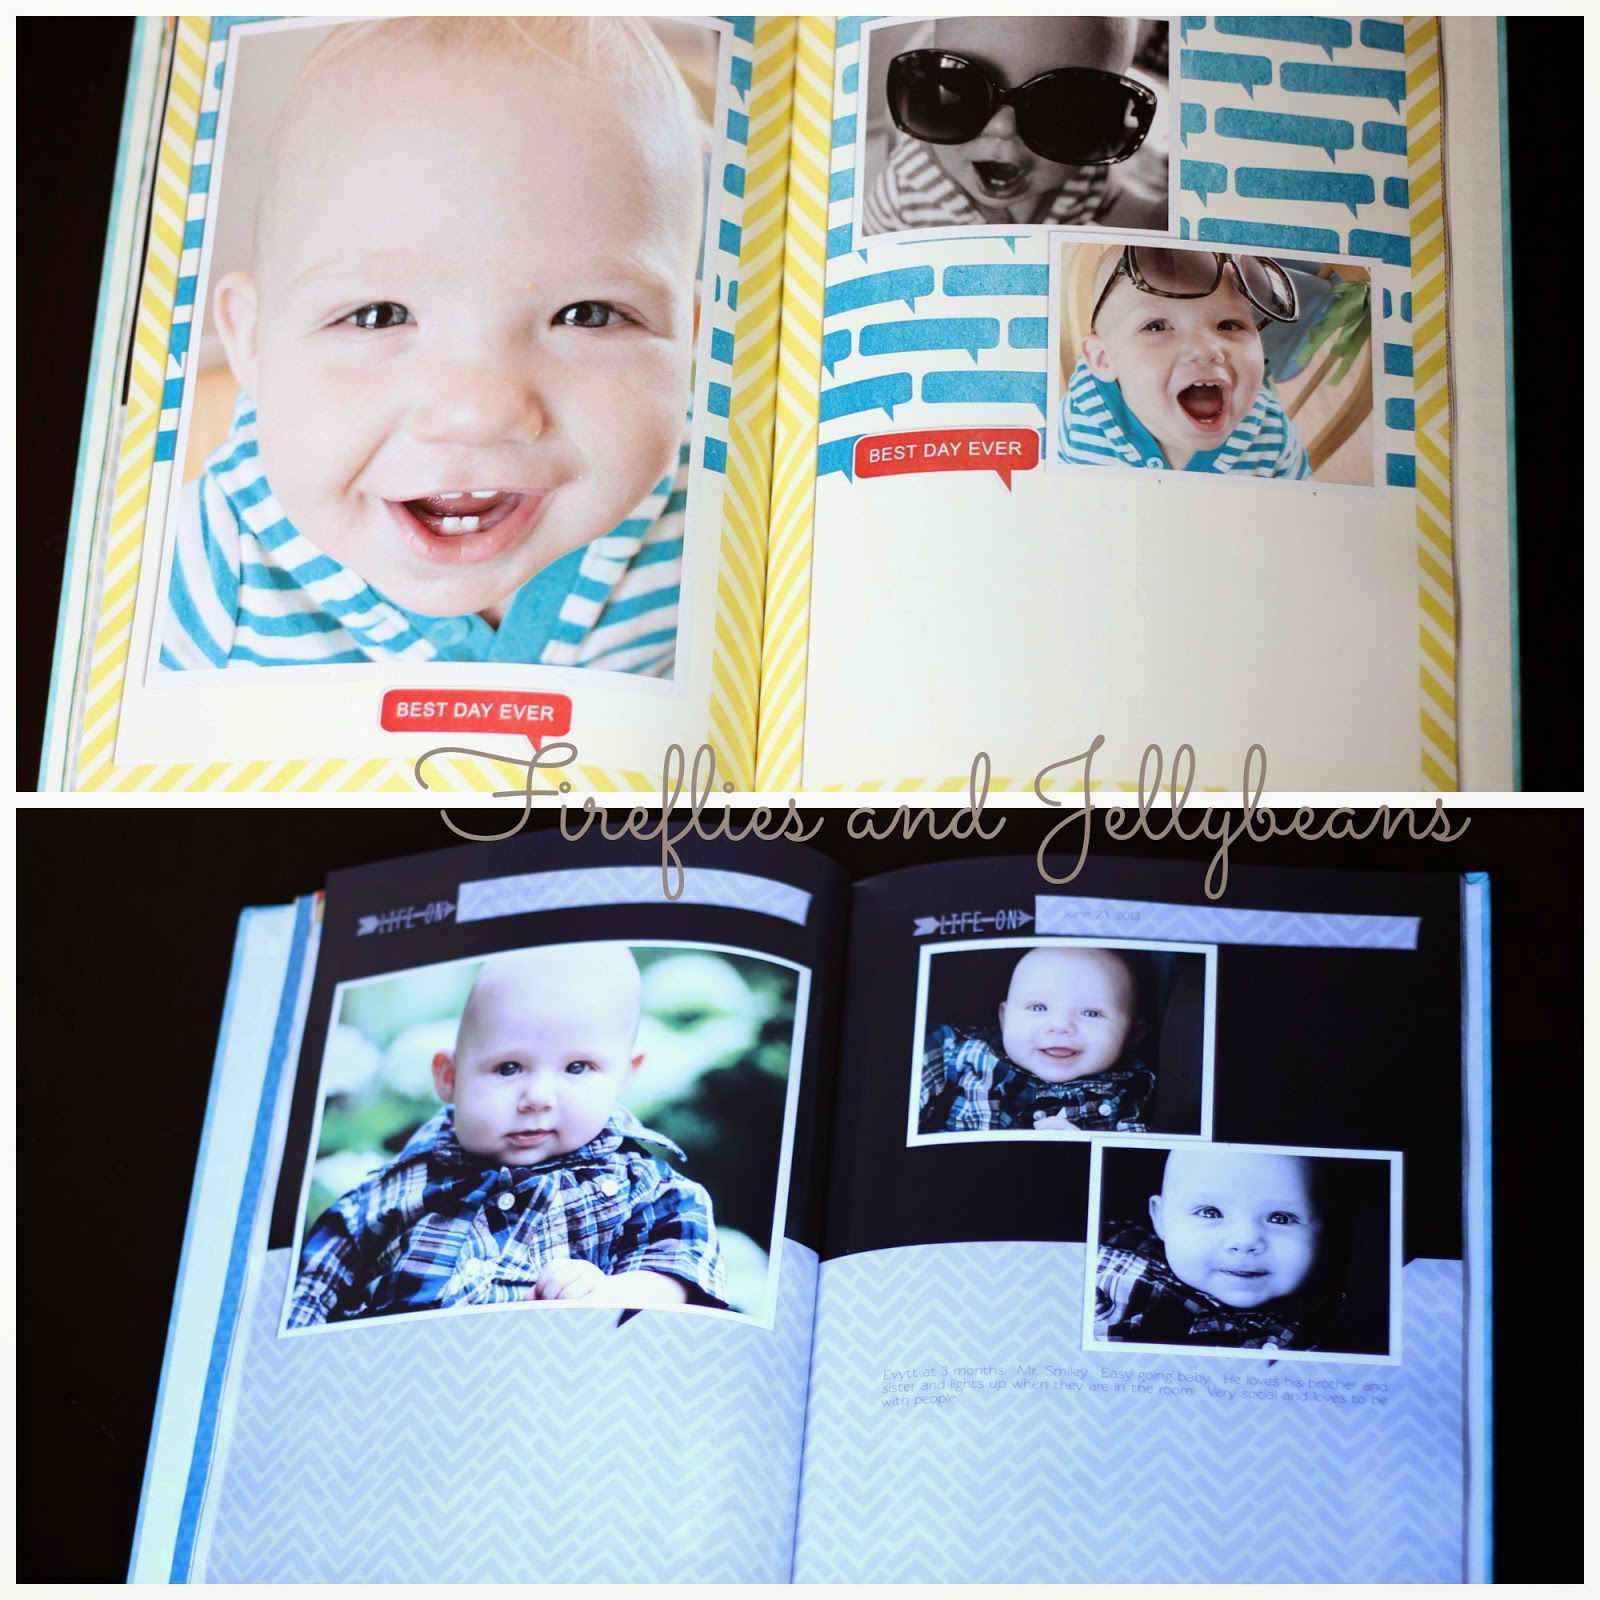
Here a few of my pages for you to see:


The JournalWays team is very open to feedback too so if you don't see what you want they are willing work with you!  They are adding new templates all time! 

You can find JournalWays on:
JournalWays.com

Tuesday, May 22, 2012

Flip-Flops repurposed into summer home decor! {Tutorial}

So, I hate wearing flip-flops.  They hurt my toes and I cannot stand the feeling of them on my feet.  I know I am totally weird but there it is!  But- I do think that they are adorable.  I got a pair of flip-flops for my birthday, and I decided to repurpose them into a cute summer decor for my 3 season porch.  What could be cuter them to make them flip-flop photos?

Here is what you will need to make your own:
Flip-flops (the cheap ones!)
Lace 
Mod Podge
Spray Adhesive
Photos printed on paper
scrap wood (I used a broken ruler)
Hot Glue (not pictured)
Optional: Paint markers (not pictured)

1. Start by cutting off the band.

2. Trace around your flip-flop on your photos (my photos are 5X7 printed my regular paper in black and white).  Cut out your pictures and attach them to the flip-flop using spray adhesive. Poke a hole through the paper where the top hole was on the sandal.
3. Brush Mod Podge over the pictures to seal them to the flip-flops.  I did 2 light coats. Let dry completely.

4. Cut out 4 pieces of lace about 6 inches long each.
Use a pencil to help  push the lace through the hole in the sandal.
Use hot glue to attach the lace to the backside.

5. Use hot glue to attach your piece of scrap wood to the back of your flip-flops to attach them together. 
6. Optional: Use Paint Marker to add some fun to the bottom of the sandal.

I hung mine up on the wall.
I think these turned out pretty cute and would make a great gift! 
 So tell me, do you love or hate to wear flip-flops?


Linking to:
 
Today's Creative Blog

Monday, October 24, 2011

Christmas Cards with Shutterfly... Giveaway!!

***Giveaway  Closed!***

One of my favorite parts of Christmas is getting photo cards of my family and friends! I love to hang them all up and see how much everyone has changed... to see kids and families grow. I use these pictures to hang on my refrigerator all year though, and trade them out the next Christmas!

One of my favorite photo sites to get Christmas Cards is Shutterfly.
Christmas Card Option 1
They have SEVERAL cards to choose from to fit most price ranges. 
You will be sure to find one that fits your family's style!

Christmas Card Option 2
In Fact, I found 4 cards that I love without really trying... and now I cannot decide which one is the best one to send out!   All of the chooses I picked are because they have such a whimsical feel to them... which is what I LOVE about Christmas... it is full of whimsy and magic!  These cards will be going out to all our friends and family and I want them to feel the JOY of Christmas when they look at our card!

Christmas Card Option 3


Christmas Card Option 4
Shutterfly makes it really easy to personalize you cards with your own family photos.  While you are ordering your cards you should check out their Photo Gifts and Photo Calenders... they would make great gifts for grandparents!  You know that grandparents can never have too many pictures of their grand kids!

Shutterfly is giving away 25 cards FREE to 2 lucky F&J Followers!   

Here is how you can enter:
You MUST be an F&J follower to enter... Go check out the Christmas Photo Cards and come back and tell me which one is your favorite! 

Want another entry?  Tell me which Christmas Card Option you like the best for my family!  

This giveaway will end on Friday Oct 28th at Midnight!

Friday, June 10, 2011

Family Pictures with J+H Studios

We had a Photo Session with J+H Studios for our daughters 1 year old pictures and some family shots! 
 The pictures turned out AMAZING!  I love everyone one of them!
Jesse and Haley are the ones behind J+H.  They are WONDERFUL with kids.  The whole session is laid back and easy going so that you family and kids are comfortable! 
J+H also listens to what you want...
here is a shot that I really wanted to try and they were all for it! 

J+H has such a good eye for what will make a good shot... and are also willing to takes some "out of the box" shots just to see if they will work!   It is fun to see a photographer's mind work sometimes! 
They just keep taking pictures and get some really fun candid shots!

If you live in the Twin Cities area of Minnesota, and you want AMAZING pictures... Check out J+H!


 *** Jesse and Haley are my Cousin and his wife, I am so lucky to be related to these WONDERFUL photographers!   I was not paid to say any of this!  All Opinions are HONEST! ***

Tuesday, January 18, 2011

Super Easy Valentine Photo Craft

 Hey everybody, it's me, Jeannine, making my once-every-few-months appearance.  I have 5 kids, two of whom are very busy toddlers, so every now and then I have a spare 5 minutes in which to throw a craft together.  In fact, this particular craft probably takes more like an hour, because of the photo editing.  But this is a fun one to get your kids involved with.  Ok, here goes:

Directions:
1. If you are not fluent in American Sign Language, you may have to do some research on how to make the letter signs.  Here is the website I used.  I just did a Google search for "ASL letters."  If you know the letters, then skip this step.  Or you can copy mine!

2.  Hang a piece of black poster board on the wall.  Make sure there is room for your child to stand in front of it, and for you to get a good picture.

3.  Have your child sign the letters I, L, Y (for I Love You); or if you want to do  "I {heart} U", then have your child sign the letters I and U, and then make a heart shape with both hands.  (See my example below.  Also, it's a bit easier to take a picture of the heart if they can lay their hands on a table instead of against the wall).  I also went ahead and did all the letters in the words "I Love You" and made a poster of the entire sentence.

4. Load the pictures onto the computer, crop so they're the same size (4x6 or 5x7 or however you plan to display them).  Make them black and white, and add a soft focus to soften the edges a bit.


5.  Then either print the photos at home on your printer, or if you want fancy professional printing, you can order them from whatever photo processor you normally use.


 6. Put pics in frame, and display for all to see!


Linking to:
I read orange A Crafty Soiree
Visit thecsiproject.com


Content Ad