


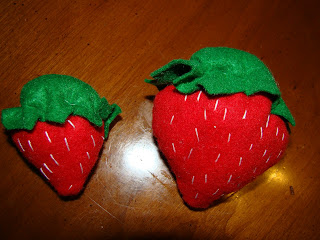
 We have been working on our Felt Fruit Sorter Project and we did the Banana last week and this week we are doing the Strawberries!
Materials:
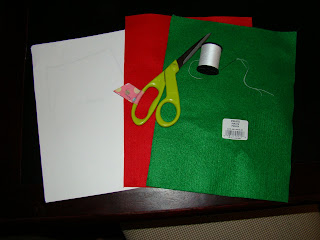
red felt
Green felt
scrap paper to make a pattern
scissors
Needle and thread
Stuffing (not pictured)
Sewing machine (optional)
 1. Make a pattern. I drew the strawberry patterns but folding a piece of paper in half and cutting out a heart shape (but flat on the top). the tops I just drew a burst shape that was bigger that the top of each heart. You can also use my patterns below. (Just click on each picture and it will bring up another screen with the full size)
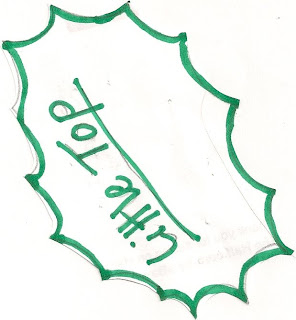
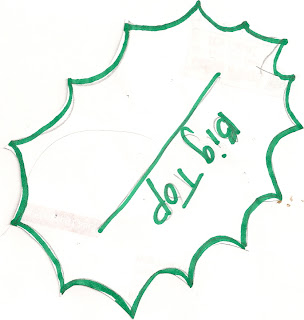
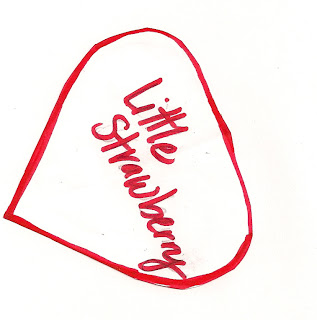
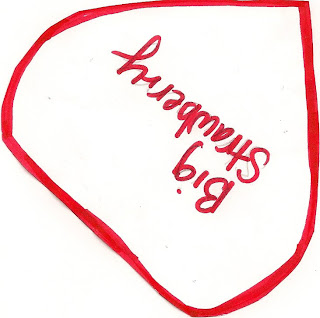
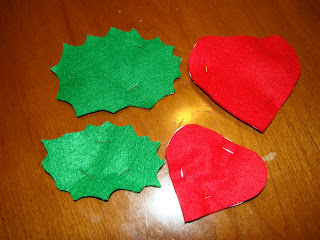
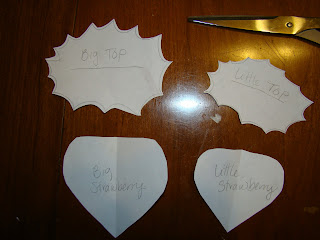 2. Cut out your patterns. Fold the RED felt in half and pin the Strawberry patterns to it. you DO NOT need to fold the green felt, Pin the top patterns to it.
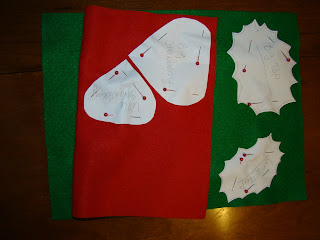
3. Cut out the shapes.
 4. Add the detail of the seeds to the strawberries. I hand stitched using regular thread that I doubled over. You could use embroidery thread too (I just do not have any and did not want to buy some) I just sew a random pattern trying to keep the seed line about the same size. They do not have to be perfect because in nature the seeds are not all the same size. Also you do not have to go all the way to the sides or the top, since we are going to be sewing the pieces together.
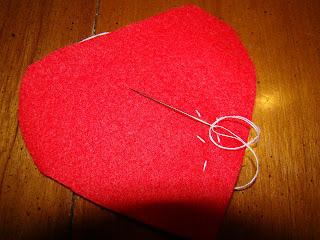 Sew on all 4 pieces of the strawberries.
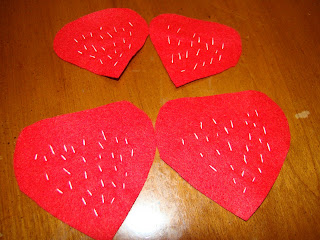 5. With right sides together sew the two sides of the strawberries together, leaving the top open to stuff.
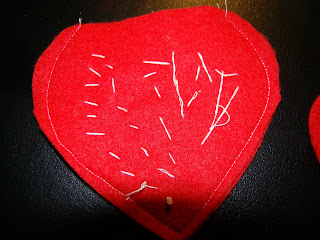 6. Flip right side out
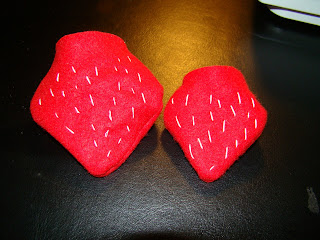
7. Stuff with stuffing! (I use stuffing from an old pillow.)
 8. I hand sew on the top piece. I make big stitches around the top.
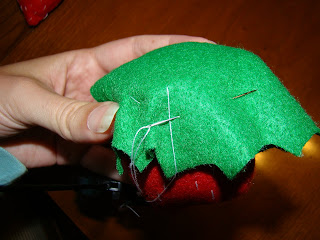
When I get around the whole strawberry...
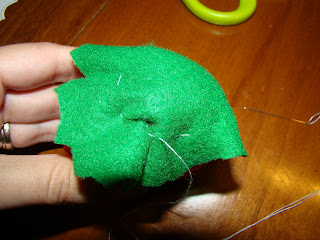
I pull on the thread to gather the top a bit.
 I sew around again and pull again... and than I tie it off under the green top to hide the knot.
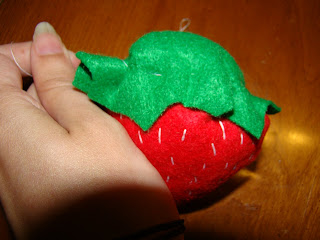
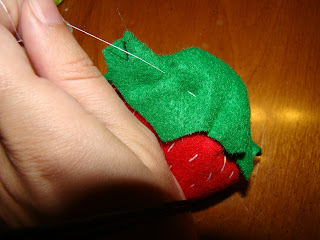 Now you have some cute strawberries even Strawberries Shortcake would be jealous of!
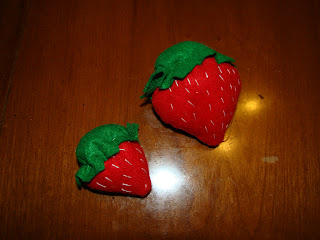 I am going to make two more (One of each size to add to my four bananas).
Next week are Orange slices... these are a bit tricky- But I think we can do it together!
Have you made any of the felt fruit? I would love to link to your project! Let me know in the comments and leave your blog URL and I will link inside this post!


